How to Make Hip Hop Beats A Beginner’s Guide to FL Studio
Making a hip hop beat is a process. It often starts from a simple idea and gets built up, layer by layer, until you’ve combined a heavy drum groove, a sticky melody, and a bassline that ties it all together. The secret is to nail the tempo and mood first, then start building out the track with the right sounds inside a DAW like FL Studio.
Setting Up for Success in FL Studio
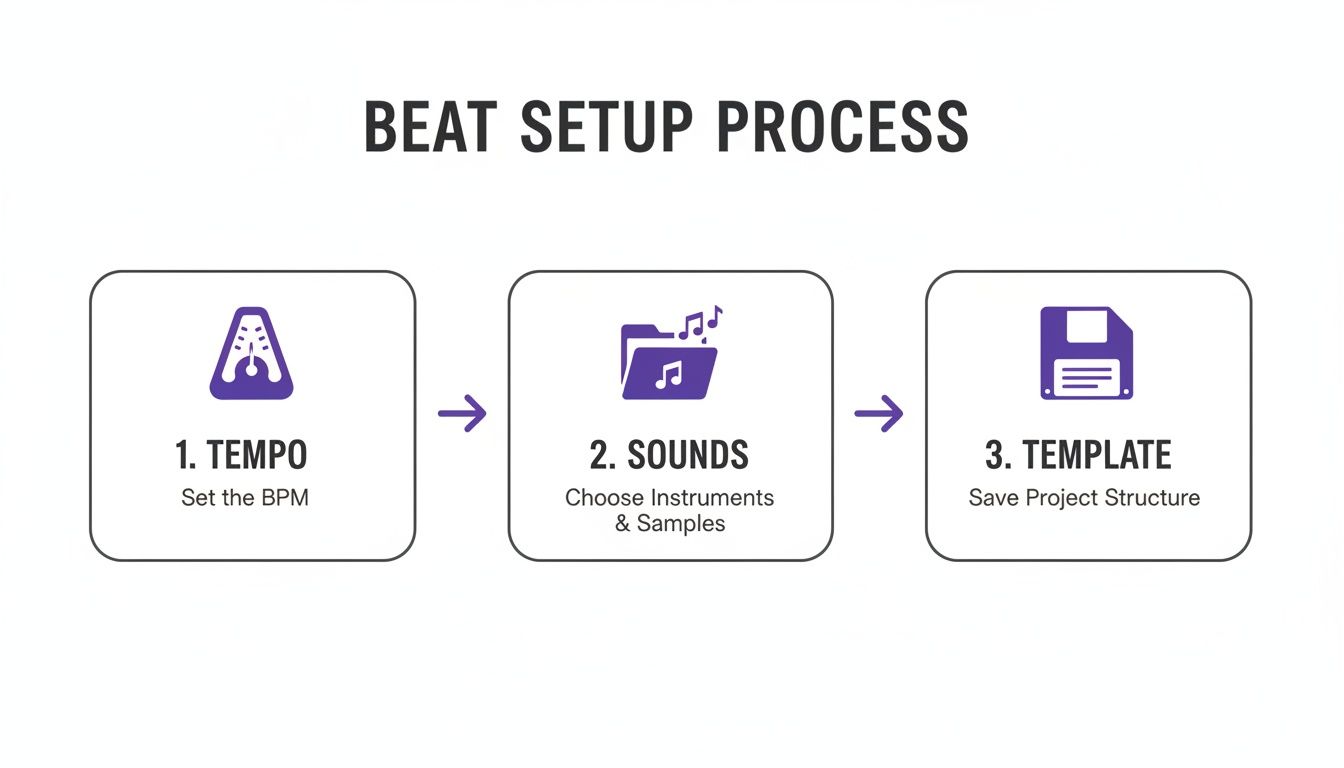
Before you even touch a drum pad or try to write a melody, getting your project set up properly inside FL Studio is the key to a smooth, creative session. Think of it like laying the foundation for a house—nobody sees it in the final product, but the entire structure depends on it. Getting this right from the start saves you from technical headaches later and keeps you locked into the creative zone.
The very first call you have to make is your project’s tempo, measured in Beats Per Minute (BPM). This one setting is huge; it dictates the entire energy and vibe of your track. It’s the difference between a laid-back, head-nodding beat and an energetic club banger.
Choosing Your Tempo and Mood
Tempo isn’t just a number; it’s the heartbeat of your track. Different subgenres of hip hop live and breathe in specific BPM ranges, and picking the right one is crucial if you want to capture an authentic feel.
- Classic Boom-Bap (85-95 BPM): This is the sweet spot for that golden-era, soulful feel. Think producers like J Dilla or DJ Premier. It’s relaxed, groovy, and sits right in the pocket.
- Modern Trap & Drill (130-160 BPM): For those high-energy, contemporary bangers from producers like Metro Boomin, this faster range is a must. It gives you the space you need for those rapid-fire hi-hats and hard-hitting 808s.
Once your BPM is locked in, get your sounds organized. A cluttered browser is a total creativity killer. Take a few minutes to drag your go-to drum kits and sample packs into the FL Studio browser so they’re always just a click away. Nothing kills a moment of inspiration faster than having to dig through folders for the perfect snare. For a deeper dive on getting your workspace in order, check out our guide on making beats with FL Studio.
The most valuable thing a producer has is creative momentum. A well-organized project template is your best friend for protecting it. Don’t let file-hunting or mixer routing get in the way of a great idea.
The Power of a Custom Template
If you really want to speed up your workflow, create a custom project template. Instead of starting from a blank canvas every single time, you can open FL Studio with your essential tools already loaded and ready to rock.
This workflow is simple but incredibly effective: decide the tempo, pull in your sounds, and save it all as a template you can use again and again.
This turns tedious setup into a quick habit, letting you jump straight into creating. Your template could have your favorite kick, snare, and hi-hat samples already routed to mixer channels with basic EQs ready to go. This little bit of prep work pays off big time, saving you from doing the same boring tasks over and over so you can capture ideas the second they hit you.
Programming Drums That Hit Hard
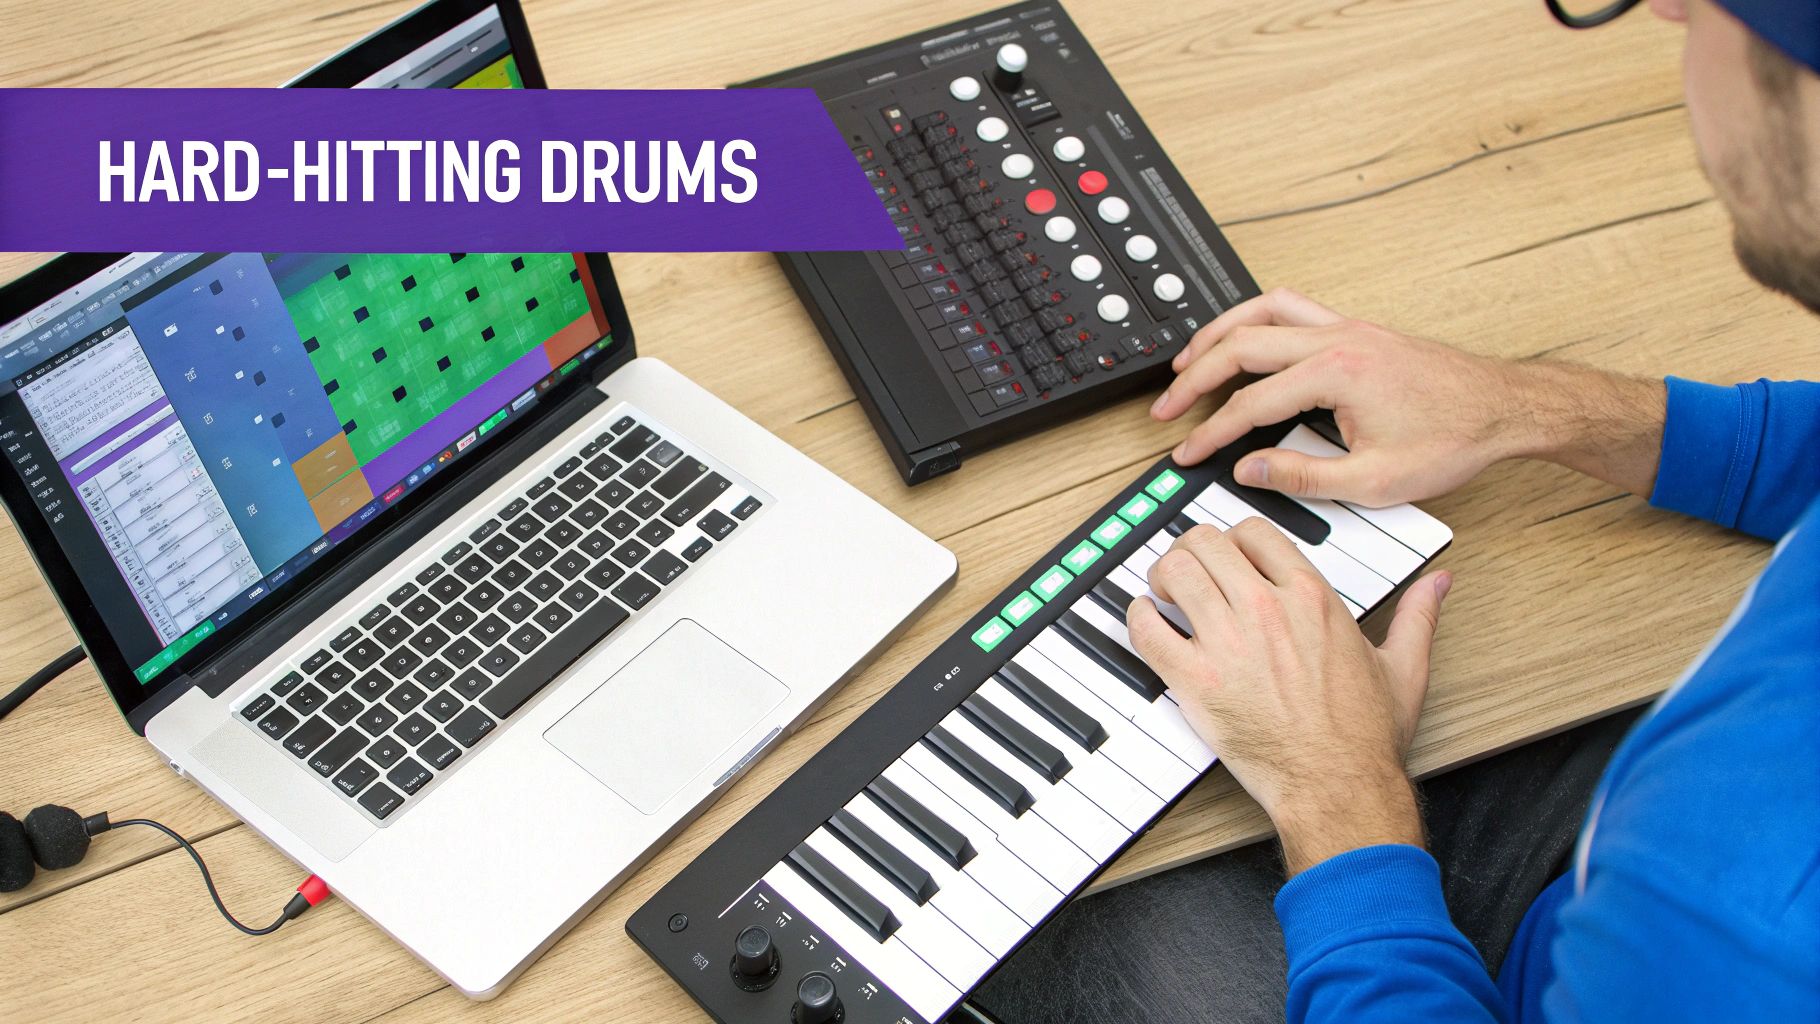
Let’s be real: the drums are the absolute soul of any hip hop track. They aren’t just about keeping time; they’re the bounce, the energy, the entire physical foundation a rapper builds their flow on. Getting this right in FL Studio’s Channel Rack is your first major hurdle. Nail it, and you’re on your way to making beats that feel authentic and powerful, not stiff and robotic.
Your journey starts with sound selection. You can’t program a hard-hitting beat with weak, flimsy sounds. Grabbing high-quality, royalty-free drum kits is a non-negotiable because they give you clean, mix-ready sounds from the jump. Instead of wasting hours trying to fix a bad sample, you can pull up a punchy kick and a sharp snare and just get straight to creating.
This is where having a deep library pays off big time. You can audition dozens of sounds in minutes to find the perfect texture. For professional, ready-to-use sounds, start by exploring a solid collection of hip hop drum sounds to get things moving.
Building the Core Groove
The classic hip hop backbeat is your starting point. It’s a simple but unshakable pattern built around the kick and snare. Pop open the Channel Rack and place your snares on beats 2 and 4. In a standard 4/4 measure, this means clicking on steps 5 and 13. This instantly creates that foundational “boom-bap” that gets heads nodding.
With the snare holding down the backbeat, it’s time to bring in the kick. The kick pattern is what truly defines the unique rhythm and bounce of your beat. There are no hard rules here, but a great way to start is by dropping a kick on the very first beat of the measure (step 1). From there, experiment with adding more kicks to create syncopation and groove.
- Try placing a kick right before a snare hit, like on step 4, to create a cool push-and-pull feeling.
- A kick on the very last 16th note (step 16) can create a nice little turnaround that leads perfectly back into the next bar.
Don’t overcomplicate it at first. A simple, memorable kick pattern is almost always more effective than a busy, chaotic one. Your goal is to lock in a strong, repeatable foundation.
Adding Life with Hi-Hats and Swing
Once your kick and snare are locked in, the hi-hats come in to provide the driving energy and rhythmic detail. A basic pattern of hi-hats on every 2-step (steps 1, 3, 5, 7, etc.) is standard for trap, but you can inject so much more character.
This is where velocity and swing are your best friends. A drum pattern programmed with every note at the exact same volume sounds dead. By adjusting the velocity of your hi-hats in the Piano Roll (hit Ctrl+A to select all notes, then Alt+R for the randomizer), you can humanize the pattern. Try lowering the velocity on the “off-beat” hats to create a more natural, dynamic bounce.
Next, introduce some swing. The global swing knob in FL Studio slightly delays every second 16th note, turning a rigid grid into a relaxed, human groove. Even a small amount of swing—say, 15-30%—can completely transform the feel of your beat, giving it that classic hip hop DNA.
Back in the day, legendary producers created this feel manually, giving their beats an imperfect, human quality that we still chase today. Think about it: in 1979, DJ Kool Herc pioneered the breakbeat by looping drum breaks from old funk records. By the ’90s, producers like the iconic J Dilla were using MPCs to apply their own unique swing quantization to hi-hats, a technique that literally defined the sound of an entire era.
Layering and Percussion for Depth
To make your drums really punch through the mix, layering is a game-changing technique. A single snare sample might sound good on its own, but layering it with another can create a completely unique and far more impactful sound.
For instance, try layering a snare that has a sharp, snappy transient (the initial “crack”) on top of another snare with more body and a longer tail. You can even layer a clap or a snap with your snare, then slightly nudge its timing to create a wider, more textured hit.
Finally, sprinkle in some subtle percussion to fill the gaps and add that extra layer of complexity.
- Open Hats: Place an open hat on an off-beat to create a sense of release and build tension.
- Shakers: A simple shaker pattern playing 16th notes can add a layer of constant, subtle motion.
- Rimshots & Clicks: Use these sparingly to add rhythmic flair and ghost notes between the main kick and snare hits.
These small details are what separate amateur beats from professional productions. They add a layer of polish and intricacy that keeps the listener hooked and makes the whole groove feel complete.
Crafting Memorable Melodies and Basslines
Alright, your drums are knocking. Now it’s time to give the beat its soul. The melody and bassline are what grab a listener and define the track’s entire mood—is it a dark, brooding trap anthem or a laid-back, soulful vibe? This is where you really start to paint the picture.
Inside FL Studio, there are two classic paths you can take to build these parts. The first is writing everything yourself from scratch using VST instruments and the Piano Roll. The other is the time-honored art of sampling: finding, chopping, and flipping audio to create something totally new.
Writing Original Melodies With VSTs
When you write your own melodies, you have total control. You’re not boxed in by someone else’s recording; every single note, chord, and rhythm is yours. FL Studio is loaded with solid virtual instruments (VSTs) out of the box, but part of the fun is hunting down third-party plugins that really nail your signature sound.
And look, you don’t need to be a piano virtuoso to write a dope melody. A simple but powerful trick is to just stick to a musical scale.
- Minor scales are your go-to for dark, moody, or emotional hip hop. Think A-minor, which is just the white keys on a piano.
- Major scales have that brighter, more uplifting feel, which can be perfect for different subgenres.
A great way to start is by laying down a simple two or three-chord progression. Once that’s in place, you can use notes from those same chords to sketch out a simple melody on top. The goal here is “memorable,” not “complicated.” A catchy, repetitive phrase will almost always hit harder than a complex solo.
The Art of Chopping Samples
The flip side of writing from scratch is sampling, a technique that’s literally the foundation of hip hop culture. It’s all about taking a small piece of an existing recording—a piano loop, a vocal snippet, a guitar riff—and flipping it into something unrecognizable.
FL Studio’s own Fruity Slicer is a beast for this. Just drag an audio loop into it, and it automatically slices it up at each transient, mapping every chop to a key on your MIDI keyboard. This lets you literally “play” the sample, rearranging the pieces into a completely new pattern.
Slicing and re-pitching a sample can transform it completely. A simple soul piano loop, when pitched down and played in a different order, can become the haunting backbone of a dark trap beat. This is where you can really get creative and make a sound your own.
When you’re hunting for material, your best bet is to explore royalty-free hip hop samples. Using pre-cleared sounds from a library like this gives you all the creative freedom of sampling without any of the legal headaches down the road.
Comparing Your Melody Options
So, should you write your own melodies with VSTs or get busy chopping up samples? Both methods have shaped hip hop, and most producers use a mix of both. Here’s a quick rundown to help you decide which approach fits the track you’re working on.
| Feature | MIDI & VST Instruments | Chopping Audio Samples |
|---|---|---|
| Creative Control | Total control over every note, chord, and sound design. | More constrained, but creativity comes from re-contextualizing the original. |
| Workflow Speed | Can be slower if you’re starting from scratch. | Often faster to find and flip a loop to get an idea going. |
| Sound Quality | Depends entirely on the quality of your VSTs and sound design skills. | Inherits the texture and character of the original recording. |
| Legal Issues | 100% original and royalty-free (if using licensed VSTs). | Requires royalty-free samples or clearing the original to avoid issues. |
| Best For… | Creating unique, modern synth lines and custom chord progressions. | Capturing a vintage, soulful feel or creating complex, rhythmic patterns. |
Ultimately, there’s no right or wrong answer. The best producers are comfortable with both techniques and know when to reach for each one.
Designing a Hard-Hitting 808 Bassline
No modern hip hop track is complete without a bassline that rattles the trunk, and the 808 is king. An 808 isn’t just a low-end rumble; it’s a melodic instrument. The absolute key is making it work with your kick, not against it. If your kick and 808 are fighting for the same space, your low-end will just turn to mud.
A killer technique is to have the 808 hit on beats where the kick isn’t. This creates a punchy call-and-response rhythm in the low frequencies that adds groove and gives each element its own space to shine.
To really make your 808s come alive, master these two moves in the Piano Roll:
- Glide Notes: Overlap two 808 notes. This creates that signature sliding pitch effect that’s become a staple in trap and drill.
- Saturation: Use a plugin like Fruity Fast Dist to add a touch of harmonic distortion. This helps the 808 cut through the mix so it can be felt even on phone and laptop speakers.
The trap explosion around 2010 made these melodic, hard-hitting 808s a dominant force. By 2015, they were featured in an estimated 75% of U.S. top 40 rap singles. This sound, pushed by producers like Lex Luger, became so defining that by 2022, studies showed that 90% of trap tracks featured these signature deep 808s and fast hi-hat rolls.
Arranging Your Beat Into a Full Song
So you did it. You cooked up a fire 8-bar loop with knocking drums, a killer melody, and a bassline that shakes the whole room. That’s a huge win, but it’s not a finished song—it’s the main idea. The real art begins when you turn that loop into a dynamic arrangement that tells a story and keeps a listener hooked from start to finish.
This is where FL Studio’s Playlist view becomes your canvas.
Arrangement is all about building and releasing tension. A beat that just repeats the same thing for three minutes gets boring, fast. Your goal is to take the listener on a journey, making the track feel like it’s constantly evolving. The best way to start is by thinking in sections, just like a traditional song.
Deconstructing Common Song Structures
Most hip hop tracks follow a familiar, time-tested structure. Knowing these building blocks gives you a roadmap for your own arrangement. You don’t have to stick to it religiously, but it’s a fantastic starting point for organizing your ideas and making sure your beat has a logical flow an artist can actually write to.
A typical structure might look something like this:
- Intro (4-8 Bars): This sets the mood. It’s often stripped-down, maybe featuring just the main melody or a filtered version of the drums to build anticipation before the beat drops.
- Verse (16 Bars): This is where a vocalist tells their story. The beat should be solid and engaging but leave enough sonic space for the lyrics to shine. A consistent drum and bass groove with fewer melodic layers usually works best.
- Chorus (8 Bars): This is the track’s peak—the most memorable, high-energy part. You’ll want to bring in all your main elements here: the full drum kit, the main melody, backing chords, and any counter-melodies to create a powerful, full sound.
- Bridge (8 Bars): The bridge offers a change of pace before that final chorus hits. It often introduces a new musical idea, removes the drums entirely, or uses a different chord progression to reset the listener’s ear.
- Outro (4-8 Bars): This is how you gracefully exit the track. You can fade out the main loop, strip elements away one by one, or even end abruptly for a more dramatic effect.
Arrangement by subtraction is one of the most powerful tools you have. Instead of always asking, “What can I add next?” try asking, “What can I take away?” Muting the hi-hats for a verse or dropping the bass for a few bars creates powerful moments of contrast and makes the chorus hit that much harder when everything comes crashing back in.
Building Energy with Seamless Transitions
The magic of a great arrangement lies in how smoothly you move from one section to the next. Abrupt, clunky changes can feel jarring, so you need to use transitional elements to signal to the listener that a change is coming. These are the sonic cues that create anticipation and make the whole structure feel glued together.
Think of transitions as the glue holding your song together.
- Risers and Sweeps: A simple white noise riser or a reversed cymbal swell placed at the end of an 8-bar section is a classic, super-effective way to build tension right before a chorus drops.
- Impacts: A loud crash cymbal or a deep “boom” placed right on the first beat of a new section (like the chorus) adds a ton of emphasis and makes the transition feel powerful and intentional.
- Drum Fills: A quick snare roll or a tom fill in the last bar of a verse is the perfect way to ramp up the energy and lead into the chorus. It breaks the rhythmic pattern and creates a sense of forward momentum.
Using Automation and Effects
Another pro move for creating movement is using automation to make your sounds evolve over time. For example, try automating a low-pass filter on your main melody during the intro. By slowly opening up the filter, it sounds like the melody is emerging from underwater, which is a fantastic way to build up to the first verse.
You can use this same trick to create breakdowns. Try automating a high-pass filter on the entire beat during a bridge to remove all the low-end frequencies. This creates a thin, almost telephone-like effect that makes the return of the full-frequency bass in the final chorus feel absolutely massive. Learning how to make hip hop beats that truly breathe and evolve is all about mastering these small but incredibly impactful details during the arrangement phase.
Mixing Your Beat for Clarity and Punch
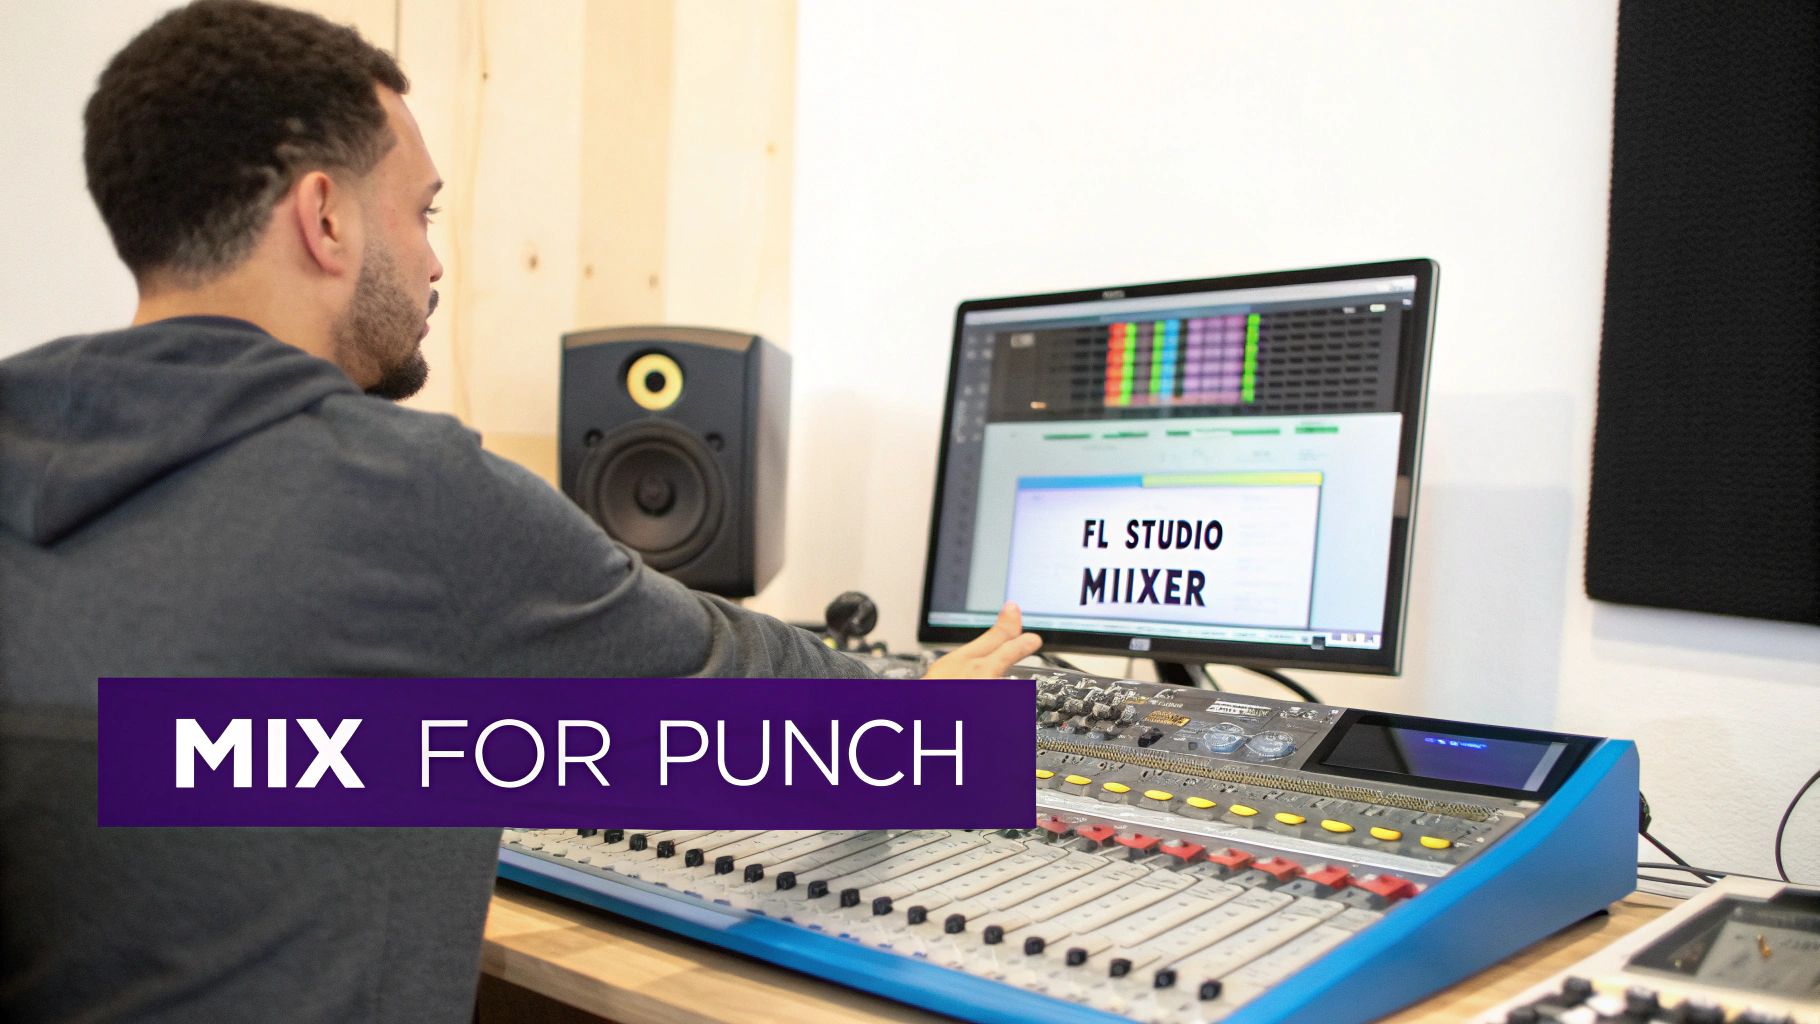
You’ve laid down all the parts and your arrangement is finally taking shape. Now comes the part that separates the amateurs from the pros: the mix. Mixing is less about secret formulas and more about making smart, simple decisions to get all your sounds working together. It’s how you transform a collection of dope sounds into a cohesive, hard-hitting track that sounds incredible on any system.
We’re going to dive into the FL Studio Mixer and focus on the fundamentals that deliver 90% of the results. The goal is simple: give every sound its own space, make sure nothing gets lost, and glue it all together so the final beat has maximum impact.
Start with the Faders: Leveling for a Solid Foundation
Before you even think about reaching for an EQ or compressor, your most powerful mixing tool is the volume fader. Seriously. This first step, often called gain staging or creating a static mix, is about setting a clean initial balance for every track. Getting this right is the bedrock of a professional-sounding mix.
Here’s how I approach it: pull every single fader down to zero. Yep, start with silence.
Then, bring up your most important element first. In hip hop, that’s almost always the kick or the snare. Get it hitting around -10dB to -12dB on the master channel. This gives you plenty of headroom to work with, preventing ugly digital distortion later on.
From there, bring in each sound one by one, asking yourself simple questions as you go:
- Can I feel the kick and still hear the crack of the snare?
- Are the hi-hats providing energy without slicing my ears off?
- Is the main melody floating on top of the drums, or is it getting drowned out?
If you can get your beat sounding pretty good with only volume faders, you’re already halfway to a great mix. Don’t rush this part.
Panning: Creating Width and Definition
With your levels feeling solid, it’s time to give your sounds some space in the stereo field. Panning is how you create width and separation, preventing your beat from sounding like a cluttered mess stuffed into the center.
A golden rule in hip hop production is to keep your low-end elements—the kick and the 808 or sub-bass—locked dead center. This provides a powerful, stable foundation for the entire track and ensures your bass hits consistently on everything from club speakers to earbuds.
A wide mix feels impressive, but a strong center is what gives a beat its power. Keep your kick, snare, and bass locked in the middle to create a solid foundation, then use panning on melodic elements and percussion to build width around that core.
Get creative with everything else. Try panning your hi-hats just a little to the right, and maybe a percussion loop or shaker slightly to the left. Instantly, you’ve created breathing room and given each element its own pocket to live in. Even small panning adjustments of just 10-15% can make a huge difference.
EQ: Carving Out a Space for Every Sound
Think of equalization (EQ) as a surgical tool. Its primary job in mixing isn’t to make one sound amazing by itself, but to help it play nicely with all the other sounds in the track. When too many instruments compete for the same frequencies, you get what producers call “mud”—a mix that sounds blurry, crowded, and weak.
The secret is subtractive EQ: cutting frequencies from one sound to make room for another.
For example, a common problem area is the low-mids. Let’s say your 808 and your piano chords are both heavy around the 200-300 Hz range. This clash will make your beat sound boomy and undefined. The fix? Grab an EQ like Fruity Parametric EQ 2, and gently scoop out some of that 200-300 Hz range from the piano. The 808 can now dominate that frequency pocket, and both elements will sound clearer as a result.
Here’s a quick guide to help you start making smarter EQ decisions. Think of it as a cheat sheet for finding where the magic happens for common hip hop instruments.
Common Hip Hop Frequency Ranges
This table breaks down the key frequency areas for the most common elements in a hip hop beat. Use it as a starting point to help you boost what’s good and cut what’s getting in the way.
| Instrument | Key Frequency Range | Effect of Boosting/Cutting |
|---|---|---|
| 808/Sub Bass | 40-80 Hz | This is the fundamental rumble and weight. Boost for power, but cut if it’s overwhelming everything else. |
| Kick Drum | 60-100 Hz | The “thump” or “punch” of the kick lives here. A small, tight boost can add serious impact. |
| Snare Drum | 200-400 Hz | This is the “body” or “thickness” of the snare. A cut here can make it feel thinner; a boost adds weight. |
| Melodies (Pianos, Synths) | 500 Hz – 4 kHz | The core character of most melodic sounds. Cutting around 500 Hz can often reduce a “boxy” or “muddy” tone. |
| Hi-Hats & Cymbals | 6 kHz and above | This is where you find the “sizzle,” “air,” and “crispness.” A high-shelf boost can add brightness and clarity. |
Remember, these are just guidelines. The most important thing is to use your ears. If it sounds good, it is good.
Compression: Adding Punch and Glue
Compression is easily one of the most misunderstood tools in music production. Let’s demystify it. At its core, a compressor just turns down the loudest parts of a sound, which allows you to turn the whole thing up, making it sound fuller and more consistent. For hip hop, that translates directly to punchier drums and a more “glued together” mix.
Picture a snare hit. That initial “crack” (the transient) is way louder than the ringing “tail.” A compressor can clamp down on that loud crack, and then you can use the makeup gain to bring up the overall level. The result is a fatter, more powerful snare that doesn’t disappear in the mix.
A great place to start is on your drum bus. Route all your drum tracks to a single mixer channel and add Fruity Limiter in compression mode. Try a slow attack to let the initial punch of the kicks and snares through, and a fast release to make it feel bouncy. Just a few decibels of gain reduction can make your drums feel like a single, cohesive unit instead of a bunch of separate samples.
Common Questions for Aspiring Producers
When you’re first learning how to make hip hop beats, you’re bound to hit a few walls. It’s a rite of passage for every producer. Let’s get you over those initial hurdles with some quick answers to the questions we see pop up all the time.
What BPM Should I Use for My Beat?
There’s no single “correct” BPM—it all comes down to the subgenre and vibe you’re chasing. But if you need a solid starting point, these tempo ranges are battle-tested.
- Classic Boom-Bap (85-95 BPM): This is your sweet spot for that soulful, golden-era feel. Think J Dilla or DJ Premier. It’s laid-back but still has a strong head-nod factor.
- Modern Trap & Drill (130-160 BPM): If you’re after that hard-hitting, high-energy bounce of producers like Metro Boomin or artists like Migos, this faster tempo is essential.
Of course, rules are made to be broken. Some of the freshest beats come from producers who find a creative middle ground or push the tempo to create a completely new feel.
How Do I Make My 808s and Kicks Work Together?
Ah, the classic low-end puzzle. Get this wrong, and you end up with a muddy, undefined mess. The secret isn’t about power, it’s about creating space so the kick and 808 can coexist without fighting.
Your first weapon is sidechain compression. Route your 808 to a mixer track and load up the Fruity Limiter. In the compressor settings, select your kick’s channel as the sidechain input. This simple trick makes the 808’s volume dip for a millisecond every time the kick hits, carving out the perfect pocket for it to punch through.
Next up is subtractive EQ. Find the kick’s fundamental frequency (usually around 60Hz) and use an EQ to make a small, narrow cut on your 808 at that exact spot. This tiny adjustment stops them from clashing over the same sonic territory.
A clean low-end isn’t about making one sound louder; it’s about making each sound clearer. Sidechaining and EQ are your two best tools for ensuring your kick punches through without turning your 808 into mud.
Where Can I Find Good Sounds and Samples?
Building a solid sound library is one of the most important things you’ll do as a producer. You can definitely find free sounds scattered across the internet, but the quality is often inconsistent, and worse, you might run into legal trouble if they aren’t cleared for commercial use.
A much smarter approach is to invest in curated, royalty-free sample packs. This guarantees you’re working with industry-standard sounds from day one. It not only saves you a ton of time but also gives you the confidence that your music is built on a professional foundation.
Using premium, ready-to-use sounds is the fastest way to level up your production. At FL Studio Sound Packs, we give you unlimited access to a massive library of exclusive drum kits, loops, MIDI, and construction kits—all for one single price. Download professional sounds and start making better beats today at flstudiosoundpacks.com.