Midi Drum Patterns
MIDI Drum Patterns A Producer’s Guide to Pro-Level Beats
You’ve probably heard the term MIDI thrown around, but what does it actually mean when it comes to your drums?
Think of it this way: a MIDI drum pattern isn’t an audio file at all. It’s a set of instructions—a digital blueprint that tells your software what drum to play, when to play it, and how hard to hit it. This simple distinction is the key to unlocking total creative control over your beats.
Why MIDI Gives You Creative Freedom
Instead of being locked into a pre-recorded audio loop, you’re working with the raw performance data. This is a game-changer for your workflow, making everything faster and way more adaptable.
Imagine you’ve found the perfect trap groove, but the snare just isn’t hitting right for your track. If you were using an audio loop, you’d be stuck. But with MIDI, you can swap out just that snare sound in two seconds flat, all without touching the rest of the beat. This opens up a world of experimentation that audio just can’t compete with.
The Power of Data Over Audio
Working with MIDI is all about flexibility. You gain a level of granular control that’s essential for crafting drum tracks that sound truly unique and professional. It lets you tailor every single piece of the rhythm to fit your exact vision.
Here’s where MIDI really shines:
- Total Sound Control: Don’t like the drum kit? No problem. Just assign the MIDI pattern to a different sampler or drum machine for an instant sonic makeover.
- Tempo Flexibility: Speed up or slow down your track without any of the weird audio artifacts, unnatural stretching, or pitch-shifting that plague audio loops.
- Effortless Editing: Need to fix a misplaced kick, add a subtle ghost note, or tweak the velocity of a single hi-hat? It’s just a few clicks in the Piano Roll.
- Creative Remixing: You can transpose the entire pattern, slice it into new arrangements, or even merge it with other MIDI files to cook up entirely new rhythms.
Before we go deeper, let’s quickly break down the fundamental differences between MIDI and traditional audio drum loops. Understanding this is key to seeing why MIDI offers such a huge advantage for modern producers.
MIDI vs Audio Drum Loops At a Glance
| Feature | MIDI Drum Patterns | Audio Drum Loops |
|---|---|---|
| Flexibility | Extremely high. Edit any note, velocity, or timing. | Low. Limited to slicing, stretching, and effects. |
| Sound Swapping | Instant. Change the entire kit with one click. | Impossible. The sound is baked into the audio file. |
| Tempo Changes | Clean. Adjusts perfectly with no audio quality loss. | Artifacts. Stretching can degrade quality and sound unnatural. |
| File Size | Tiny. MIDI files contain only data, not audio. | Large. Audio files take up significantly more space. |
| Creative Control | Total. You control every aspect of the performance. | Limited. You can only process the final recording. |
As you can see, MIDI is less of a finished product and more of a starting point for your own creativity. It’s a foundation you can build on, not a box you’re stuck inside.
The Universal Language of Drums
Ever wonder why a MIDI file you download online just works in FL Studio, Ableton Live, or even on a piece of hardware? You can thank a long-standing industry agreement called General MIDI (GM), which was introduced way back in 1991.
This standard created a universal drum map where specific notes on the keyboard always trigger specific types of drums. For example, note C1 (36) is almost always a kick, and D1 (38) is almost always a snare. This simple idea is what makes MIDI so seamlessly compatible across different gear and software. You can find more awesome details on this crucial piece of music tech history over at musicradar.com.
The real power of MIDI is its adaptability. You’re not just using a pre-made beat; you’re adopting a rhythmic idea that you can shape, mold, and completely transform into something that is uniquely yours.
This universal standard ensures that the art of beat making remains accessible and transferable. By separating the performance from the sound source, MIDI drum patterns give you the best of both worlds: the inspiration of a perfectly programmed groove and the unlimited freedom to make it your own.
Getting MIDI Drum Patterns into FL Studio
Let’s get down to business. Pulling MIDI drum patterns into FL Studio is about as easy as it gets.
The fastest way? Just grab a MIDI file from FL Studio’s Browser or a folder on your computer, drag it over to the Channel Rack, and drop it on a channel. Boom. FL Studio instantly loads that MIDI data into a new pattern.
A little dialog box will pop up asking if you want to import the data. For now, you can just accept the defaults. The notes will automatically map to whatever drum plugin or sampler you have on that channel, whether it’s the stock FPC or a third-party VST. It’s a super quick way to audition new rhythms without missing a beat.
This diagram shows you exactly what’s happening under the hood—the MIDI data is just the instruction sheet, and your plugin is the instrument that actually makes the sound.
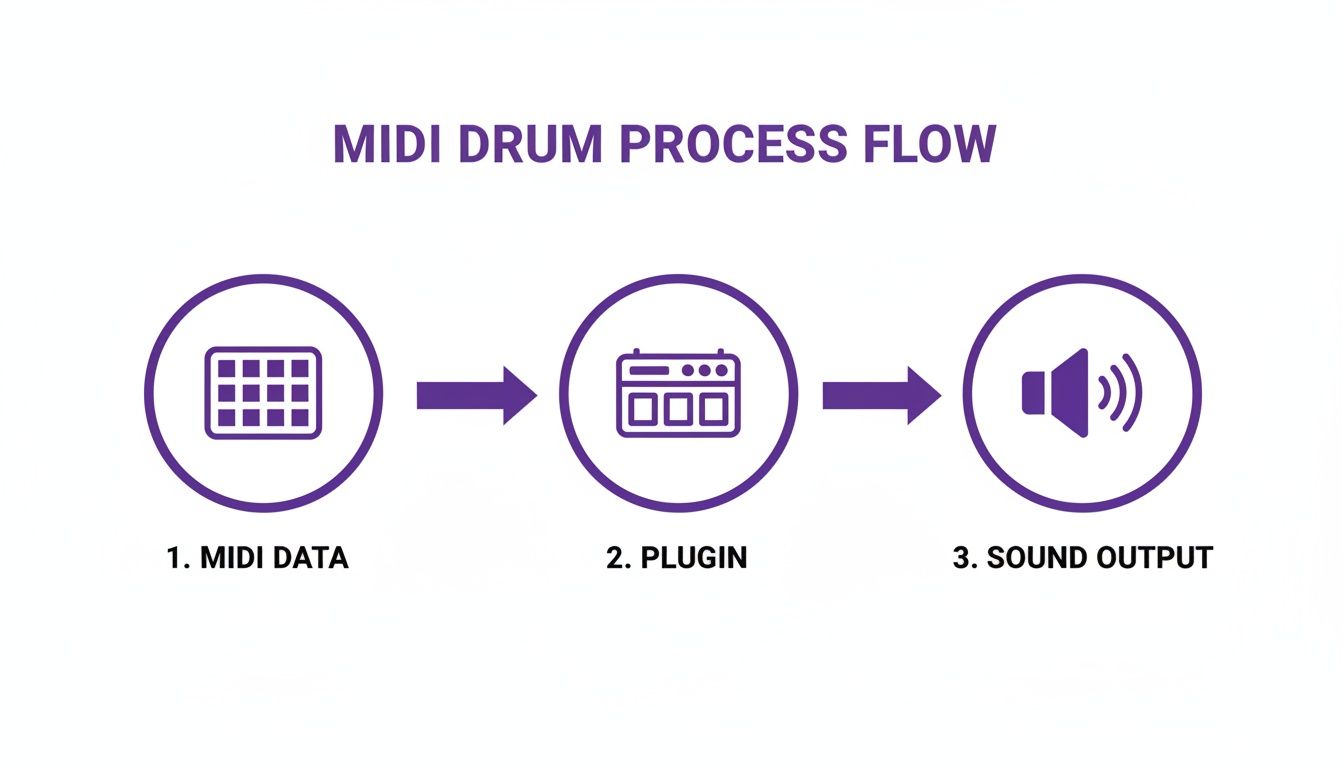
This separation is the magic of MIDI. You have total control over the sound because the notes and the instrument are two different things.
Making Quick Edits In The Piano Roll
Once you’ve imported a pattern, the Piano Roll is where you’ll do all your tweaking. Just right-click the pattern in your Channel Rack and hit “Piano roll.” This opens up the grid where you can see every single note, ready for you to move, delete, or add to.
One of the first things you might want to adjust is the tempo. That’s the beauty of MIDI—you can crank your project’s BPM up or down, and the drum pattern follows along perfectly. No weird audio stretching or artifacts. This kind of flexibility is a lifesaver when you’re still trying to lock in the vibe of a track.
Transposing is another key move. What if the MIDI pattern is triggering the wrong drum samples in your kit? No problem. Just select all the notes (Ctrl+A) and drag them up or down the keyboard. This lets you quickly swap out a kick for a tom or a snare for a clap, auditioning different kits with the same groove in seconds.
Using Pre-Made Patterns As A Launchpad
Look, you don’t always have to build a beat from scratch. Using professionally made midi drum patterns from libraries like FL Studio Sound Packs can be a massive creativity boost and a huge time-saver. This isn’t just a trick for beginners; it’s a workflow hack used by pros.
I often grab a MIDI pattern from a pack that has the right feel for my track, even if the individual notes aren’t perfect. It’s much faster to edit an existing groove than to build a complex one from a blank slate.
This approach is all about getting ideas down fast. To learn more about this and other core production techniques, check out our complete guide to making beats with FL Studio. It’s packed with practical advice for refining your process.
Understanding how your chosen drum plugin works is crucial for getting the most out of any MIDI you import. Whether it’s the stock FPC, Battery, or something else, knowing how to map pads and tweak samples is what turns a generic pattern into your signature sound.
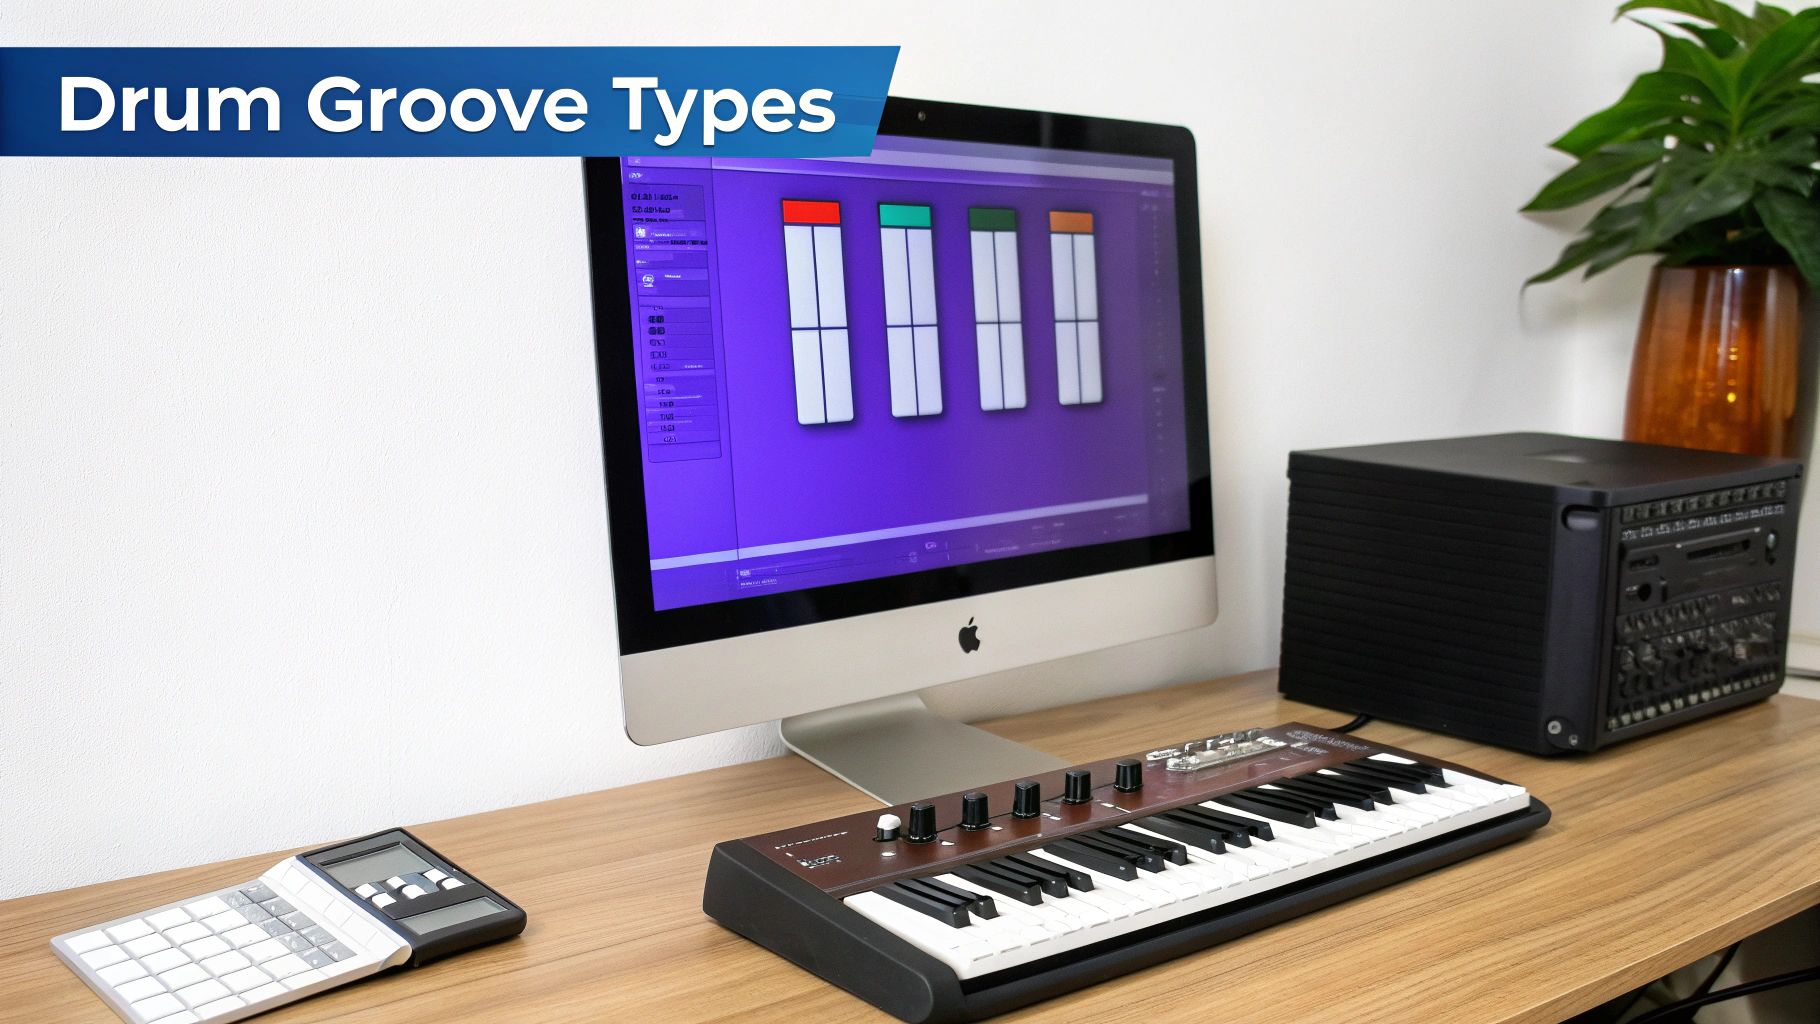
Programming Genre-Defining Drum Grooves
Alright, let’s get into the fun part: building the actual beats that make modern music move. When it comes to programming genre-specific midi drum patterns, it’s less about knowing complex music theory and more about feeling the core rhythmic DNA of each style. We’re going to break down the essentials, giving you a solid playbook you can lean on for almost any track you want to build.
You might be surprised to learn that most popular music pulls from a pretty small pool of foundational genres. Researchers have analyzed groove datasets and found that styles like rock, funk, Latin, jazz, and hip-hop make up the vast majority of common patterns. You can read the full analysis on Frontiers in Computer Science if you want to geek out on the data.
What this tells us is that if you can master a few key styles, you’ll have a massive head start.
Crafting a Classic Hip-Hop Beat
First up, let’s build a timeless boom-bap groove. This style is all about that relaxed, head-nodding feel that just sits right in the pocket. The entire vibe comes from the relationship between the kick and the snare.
- The Foundation: Start by placing your kick drum on beats 1 and 3. This creates that steady, driving pulse.
- The Backbeat: Drop a solid snare right on beats 2 and 4. This is the anchor of the whole groove—don’t mess with it.
- The Hi-Hats: Program a simple, straight 8th-note hi-hat pattern. The real secret here is to add a little bit of swing. You can use the Piano Roll’s quantizer or just manually nudge a few hats slightly off the grid to give it that human touch.
For boom-bap, your sound selection is just as critical as the pattern. You want to reach for dusty, vinyl-sampled kicks and snares that have a bit of grit to them.
The magic of boom-bap isn’t in its complexity but in its feel. Subtle velocity changes on the hi-hats and a snare that hits just a fraction behind the beat can transform a rigid pattern into an irresistible groove.
Programming Iconic Trap Rhythms
Trap drums are all about high energy and those insane, skittering hi-hats. The formula is pretty straightforward: combine a simple, powerful low-end with rapid-fire percussion.
Begin with a booming 808-style kick. Instead of a steady pulse, create a sparse, syncopated rhythm. Unlike boom-bap, the kicks don’t need to land on the main beats—let them dance around the snare. Your snare or clap holds down the backbeat, almost always landing squarely on beat 3 of each measure.
Now for the fun part—the hi-hats.
- Set the Pace: Lay down a fast foundation of 16th or 32nd notes.
- Create Rolls: Jump into the Piano Roll and switch your grid resolution to something finer, like 1/32 or 1/64. Grab the paint tool and draw in those lightning-fast rolls, usually at the end of a phrase to build tension.
- Add Bounce: Sprinkle in some triplet-timed hats to break up the straight rhythm. This is what gives trap its characteristic bounce and swing.
If you want to go deeper on this style, definitely check out our guide on how to produce trap beats with FL Studio.
Building an Essential House Groove
House music is made for the dancefloor, and its drum pattern is beautifully simple and incredibly effective. It all starts with the “four-on-the-floor” kick drum. That just means a kick hitting on every single quarter note: 1, 2, 3, 4. This creates an undeniable pulse that drives the entire song.
To finish off that classic house groove, add an open hi-hat on the off-beats (the “and” of each beat). This creates a hypnotic push-and-pull with the kick. A simple clap or snare on beats 2 and 4 locks the rhythm in, and just like that, you have the foundation for countless house tracks.
How to Humanize Your Beats for a Natural Feel
A perfectly quantized beat is often the quickest way to sound like a robot. While locking every single hit to the grid works for genres like techno, most music really comes alive with the subtle imperfections that define a human performance.
Let’s dive into a few simple techniques in FL Studio to breathe some life into your static MIDI drum patterns.
The goal here isn’t to sound sloppy. It’s about adding small, intentional inconsistencies that trick the listener’s ear. You want them to feel like there’s a live drummer in the room. This process, known as humanizing, is what separates an amateur beat from a professional groove that feels dynamic and alive.
Master Dynamic Range with Velocity Editing
The easiest and most impactful place to start is with velocity. Think about it: a real drummer never hits a hi-hat or a snare with the exact same force twice in a row. You can mimic this right in the Piano Roll by tweaking the velocity values for each note—those little bars at the bottom.
But don’t just make random adjustments. You need to think like a drummer:
- Emphasize the Accents: Give the main beats (like 1, 2, 3, and 4) a little more juice with slightly higher velocities. This creates the core pulse.
- Add Ghost Notes: Sprinkle in some super quiet snare hits right before or after the main backbeat. These add a ton of rhythmic complexity and feel.
- Vary Your Hi-Hats: Instead of a monotonous pulse, create a more natural, flowing pattern by varying your hi-hat velocities. A simple up-and-down wave pattern often works wonders here.
This one technique can instantly transform a rigid, stiff beat into something with genuine groove and bounce. It’s all about creating that contrast between the loud and soft hits.
Introduce Subtle Timing Imperfections
Once your dynamics are feeling good, it’s time to mess with the timing. While FL Studio’s grid is your best friend for building patterns, it can also feel like a cage. To escape that mechanical feel, we need to introduce tiny, almost unnoticeable shifts off the grid.
The Quantizer tool (Alt+Q) is your secret weapon for this. Instead of snapping notes perfectly to the grid, you can use the ‘Start Time’ knob to push them slightly off. Just a small turn will nudge all the selected notes a little forward or backward, giving your groove a collective “push” or “pull.” Even a tiny 5-10% adjustment can make a world of difference without sounding sloppy.
A beat doesn’t need to be perfectly on-grid to feel tight. In fact, some of the grooviest music ever made relies on a drummer playing slightly behind or ahead of the beat to create tension and release.
For an even quicker approach, check out the Randomizer tool (Alt+R). Open it from the Tools menu in the Piano Roll and gently tweak the “Pan,” “Velocity,” and “Time” knobs. The key here is subtlety—you don’t want to overdo it. Small changes are far more effective. This process adds those little micro-variations that are a pain to program by hand but are absolutely essential for achieving a truly human feel.
Arranging Your Drum Patterns into a Full Song
So you’ve got a killer 8-bar loop. That’s a great start, but it’s not a song… yet. The real magic happens when you start arranging—taking that foundational loop and building a journey for your listener. Turning your midi drum patterns into a full, dynamic track is all about creating tension and release. It’s how you hook someone from the first beat and keep them listening until the very end.
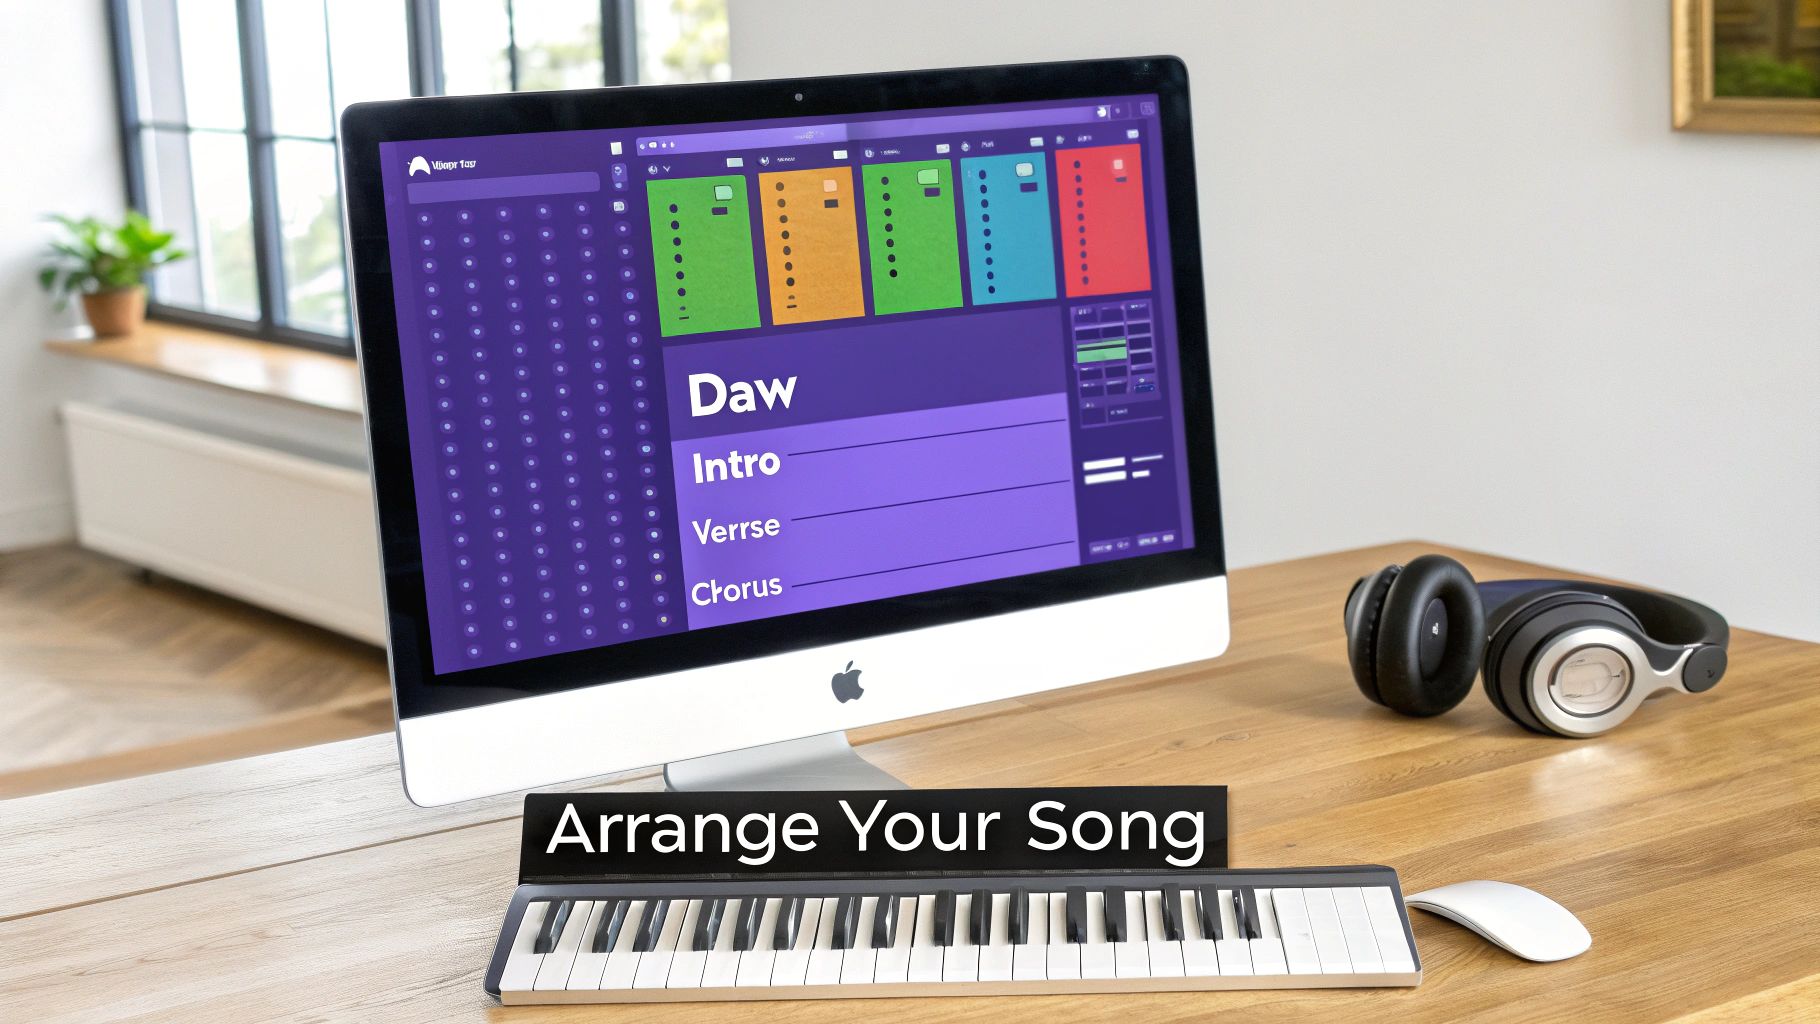
Think of your song in sections: intro, verse, chorus, bridge, and outro. Your core drum pattern doesn’t need to be completely different in each one. In fact, simple, subtle changes can completely shift the energy and define each part of the track.
Building Energy Across Sections
Let’s imagine your main groove is built on a kick, snare, and some closed hi-hats. To build a compelling structure, you can strategically add or subtract these elements as the song progresses.
- Intro: Start lean. Maybe you only bring in the hi-hats, or perhaps a filtered kick drum just to set a vibe without giving the whole game away.
- Verse: Time to introduce the snare to really establish that backbeat. You might want to keep the kick pattern simple here, leaving plenty of space for the vocals or a lead melody to shine.
- Chorus: This is where you unleash the full pattern. Bring in the kick at full force, maybe add a crash cymbal or an open hi-hat on the first beat, and let the energy explode.
This technique of layering parts and then stripping them away is a cornerstone of modern production. That contrast between a sparse, held-back verse and a powerful, wide-open chorus is what makes a track feel massive and hit with real emotional impact.
The Art of the Fill and Variation
Drum fills are your best friend for signaling that a change is coming. They act like little signposts for the listener, building anticipation right before a new section hits. A quick snare roll or a simple tom pattern just before the chorus can make that drop feel 10x more powerful.
Beyond fills, you need to add small variations to keep your main loop from feeling stale and repetitive over three or four minutes. Here’s a pro tip: keep your snare locked in on the backbeat while you change up everything else around it. A recent analysis of millions of drum patterns found that while over 25% of patterns in a song are unique, producers tend to keep the snare sub-patterns the same about 90% of the time. This shows how the snare anchors the rhythm, giving you more freedom to get creative with kicks and cymbals. You can dive into more data from the full study on drum pattern analysis.
By keeping that snare consistent, you’re anchoring the entire groove. This gives you the creative space to introduce fresh kick and hi-hat variations in each section, ensuring your beat evolves without ever losing its core identity.
Common Questions About MIDI Drum Patterns
Even when you’ve got a great workflow going, hitting a snag is just part of the production process. Let’s walk through a few of the most common headaches producers run into with MIDI drum patterns so you can spend less time troubleshooting and more time creating.
“Why Are My MIDI Drums Triggering the Wrong Sounds?”
This one’s a classic. You drag a fresh MIDI pattern onto your FPC track or another drum VST, and suddenly your kick drum is a cowbell and the snare sounds like a high tom. Don’t worry, your project isn’t haunted.
This is almost always a simple mapping issue. The MIDI pattern you’re using was likely programmed based on the General MIDI (GM) drum map, but your specific plugin uses its own unique layout for its sounds.
The fix is surprisingly quick: just open up the Piano Roll for that channel. From there, select all the notes for the sound that’s playing incorrectly (like that cowbell), and simply drag them up or down the keyboard until they land on the note that triggers the sound you actually want from your kit. Problem solved.
“My Beats Sound Stiff and Robotic. What Am I Doing Wrong?”
We’ve already touched on humanizing your patterns, but sometimes the problem runs a little deeper than just nudging notes off the grid. If you’ve varied your velocities and timing but the groove still feels rigid and lifeless, the culprit might not be the MIDI data at all—it could be your sample selection or their ADSR envelopes.
A perfectly programmed pattern will fall flat if the drum samples themselves have no punch or character. Make sure your samples are a good fit for the genre you’re working in and that they’ve been processed to hit hard.
A great MIDI pattern is only half the equation. The other half is sound design. A simple groove played through a well-curated, hard-hitting drum kit will always sound better than a complex pattern with weak, generic samples.
Also, take a peek at the ADSR (Attack, Decay, Sustain, Release) settings on your sampler. Shortening the decay on a snare just a tiny bit or giving a kick a sharper, quicker attack can completely transform the feel of a rhythm. It’s often these tiny tweaks that add the professional punch and tightness you’ve been looking for.
“Can I Use MIDI Patterns I Got from Another DAW?”
You absolutely can, and that’s one of the best things about working with MIDI. Think of MIDI as a universal language for music gear and software. A pattern that was created in Ableton Live, Logic Pro, or any other DAW will play back just fine in FL Studio.
The only thing you’ll need to keep an eye on is that same old mapping issue we talked about earlier. As long as you know how to pop open the Piano Roll and slide notes around to match your drum plugin, you can pull in MIDI files from anywhere. This opens up a massive world of creative possibilities, letting you use grooves from virtually any source you can find.
Ready to stop searching for inspiration and start creating your next banger? FL Studio Sound Packs has a massive, royalty-free library of pro-level MIDI drum patterns, loops, and premium drum kits designed to give your tracks an instant edge. Find your next hit-making groove at https://www.flstudiosoundpacks.com.