A Producer’s Guide to Crafting Perfect Hi Hat Sounds
When you think about what drives a beat, your mind probably jumps to the kick and snare. But the real secret to a track’s energy and groove? It’s all in the hi-hats.
These sharp, metallic sounds are more than just background noise; they’re the pulse, the rhythmic glue that holds everything together. They define the entire feel of a song, from hip-hop and trap to house and rock.
Why Your Hi-Hats Are The Heartbeat Of Your Track

It’s easy to get lost in crafting the perfect kick and snare combo, but honestly, the hi-hats dictate the true character and momentum of your beat. A simple, tight pattern creates a steady, driving feel. Throw in some intricate rolls and triplets, and you instantly inject a shot of energy and excitement.
Think of your hats as the narrator of the drum track. Their pattern tells the listener exactly how to move—whether it’s a laid-back head nod or a full-on dance rhythm. The texture of the sounds themselves is just as important. A crisp, electronic hat from a classic drum machine hits completely different than a washy, organic acoustic cymbal.
This isn’t just a producer’s opinion; the industry backs it up. The global cymbals market is on a solid growth track, projected to expand at a 6.20% compound annual growth rate between 2023 and 2030. And what’s the most popular product category in that market? Hi-hats, by a long shot. You can dig into the numbers yourself in this cymbals market report.
The Foundation of Modern Grooves
In modern production, especially in genres like trap and hip-hop, hi-hats have completely broken free from their old timekeeping role. They’ve become a lead rhythmic element, defined by complex patterns that add bounce and intricate flavor. When you learn to really manipulate these sounds, you gain control over one of your track’s most crucial components.
Ready to dive in? This guide will walk you through everything you need to know:
- Selecting the perfect samples for any genre.
- Synthesizing unique hi-hat sounds from scratch.
- Programming dynamic, human-like patterns in FL Studio.
- Using advanced processing to make your hats cut through the mix.
By mastering your hi-hats, you move beyond creating simple loops and start engineering professional-sounding rhythms that capture attention and define your unique sound.
Building Your Sonic Palette For Hi Hat Sounds
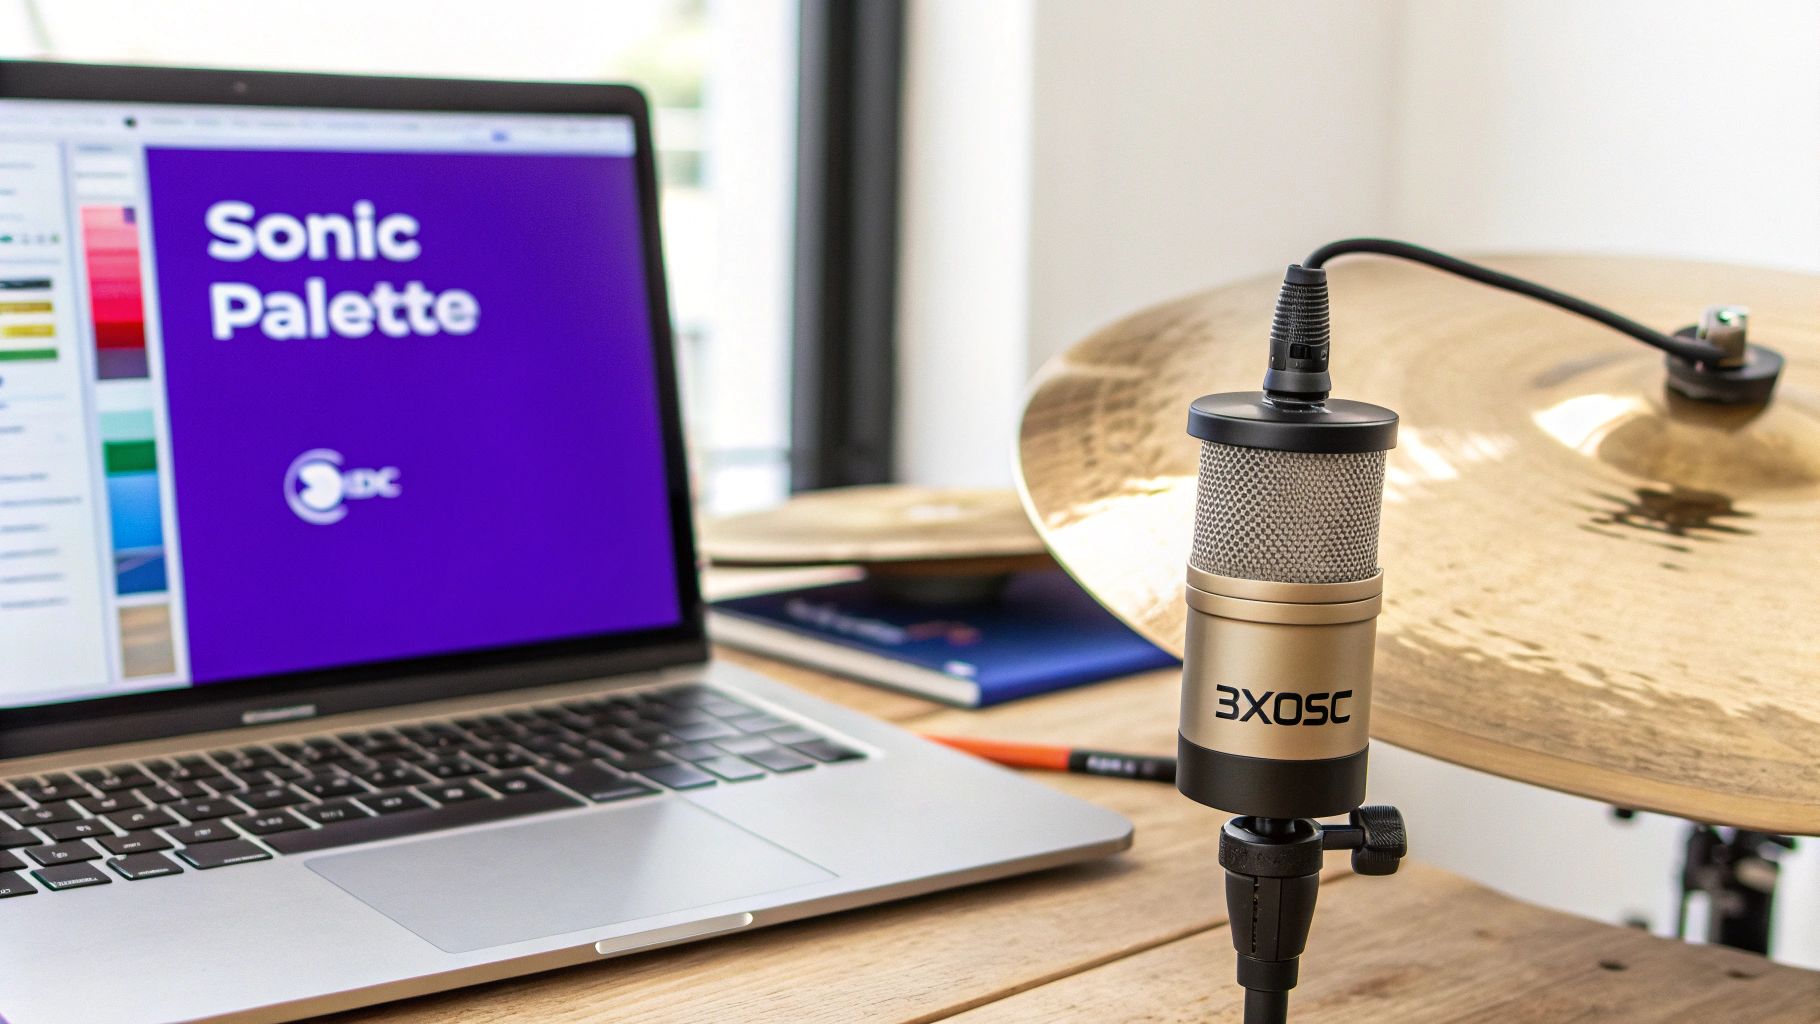
A fire hi-hat pattern means nothing if the sound itself is weak. Before you even think about programming grooves, you need to build a solid library of sounds. This is the first real step toward getting rhythms that sound professional, not amateur.
Let’s break down the three main ways to stock your sonic arsenal with top-tier hi-hats.
Finding The Perfect Sample
Digging through sample packs is the fastest way to get started. But don’t just click through samples on autopilot—listen with intent. Zero in on the transient, which is that initial, sharp “tick” at the very beginning of the sound. A really punchy, aggressive transient is what you want for trap and modern hip-hop, while something with a softer attack will feel more at home in a lo-fi or R&B track.
Next, pay attention to the tail, or the decay of the hat. Does it have a long, shimmery metallic ring, or is it short, tight, and dry? A crisp, 808-style hat gives you that clean, percussive feel. On the other hand, a washy, acoustic hat can create a sense of space and add a more organic texture to your groove.
Exploring curated collections is a great way to find solid starting points. If you need some ideas, check out our guide on essential sound packs for beats.
To help you get started, here’s a quick cheat sheet for picking the right hats for your genre.
Hi Hat Sample Selection Guide By Genre
| Genre | Recommended Hi Hat Type | Key Sonic Characteristics |
|---|---|---|
| Trap & Drill | Sharp, synthetic (e.g., TR-808, TR-909) | Short decay, crisp transient, cuts through a busy mix. |
| Lo-Fi & Chillhop | Acoustic, saturated, “dirty” | Softer attack, vinyl crackle, room noise, organic feel. |
| House & Techno | Clean, metallic, open | Longer decay, bright shimmer, driving and hypnotic. |
| R&B & Pop | Polished acoustic or smooth electronic | Balanced, sits well in the mix, not too harsh. |
This table is just a starting point, of course. The real magic happens when you break the rules, but knowing the fundamentals gives you a solid foundation to build from.
The goal is to choose a sound that complements the other elements in your track. If your kick and snare are heavy and aggressive, a thin, weak hi-hat will get lost. Match the energy.
Recording Your Own Hi Hat Sounds
Want a truly unique sonic signature? Nothing beats recording your own cymbals. You don’t need a world-class studio, either. A decent condenser mic and a quiet room can give you incredible results.
The physical size of the cymbals makes a huge difference. Most hi-hats are between 13 to 15 inches. The classic 14-inch size is the go-to for pop and rock because of its balanced tone. If you’re making something heavier like metal, grabbing larger 15- or 16-inch hats will give you that darker, sloshier sound.
Synthesizing Hats From Scratch
For total control, nothing beats making your own hi-hats from scratch. In FL Studio, you can use a simple native plugin like 3xOSC to cook them up from the ground up. At its core, a synthesized hi-hat is just filtered noise.
Here’s the basic recipe:
- Start with a white noise oscillator.
- Use a volume envelope to shape it. You’ll want a super-fast attack, a quick decay, and zero sustain to get that sharp “chick” of a closed hat.
- From there, you can sculpt the tone with filters (high-pass is your friend here) and other effects.
This method guarantees your hi-hats are 100% unique to you and your sound.
Shaping Your Hi-Hats To Fit The Mix
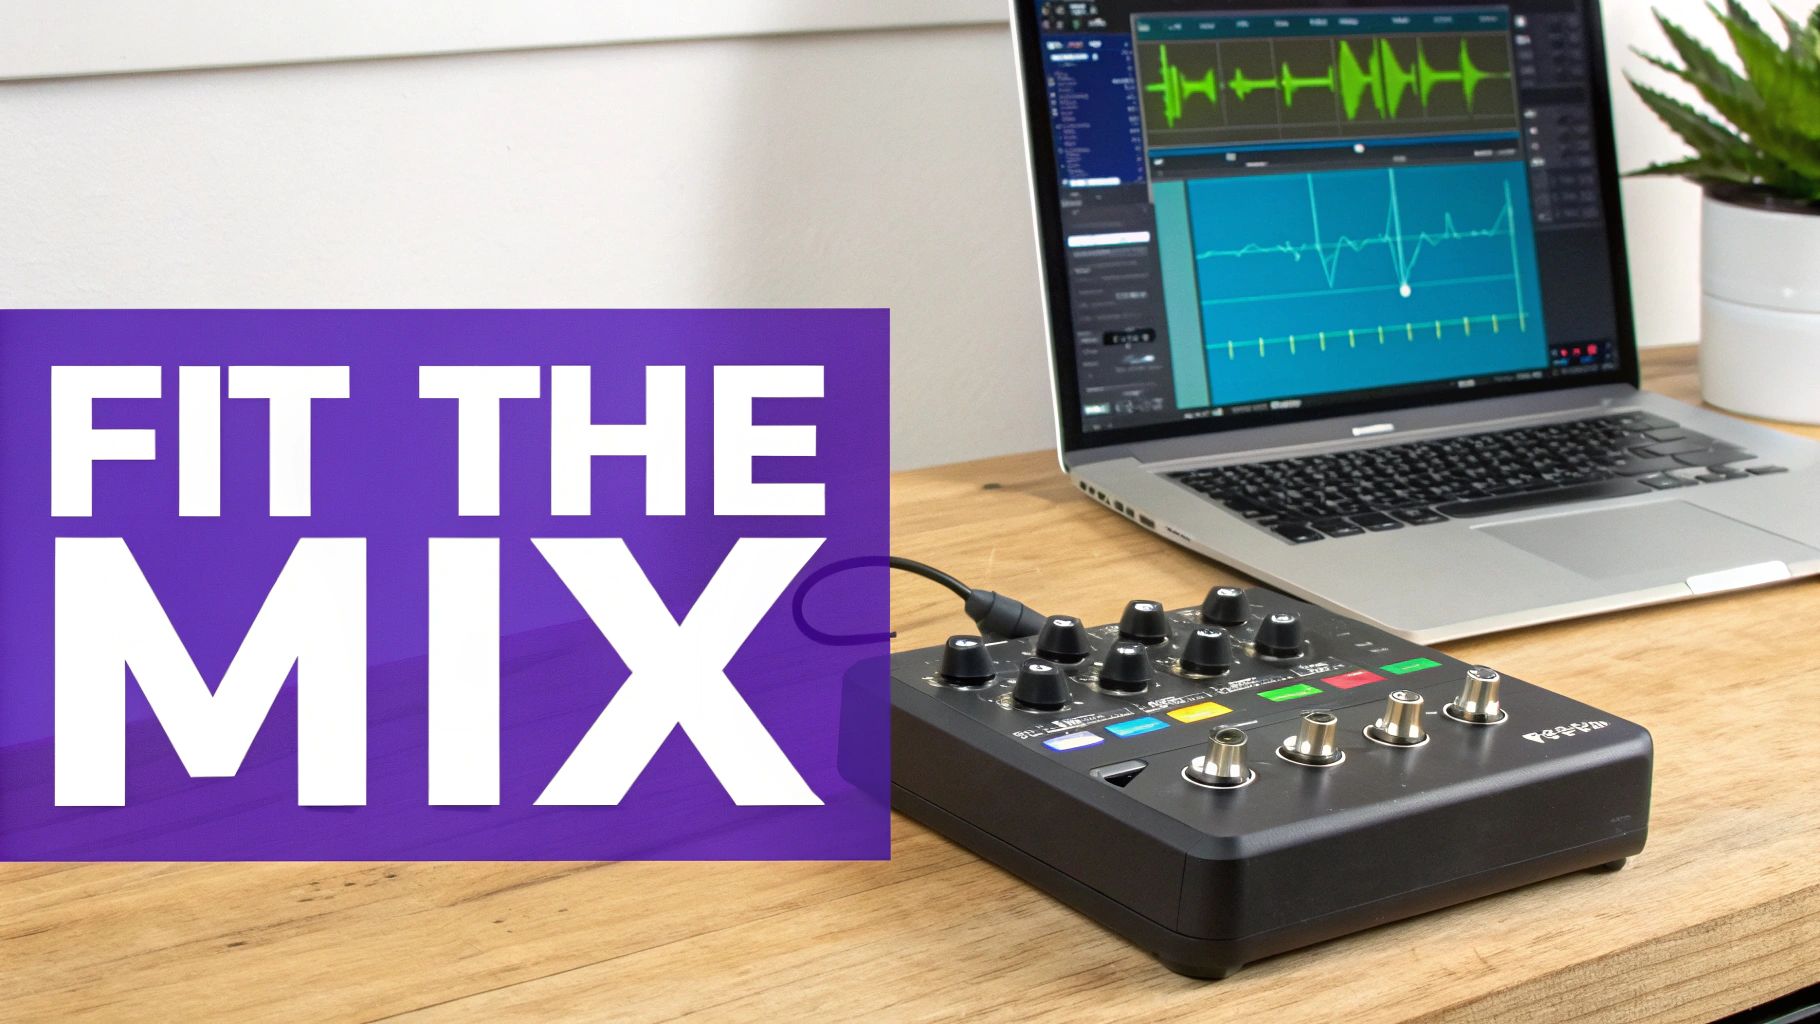
Alright, so you’ve found or designed the perfect hi-hat sample. The job’s not done yet. In fact, the real work is just getting started. Just dropping a raw sound into your project is a recipe for a cluttered, amateur-sounding track. You’ve got to sculpt it so it can breathe and coexist with your kick, snare, and melodies.
This is the process that separates a rough demo from a polished, professional mix. The good news? FL Studio is packed with all the tools you need to make your hats sit just right. It’s all about making small, deliberate moves that serve the track as a whole.
Taming Transients And Adding Punch
Every hi-hat has an initial “attack,” which we call the transient. This is that sharp, snappy part of the sound that lets it slice through the mix. Sometimes it’s perfect right out of the box, but more often than not, it needs a little tweaking.
This is where a transient processor comes in. In FL Studio, your best friend for this is the Fruity Transient Processor. If your hats feel a bit weak and are getting swallowed up by a heavy 808 or a powerful snare, you can crank up the Attack knob. This will make them pop, giving them more definition and presence.
On the flip side, maybe your hats are too aggressive. If they’re distracting and stabbing at the listener’s ears, you can pull back the Attack knob to soften them. This little move pushes the sound back in the mix, helping it blend in instead of fighting for attention.
EQ Moves For Clarity And Space
Equalization, or EQ, is probably the most critical step here. Mess up your hi-hat EQ, and you can easily make your entire mix sound either muddy or painfully harsh. The goal is to carve out a specific frequency pocket where your hats can live without getting into a fight with other instruments.
Here are a couple of essential EQ moves every producer should know:
- Cut the Low-End Mud: Grab a high-pass filter and slice away all the unnecessary low frequencies. A good starting point is to cut everything below 200-300 Hz. This sonic territory is prime real estate for your kick and bass. Leaving low-end rumble in your hats will only muddy up the mix.
- Add Some High-End Air: For that crisp, professional shimmer, try a gentle boost with a high-shelf filter. Anywhere above 10 kHz is a good place to start. A word of caution: be subtle here. A little goes a long way, and boosting too much will make your hats sound brittle and thin.
The key to good EQ is to think like a surgeon. You’re not trying to completely change the sound; you’re just cleaning it up so it fits perfectly into the puzzle of your mix. This creates space and allows every element to shine.
Adding Warmth And Dimension
Once your transients and frequencies are dialed in, it’s time to add some character with effects. These are the final touches that breathe life into your hi-hats and make them feel like a natural part of the track.
Saturation is a fantastic tool for adding subtle warmth and harmonics. A plugin like Fruity Fast Dist can introduce a little bit of that analog-style grit, which helps your hats feel less sterile and digital. The key is to keep it subtle—you want to feel it more than you hear it.
For some rhythmic flair, a simple delay can do wonders. A short, stereo delay can create a cool “bouncing” effect that adds movement and keeps the listener engaged. Try setting slightly different delay times for the left and right channels to create a wider, more immersive stereo image.
Finally, a stereo widener can help create a sense of space and depth. By making your hi-hats just a bit wider than your kick and snare (which are usually kept in the center), you add dimension to your entire drum bus. It’s a classic technique for making your complete set of drum sounds feel bigger and more dynamic.
Programming Rhythms With Bounce And Character
A killer hi-hat sound is a great start, but it’s only half the story. The real magic, the part that separates a generic beat from a professional one, happens inside FL Studio’s Piano Roll. This is where we turn static, robotic loops into living, breathing rhythms with that undeniable bounce.
The whole point is to make your programmed hi-hats feel like a real drummer played them. The secret? It’s all about embracing the little imperfections and subtle changes that keep the listener hooked. We’re moving beyond perfect quantization to create a genuine performance.
Humanizing Your Patterns With Velocity
The single most powerful way to inject life into your hats is by playing with velocity. Think about it: a real drummer never hits the hi-hat with the exact same force every single time. Recreating this in the Piano Roll is easy but has a massive impact.
Don’t just leave every note at the default velocity. Get in there and manually tweak them. You want to create a dynamic range, making some hits softer and others louder. A classic trick is to give the downbeats a bit more velocity and pull back on the off-beats. That simple adjustment immediately creates a sense of groove and movement.
Don’t be afraid to zoom in and get detailed. Even tiny, seemingly random adjustments to velocity add up. They create a pattern that feels organic, not programmed. This is the foundation of a compelling hi-hat line.
Crafting Rhythmic Complexity
Once you’ve got that dynamic foundation built with velocity, it’s time to build some rhythmic interest. This means throwing in some rolls, triplets, and off-grid placements to create excitement and tension.
- Hi-Hat Rolls: These are an absolute staple in modern music, especially trap. Just grab the paint tool in the Piano Roll and quickly draw in some fast 32nd or 64th note rolls. Try placing them at the end of a bar to act as a fill leading into the next section.
- Triplets and Swing: Switching from a straight 16th-note pattern to a triplet flow can completely change the vibe of your groove. Use the snap-to-grid setting (try 1/3 beat) to program triplets effortlessly. And don’t forget the Swing knob in the Channel Rack—it can add that classic, shuffling feel to your whole pattern with one turn.
- Off-Kilter Rhythms: Sometimes, the key to a human feel is to break the rules. Try intentionally placing a few notes slightly off the grid. Turn off snapping for a moment and nudge a few hats a tiny bit early or late. That subtle imperfection is often what makes a rhythm sound less robotic.
This focus on dynamic percussion isn’t just a production trick; it’s a trend. Hi-hat sales have made a strong comeback, with some manufacturers reporting around 15% growth across their models in recent years. It shows a real, growing appreciation for nuanced percussion. You can learn more about this post-pandemic market recovery on mmrmagazine.com.
The Open and Closed Hat Conversation
Here’s a powerful technique for building tension: create a “conversation” between your open and closed hi-hats. The closed hat drives the pulse, while the open hat creates a moment of release and sustain.
Think of the open hat as an accent. Drop it on an off-beat or just before a snare to add emphasis and syncopation. The crucial part is making sure your open hat doesn’t bleed over the next closed hat. Use the “Cut” and “Cut by” functions in the Channel Sampler to ensure the open hat is immediately silenced when the next closed hat hits. This creates that super tight, clean interaction you hear in professional tracks.
This interplay is absolutely fundamental, especially when you start to produce trap beats with FL Studio, as it’s the very thing that defines the genre’s signature bounce.
By weaving these techniques together—velocity changes, complex rhythms, and the push-and-pull of different hi-hat sounds—you can elevate a basic loop into an evolving, energetic sequence that becomes the core of your entire track.
Advanced Techniques For A Professional Sheen
Once you’ve got your core rhythm locked in, it’s time to add the final touches that make your track sound truly professional. These are the small, nuanced details that separate a decent beat from a killer one, giving your track that expensive, polished quality people can feel.
One of my go-to methods for this is layering. This isn’t just about making things louder; it’s about creating a completely new texture from scratch. A classic combo is to layer the sharp, cutting transient of a synthetic hat (like an 808) with the metallic body of an acoustic sample.
The synthetic hat gives you that initial punch that slices right through the mix. The acoustic sample, on the other hand, adds that beautiful shimmer and creates a sense of space. The trick is to EQ each layer for its specific job. I’ll usually high-pass the synthetic layer to keep only the attack, then gently roll off the extreme highs on the acoustic layer so it adds warmth and body without any harshness.
Tuning Your Hi Hats
This is a step a lot of producers skip, but it’s absolutely crucial. Your hi-hats, even though they’re percussive, still have a tonal center. Making sure your hi hat sounds are in key with the rest of your track is a game-changer for creating a cohesive drum bus.
In FL Studio, just open the sampler channel for your hi-hat and find the Pitch knob. You don’t need perfect pitch for this. Just loop your track and tweak the knob up or down. Listen for that magic moment when the hat suddenly “clicks” into place and feels musically connected to your bassline and melodies. It’s a tiny adjustment that makes a massive difference.
When your hi-hats are in tune, they stop being just a percussive element and become part of the track’s overall harmonic structure. This subtle cohesion adds a layer of polish that listeners will subconsciously appreciate.
Dynamic Evolution With Automation
A static, looping hi-hat pattern gets old fast. To keep your track interesting from start to finish, your hats need to evolve. This is where automation clips in FL Studio become your best friend, letting you create movement and build tension over time.
Here are a few automation ideas I use all the time:
- Panning: I love creating a slow, subtle pan that makes the hats drift from left to right over several bars. It adds this hypnotic, stereo-widening effect that really opens up the mix.
- Filtering: Automating a low-pass or high-pass filter is perfect for transitions. For instance, you can filter the hats way down during a verse and then sweep the filter open for the chorus to create a huge energy lift.
- Pitch Bends: For a little extra ear candy, try adding subtle pitch drops on the last hat of a phrase. You can also automate a slow rise in pitch during a build-up to crank up the tension.
This quick visual breaks down the core elements you’re manipulating to build these rhythms: velocity, timing, and pitch.
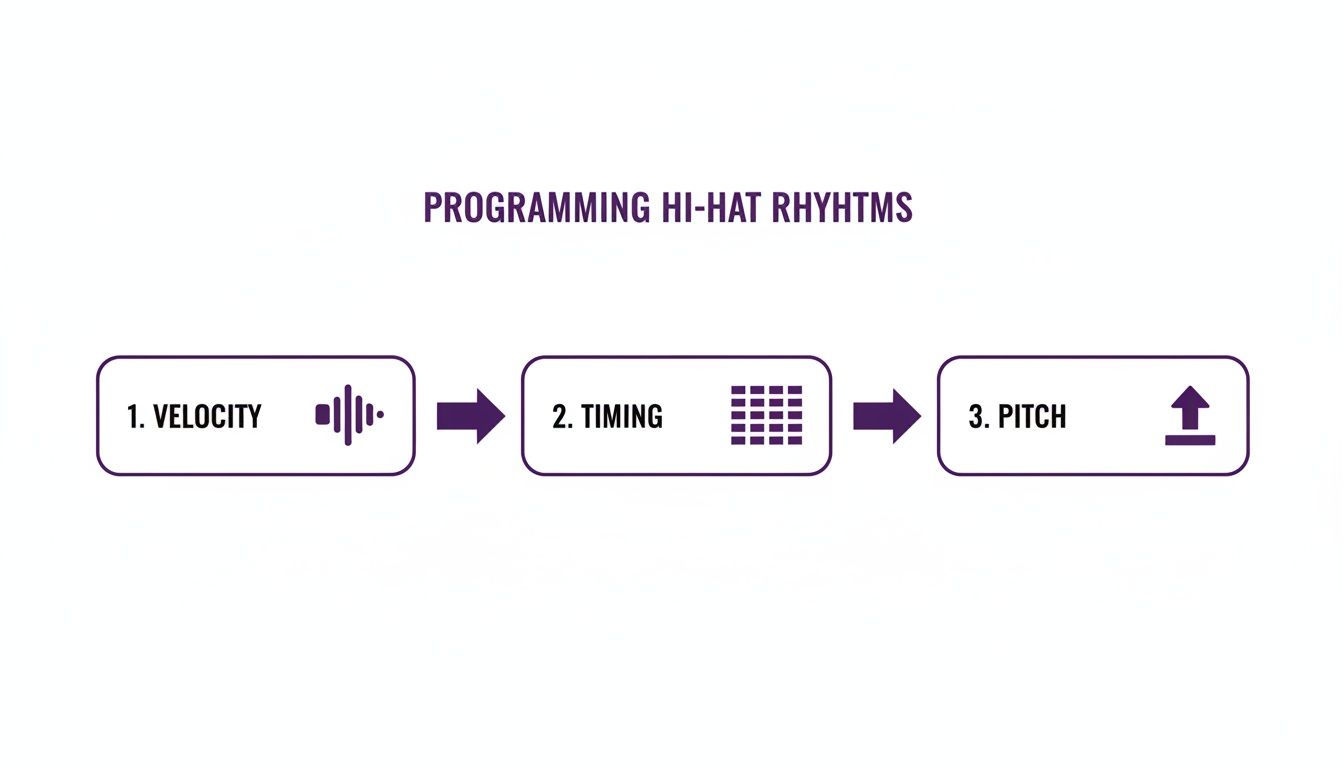
Getting these three things right is what lets you build humanized, dynamic hi-hat patterns that really drive a track. Layering, tuning, and automation are the final steps that take your rhythms from good to great, ensuring they grab and hold the listener’s attention.
Answering Your Top Hi-Hat Questions
As you get deeper into programming drums, a few common roadblocks tend to pop up. Let’s tackle some of the questions I hear most often from producers trying to get their hi-hats just right.
How Can I Make My Hi-Hats Sound Less Robotic in FL Studio?
That rigid, machine-gun sound is a dead giveaway of a programmed beat. The secret to breaking free from it is to inject a bit of human imperfection. In FL Studio, you can do this almost entirely in the Piano Roll by focusing on three key areas.
- Vary the Velocity: Never leave all your hi-hat notes at the same volume. A real drummer’s hits are never identical. Go in and manually tweak the velocity of each note to create a more dynamic, breathing rhythm. For a quick fix, FL Studio’s randomize tool (Alt+R) is your best friend for adding subtle, instant variations.
- Play with the Timing: Nudge some of your hits slightly off the grid. If you turn off the “snap” feature in the Piano Roll, you can drag a few notes a tiny bit early or late. We’re talking milliseconds here, but that tiny shift is what gives a groove its natural swing and feel, just like a live drummer who isn’t perfectly locked to a metronome.
- Introduce Subtle Pitch Shifts: This one is a bit more advanced but incredibly effective. Using automation clips or even slide notes, you can create tiny, almost unnoticeable pitch changes on certain hits. It adds another layer of complexity that keeps the pattern from feeling stale.
The goal isn’t just to make random changes. It’s about combining these small, deliberate tweaks to build a pattern that has an authentic, human bounce. You’re trying to emulate an organic performance, not just program a perfect loop.
What’s the Best Way to Layer Multiple Hi-Hat Sounds?
Layering is a fantastic way to create completely new hi-hat textures, but you have to do it with a clear purpose. Don’t just stack sounds randomly. The idea is to combine samples where each one brings something unique to the table, creating a single, powerful sound.
A classic, foolproof approach is to blend two different sounds. Start with a sharp, high-frequency sample that gives you that initial “tick” or crisp transient. Then, find a second sound that has more body or a metallic “shimmer” to provide the tail and decay.
Once you’ve got your two layers on separate mixer tracks, grab an EQ. Use a high-pass filter on the “tick” layer to isolate the attack, and use a low-pass filter on the “shimmer” layer to tame any harsh highs. This simple EQ work prevents the frequencies from clashing and ensures the two sounds meld together perfectly.
Should I Put Reverb Directly on My Hi-Hat Channel?
I almost never recommend putting reverb directly on a hi-hat channel. The far better approach is to use a send/return track—a technique also known as parallel processing. It gives you way more control and is much lighter on your computer’s CPU.
Here’s how it works: you route your hi-hats to a separate mixer track (a “bus”) that has the reverb effect on it. This setup lets you EQ the reverb signal itself. For example, you can cut all the low frequencies out of the reverb so it doesn’t make your mix sound muddy.
This gives you the power to blend the “wet” reverb signal back in with the “dry” original hi-hat to find the perfect balance. Plus, you can send other drums like the snare or claps to that same reverb, which helps glue your whole drum kit together in a cohesive space.
Ready to elevate your beats? FL Studio Sound Packs offers a massive library of royalty-free drum kits, loops, and MIDI files to give your tracks a professional edge. Explore our collection and find your next sound today.