Making Fire Tracks With Loops And Beats In FL Studio
Loops and beats are the lifeblood of modern music. Think of them as the DNA of your track—pre-made rhythmic or melodic audio files that you can layer, chop, and arrange to build an entire song from scratch. They provide the core groove and harmonic structure right out of the box.
Finding Your Sound With The Right Loops And Beats
The first step in making a great track is always choosing the right sounds. Diving into the endless ocean of loop and beat libraries can feel intimidating, but learning how to pick the right sounds is a skill that separates the pros from the amateurs. It’s all about building an instinct for what will work before you even drag a single file into FL Studio.
Imagine a painter standing before a blank canvas. The loops and beats you choose are your primary colors. A dusty, off-kilter drum loop immediately sets a lo-fi hip-hop mood. A punchy, four-on-the-floor kick pattern is the unmistakable heartbeat of a house track. These initial choices define the entire vibe—the genre, the energy, and the emotional direction of your production.
Navigating The World Of Sound Libraries
Modern sound libraries are massive and incredibly well-organized. To find what you need without getting lost for hours, you have to use the filters strategically. Don’t just browse aimlessly; go in with a plan.
- Filter by Genre: This is your first and most important move. Looking for a trap beat? Filter for “Trap” or “Hip Hop.” Need a soulful melody? Search for “R&B” or “Soul.” This instantly cuts out 90% of the noise.
- Filter by BPM (Beats Per Minute): If you already have a tempo in mind, filtering by BPM is a huge time-saver. I usually look for loops within a 5-10 BPM range of my project’s tempo, which keeps things sounding natural when I stretch them.
- Filter by Key: This is a total game-changer for melodic loops like pianos, guitars, or synths. Filtering by key ensures all your different melodic parts will actually sound good together without creating a harmonic mess.
Beyond the basic filters, train your ear to catch unique textures. Does that guitar loop have a subtle vinyl crackle? Does that drum beat have a weird, infectious swing or a snare sound you’ve never heard before? These little details are what give a track its character and help you escape that “I used a generic loop” sound. To get some practice, you can explore a massive catalog of royalty-free loops and start hunting for sounds that fit your next project.
The goal isn’t just to find a loop that sounds good by itself. You’re looking for the one that sparks an idea—the one that makes you immediately hear a bassline, a vocal chop, or a counter-melody in your head.
Before you commit a loop to your project, it’s worth running through a quick mental checklist. This habit can save you a ton of headaches down the line.
Loop Selection Checklist
This simple table can help you quickly vet loops and decide if they’re a good fit for what you’re trying to build.
| Check Point | What To Look For | Why It Matters |
|---|---|---|
| Audio Quality | Is it clean, crisp, and free of unwanted noise or clipping? | Poor quality audio will degrade your entire mix and is impossible to fix later. |
| Rhythmic Feel | Does the groove feel right? Is it on-grid, swung, or live? | The core rhythm defines the track’s energy. A stiff loop won’t work in a laid-back track. |
| Originality | Does it sound unique or like a stock loop everyone has used? | Using overused sounds can make your track sound dated or unoriginal. |
| Musical Context | Can you imagine other instruments playing with it? | A loop needs to leave space for other elements. If it’s too busy, it’s hard to build around. |
| Licensing | Is it royalty-free for commercial use? Are there any restrictions? | This is critical. Using a loop you don’t have the rights to can lead to legal trouble. |
Taking a moment to think through these points helps you choose loops that not only sound good but also serve your creative vision and protect your work.
The Modern Beat Economy
The easy access we have to high-quality loops and beats has completely reshaped the music industry. Back in the early 2000s, it wasn’t unheard of for A-list hip-hop producers to get paid as much as $250,000 for a single beat with exclusive rights.
Today, that world is gone. Platforms like BeatStars have democratized the entire market, turning it into a high-volume business where beats often sell for just $20 to $200, depending on the license. This massive shift means professional-grade sounds are no longer locked away for the industry elite, giving independent producers everywhere a fighting chance.
How To Prepare Your Samples In FL Studio
So you’ve found a folder full of killer loops and beats. Awesome. Now comes the real work: getting them to actually play nice inside your FL Studio project. This is the prep stage, and it’s less about creative genius and more about solid technical groundwork. Skip this, and you’re setting yourself up for a chaotic, out-of-sync mess.
Think of it like a chef’s mise en place. You wouldn’t just throw a bunch of random ingredients into a pan and hope for the best, right? You wash, chop, and measure everything first. For us producers, that means getting every single sample locked to the right tempo and playing in the right key.
Before you even get to this point, you’ve got to find the right sounds. The process is pretty simple, but crucial.
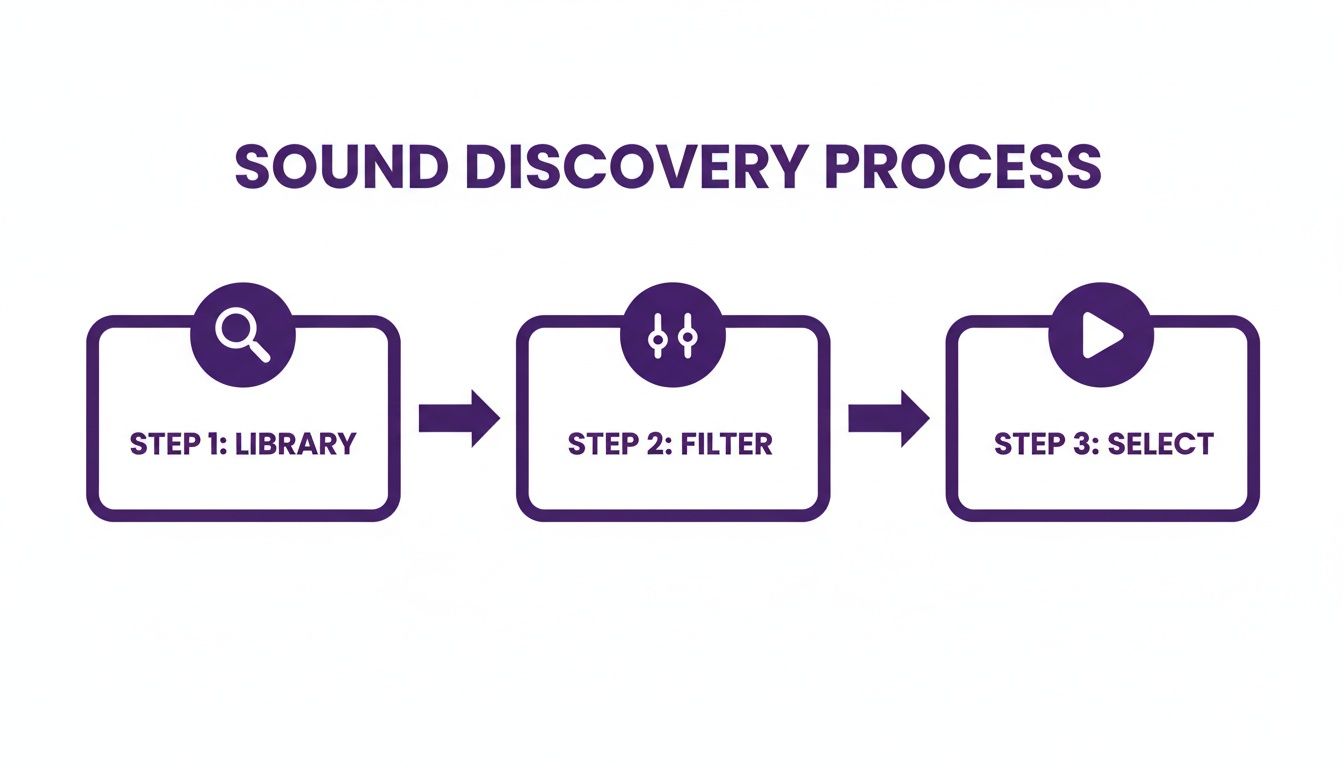
This just shows the basic workflow: dig through your library, filter it down, and pick the one that sparks an idea. Once you have it, it’s time to get it ready for surgery in FL Studio.
Mastering Tempo With Time Stretching
First things first: tempo. If your track is bumping along at 140 BPM and you drag in a slick 128 BPM drum loop, it’s going to sound like a train wreck. Thankfully, FL Studio makes fixing this incredibly easy.
When you drop an audio clip into your Playlist, double-click it to pop open the Sampler channel settings. Look for the Time stretching section—the “Mode” dropdown menu here is your secret weapon.
- Resample: This is the default. It’s quick and dirty, but it pitches the sample up or down as the tempo changes. Honestly, I mostly use this for creative effect, like getting that classic, slightly-off-pitch vintage vibe.
- Stretch: This is my go-to for probably 90% of loops. It uses some smart algorithms to change the tempo while keeping the pitch locked, which is exactly what you want for most drum and melodic loops.
- e3 Generic / e3 Mono: Think of these as the high-definition modes. They eat up more CPU but deliver pristine quality, perfect for complex stuff like vocals or full song stems. Pro tip: use e3 Mono for basslines or single-note synth lines to get the absolute cleanest result.
Choosing the right stretch mode is the key to making loops feel like they were made for your track, not just forced into it. If you want to go even deeper on this stuff, we’ve got a whole guide on how to use samples in FL Studio that breaks it all down.
Pro Tip: Your ears are the final judge. After stretching a loop, listen to it. Sometimes the little audio artifacts add a cool texture, but other times they just sound glitchy and weird. If a loop sounds off, try a different stretch mode before you ditch it completely.
Pitch Detection And Key Matching
Just as crucial as tempo is making sure your melodic loops are in key with the rest of your track. Throwing a gorgeous piano loop in C minor into a song that’s in G major will create an instant, dissonant nightmare. You don’t have to guess the key, either.
FL Studio’s Newtone is a lifesaver here. Drag your melodic loop from the browser onto a mixer track with Newtone loaded up. It’ll analyze the audio and lay out every note on a piano roll, telling you exactly what key you’re working with.
Once you know the key, adjusting it is a breeze. Head back to the Sampler channel settings and find the “Pitch” knob. Each 100 cents is one semitone (or a half-step on the keyboard). So, to bump a loop up from C minor to D minor, you’d just turn the knob up by +200 cents.
That’s it. Detect the key, then transpose it. This simple two-step dance is how you get different loops from totally different sources to sound like they belong together, creating a unified, professional track.
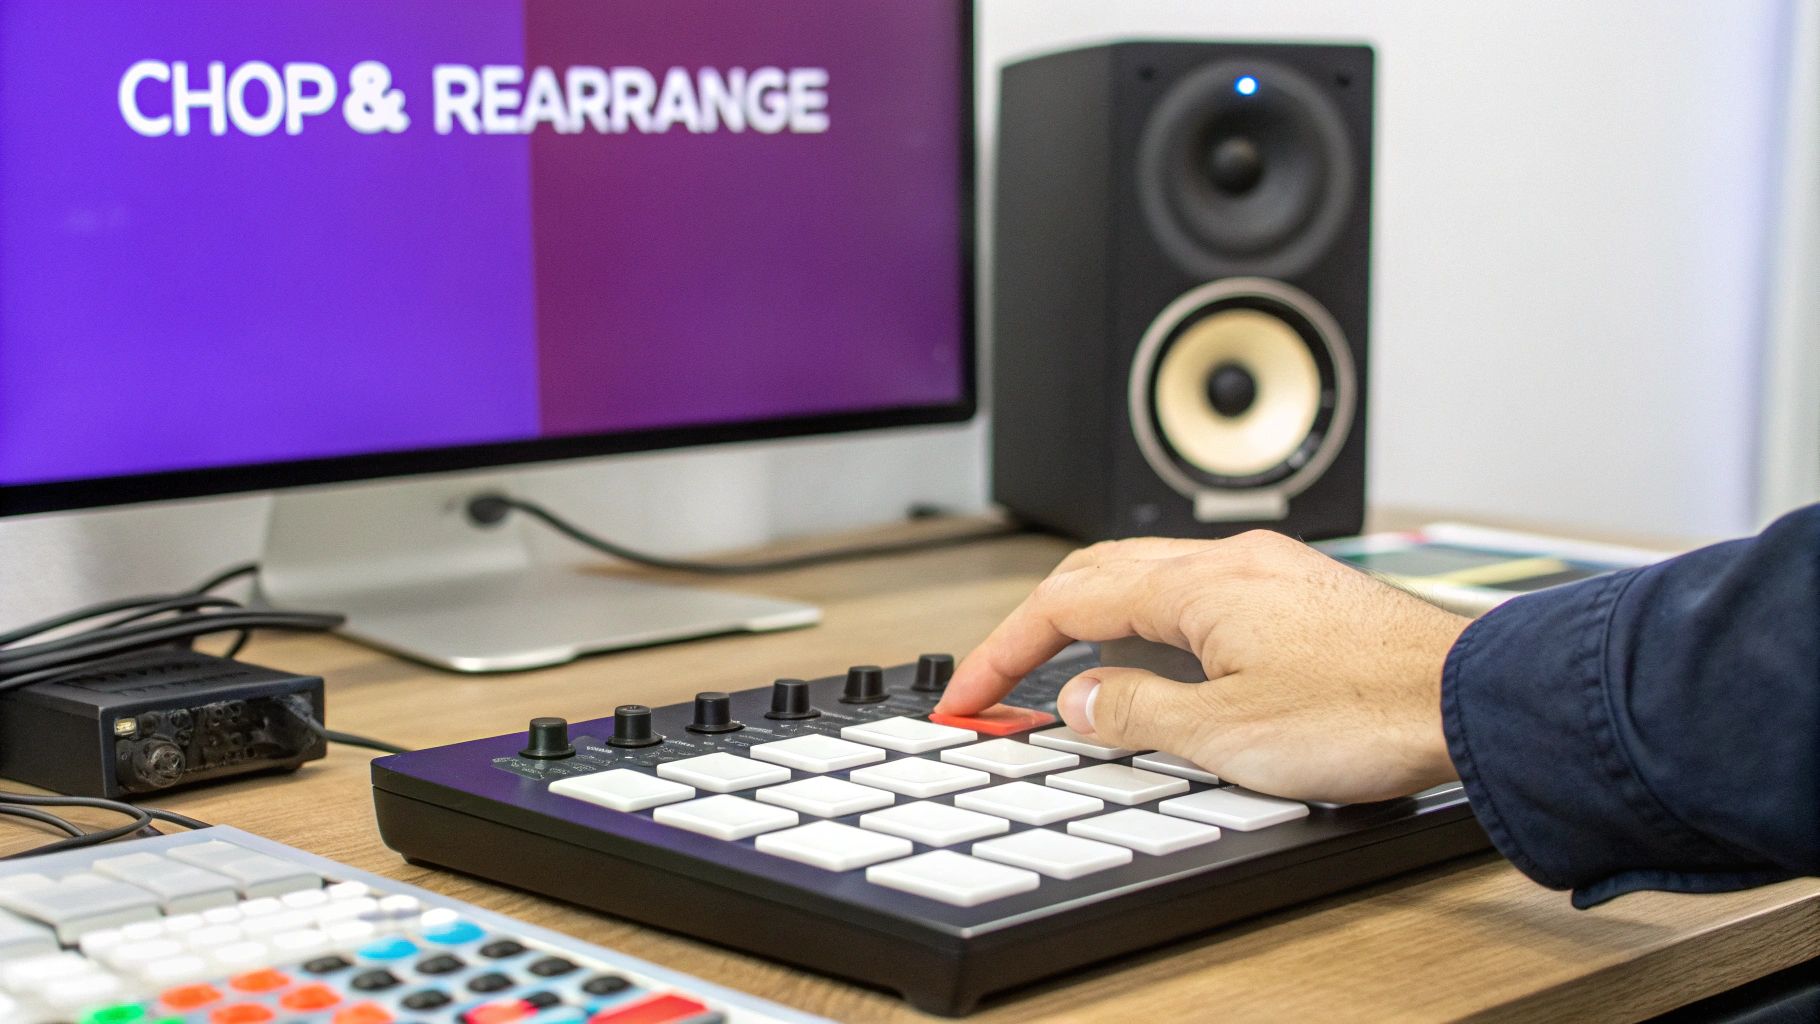
Creative Chopping And Resequencing
Alright, this is where the real magic happens. So far, we’ve been working with loops as-is, which is great for getting ideas down fast. But now it’s time to move past just arranging blocks on a timeline and start really making these sounds your own.
Creative chopping and resequencing is how you take a loop that thousands of other producers have and twist it into something that sounds like you. By slicing up the audio, you’re not just moving pieces around; you’re fundamentally creating new rhythmic and melodic ideas from scratch.
Think about it like this: a drum loop is a finished sentence. You could use that sentence as is, sure. But what if you took the individual words—the kicks, snares, and hats—and rearranged them to say something completely new? That’s the whole philosophy behind chopping. It’s a technique that’s been at the core of hip-hop for decades, where producers have been flipping old soul and funk breaks into legendary beats.
Manual Slicing In The Playlist
The quickest way to get your hands dirty is by slicing right in the FL Studio Playlist. It’s fast, it’s intuitive, and you don’t have to open a single new window. This is my go-to method for creating quick stutters, reverses, or entirely new drum patterns on the fly.
Just grab the Slice tool (it looks like a razor) and start making cuts in your audio clip. I usually make my first cuts on the beat to keep things tidy, then zoom in to get precise cuts right before the main transients, like the punch of a kick or the snap of a snare.
Once you have a few slices, you can drag them around, mute some, reverse others (Alt+R), or even tweak their individual pitch and volume.
For a classic boom-bap feel, try this little trick:
- Grab a dusty, vintage-sounding drum break.
- Slice the loop right before each kick and snare hit.
- Nudge the slices slightly off-grid or rearrange them to create a groove that feels more human and less like a perfect, sterile loop.
This hands-on approach is amazing because it forces you to listen intently to the source material. You’ll start discovering little rhythmic pockets you never would have noticed otherwise.
Advanced Chopping With Slicex
When you need surgical precision, it’s time to call in the big guns: Slicex. This stock FL Studio plugin is an absolute beast for chopping.
You just drag a loop into Slicex, and it automatically detects all the transients and maps each slice to a key on your MIDI keyboard. Instantly, your audio loop has become a playable instrument. This opens up a creative dimension that manual slicing just can’t touch.
With Slicex, you’re not just resequencing a loop—you’re performing it again. You can add your own swing, change the dynamics of every single hit, and build a rhythm that has a completely different energy than the original.
Let’s say you have a vocal loop and want to create those stuttering, melodic vocal chops you hear all over modern pop and electronic music. Here’s how you’d do it:
- Load the Vocal: Just drag and drop your vocal phrase right into an instance of Slicex.
- Fine-Tune the Slices: Slicex does a pretty good job of auto-slicing, but I almost always go in and adjust the markers manually to isolate the exact words or syllables I want to play with.
- Write a New Melody: Pop open the Piano Roll and start programming a new pattern using the MIDI notes that trigger your slices. You can create rhythmic stutters, pitch-shift individual words to form a new melody, or even construct entirely new lyrical phrases.
The real power of Slicex is how it blurs the line between audio and MIDI. You get the rich texture of the original loops and beats, but with the complete creative freedom of programming your own patterns from the ground up. This is how you turn a simple idea into an unforgettable hook.
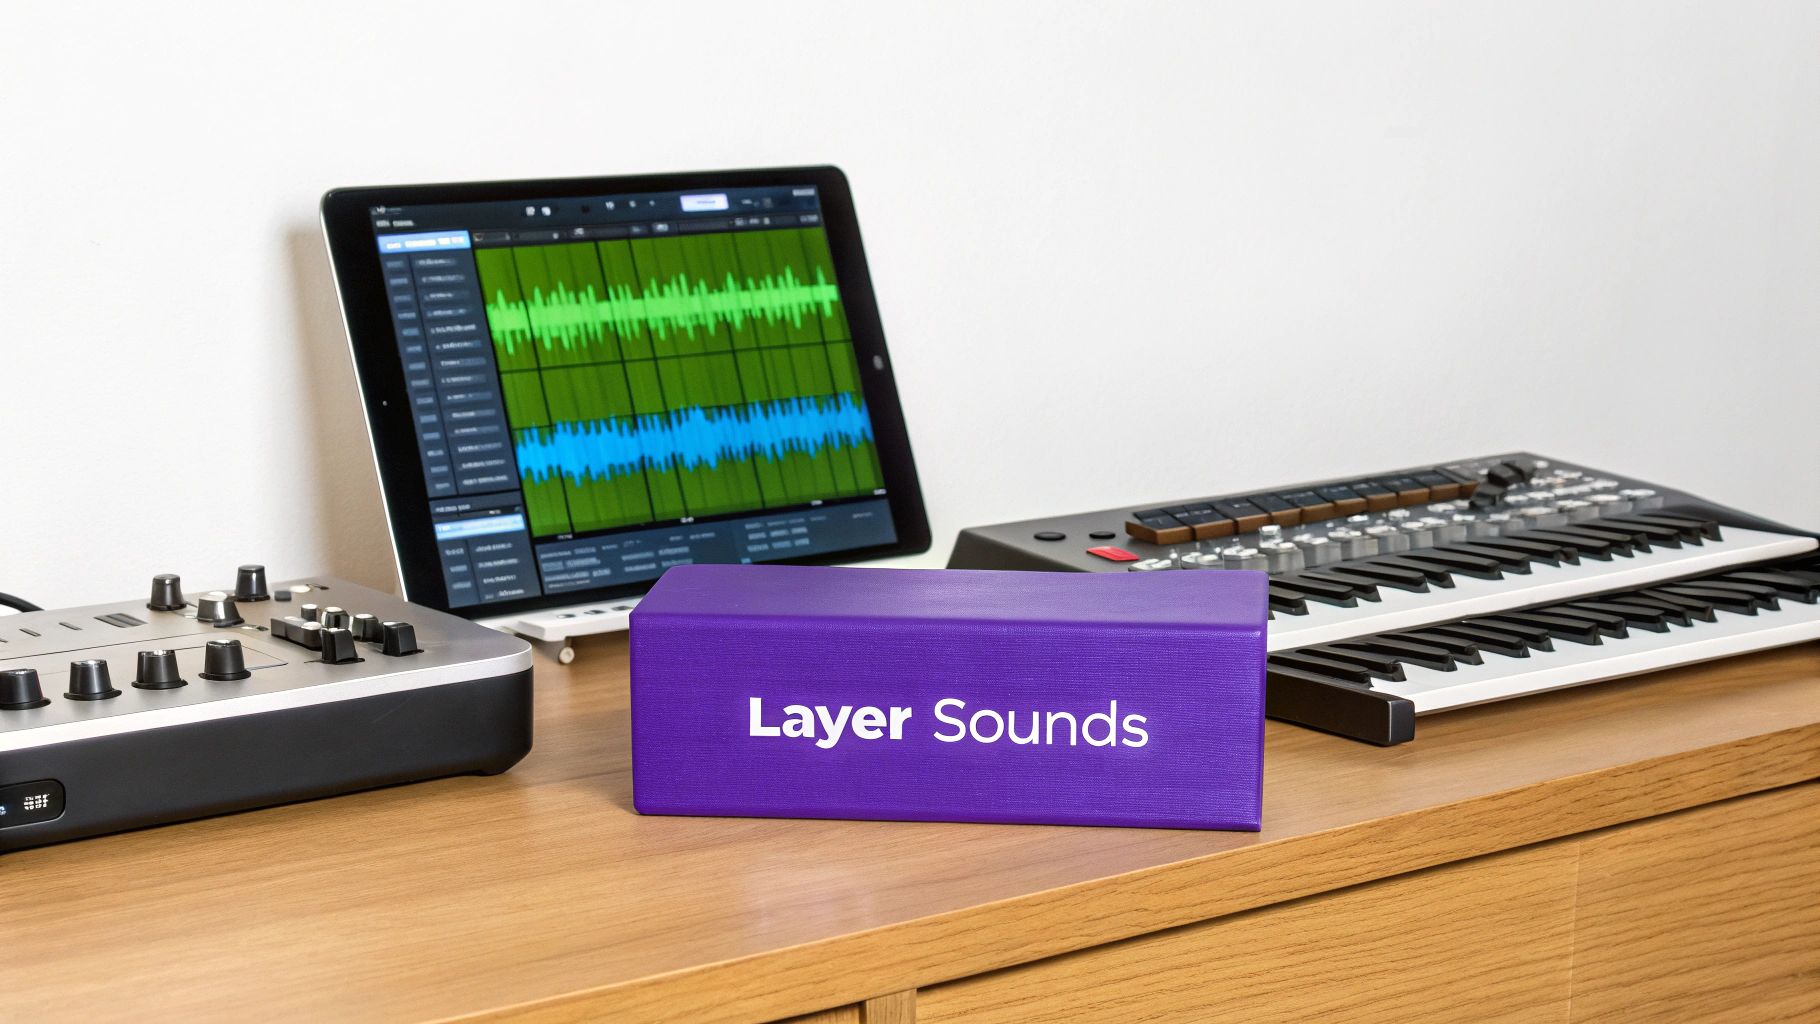
Layering Sounds To Build A Rich Sonic Palette
This is where the magic happens. Layering your loops and beats is how you transform a simple groove into something that feels full, professional, and genuinely alive. Think of it as painting with sound—combining one-shots with loops to build depth and create textures you won’t find anywhere else.
Choosing Your Layers
The first rule of layering is to avoid a sonic traffic jam. You have to think in terms of frequency ranges. A common mistake is just piling sounds on top of each other, which only leads to a muddy, confusing mix.
Instead, pair a gritty acoustic drum loop with a crisp, punchy electronic kick. This instantly blends organic and synthetic vibes, creating a unique foundation.
- Kick and Sub Bass: These are your low-end heavyweights. Slot them carefully so they provide punch without fighting for the same space.
- Midrange Loops: This is where your guitars, pianos, and synths live. They fill out the harmonic body of the track.
- High-Frequency Layers: Percussion, shakers, and hi-hats add that essential top-end sparkle and drive the rhythm forward.
This “frequency slotting” approach keeps every element audible and distinct. You can even carve out space with a bit of EQ before you start layering to guarantee clarity from the get-go.
Key takeaway: Good frequency slotting is essential for a clean mix. It’s the difference between a pro track and a demo.
Here’s a real-world example: I was working on a beat that felt a bit thin. I took a dusty, lo-fi drum loop, tucked it quietly underneath a punchy modern synth line, and suddenly the track had this incredible energy and depth. That one small tweak made all the difference and opened up the perfect pocket for a vocal to sit in.
- Try a high-pass filter on your synth pads to keep them out of the bass frequencies.
- Add a touch of short reverb to a loop to give it its own sense of space.
These simple moves can turn dry, static loops into evolving, atmospheric parts of your track.
Crafting Unique Textures
Layering isn’t just about stacking sounds; it’s about how they interact. Get creative here. Try flipping the phase on one loop so it “ducks” and weaves around another instead of just sitting on top of it. This is where you find those happy accidents that become your signature sound.
| Effect | Benefit |
|---|---|
| Parallel Compression | Adds serious punch without squashing your dynamics. |
| Sidechain EQ | Carves out space by automatically ducking clashing frequencies. |
| Stereo Width | Pushes sounds out to the sides, creating a huge, immersive soundstage. |
By experimenting with these tools, you’ll stumble upon unique sonic combinations that define your production style. It’s all about twisting knobs and seeing what happens.
If you want to get even more granular with your layering, check out our guide on using stems. It opens up a whole new world of creative possibilities. Learn how to use stems in music production and gain total control over your layers.
Managing Dynamic Control
Compression is your best friend for gluing layers together into a cohesive whole. But be gentle! The goal is to make things feel connected, not to crush the life out of them. Use mellow ratio settings and a slower attack time to let the initial transients of your loops punch through.
Sidechaining is another killer tool for creating movement. Think of a kick drum ducking a bassline—it’s a classic trick for a reason. It creates an undeniable rhythmic pulse.
Next-Level Atmosphere
Don’t underestimate the power of subtle reverb and delay. A busy loop can be transformed into a spacious, atmospheric soundscape with just a few tweaks.
Set up a send track with your favorite reverb, keeping the wet signal between 15% to 30%. This adds depth and dimension without turning your track into a washed-out mess.
- Ping-pong delay is perfect for adding stereo interest to percussion loops.
- A classic plate reverb on melodic loops gives them a warm, vintage vibe.
- A short, gated reverb can add a ton of character and tightness to a snare or clap.
Putting It All Together
Okay, so you’ve got your layers. Now what? Always start by getting a good static mix. Set the volume levels for each layer before you even think about adding effects.
A huge workflow hack is to group related elements onto bus channels. This lets you process multiple loops at once, saving you time and ensuring a more consistent sound.
- Bus 1: Drums and Percussion
- Bus 2: Synths and Melodic Loops
- Bus 3: Effects and Ambience
This approach not only speeds things up but helps you think about your mix in broader strokes, leading to a more polished final product.
Quick Genre Examples
This layering concept applies to literally any genre.
- Lo-fi Hip-Hop: Layer a dusty, crackling vinyl sample underneath a simple drum loop. Instant vibe.
- Trap: Stack a few different 808 one-shots under your main snare loop and sidechain your synth pad to the kick for that classic pumping feel.
- House: Blend funky percussion loops with rhythmic clavichord hits, then use automated EQ sweeps to build energy and movement.
- Cinematic: Layer reversed loops with massive, long-tailed reverbs to create a sense of tension and unease.
These are just starting points. The real fun begins when you start blending these ideas and creating your own unique sonic palettes.
Final Layering Tips
- Don’t get stuck in a rut. Rotate the textures and sounds you use to keep your ears fresh.
- This sounds obvious, but label your layers in FL Studio. You’ll thank yourself later.
- When you find a combination that just works, save it as a preset. It’ll massively speed up your workflow on future tracks.
So you’ve got a killer loop going, but turning that 8-bar fire into a full, finished track feels like a huge leap. It’s a classic producer problem. How do you build an intro, verse, chorus, and bridge that actually keeps people listening?
Let’s break it down.
First off, the game has changed. Thanks to platforms like TikTok, the way we arrange music has been completely rewired. We’re now in an era of short-form content, where the first 15 to 30 seconds are everything. This has made loop-based production the engine behind today’s biggest hits. Genres like Amapiano, Baile Funk, and Jersey Club are dominating global charts, and they’re all built on infectious, repetitive hooks perfect for quick consumption.
If you’re an FL Studio producer, this is your playground. High-quality, royalty-free loop packs packed with WAV stems and MIDI files are absolute gold. Even better are construction kits, which are like a cheat code for understanding professional arrangements. You can learn more about how listener behavior is shaping these trends at Hit Productions Music Trends.
Understanding Construction Kits
Think of construction kits as a deconstructed song, delivered to you on a silver platter. They’re collections of pre-arranged stems from a professionally produced track, giving you a blueprint for your own arrangement decisions.
When you drop all the stems into FL Studio’s Playlist, you immediately see how a pro producer manages energy across a track. Notice how the intro builds slowly, maybe holding back some percussion until the verse. Then, see how the full drum kit slams in for the chorus to create maximum impact. It’s all there for you to analyze.
- Use the stems as a visual map for section length and energy.
- Try swapping out their stems with your own loops to see how different textures feel.
- Mute or reverse certain parts to instantly create your own unique variations.
Playing with these kits builds muscle memory. You start to instinctively understand how small changes can lead to huge shifts in the song’s vibe, and your workflow gets faster every time.
Creating Arrangement Templates
Want to jump straight into the creative stuff without the setup grind? Templates are the answer. Build a starter project with your mixer tracks already routed and organized into bus groups for drums, bass, synths, and vocals.
Once you have a layout you like, save the mixer state. The next time you start a track, all the boring setup is done. This not only saves time but also helps you maintain consistency in your sound from one project to the next.
Here’s a basic mixer layout you can start with and customize:
| Bus | Tracks | Purpose |
|---|---|---|
| Drums Bus | Kick, Snare, Hats | Core groove control |
| Bass Bus | Sub and Synth Bass | Low-end clarity |
| Harmony Bus | Chords, Pads | Midrange space |
| FX Bus | Risers, Sweeps | Transitions and interest |
Now for the real magic: automation. This is your secret weapon for creating tension and release. Automating volume, filter sweeps, and panning is what guides the listener through your track and keeps them hooked.
- Fade in the intro for a little mystery before dropping into the verse.
- Build insane momentum by slowly sweeping a low-pass filter on your chords before the drop.
- Add stereo movement and width by panning your percussion elements around.
Using Construction Kits to Map Your Song
Construction kits give you a complete snapshot of an arrangement. Drag the full demo track into your Playlist, then start soloing the individual stems to hear how each part contributes. In minutes, you can map out the entire structure.
This exercise is incredibly revealing. You’ll see the exact pacing strategies pros use to keep the energy flowing and make transitions feel seamless.
Key takeaway: Breaking down a professional arrangement shows you exactly how long each element should play before something new needs to happen.
Applying Workflow Hacks
Combining a solid template with a construction kit for reference can save you hours on every single track. Get into the habit of saving your custom channel strips—your favorite EQ, compression, and reverb settings—as presets for one-click application.
Inside FL Studio, use arrangement markers to label your sections: Intro, Verse, Drop, Bridge, Outro. This not only keeps you organized but also speeds up your navigation.
- Assign hotkeys to jump playback to specific markers.
- Use keyboard shortcuts to duplicate patterns and create quick variations.
- Group related tracks (like all your drums) to solo or mute entire sections instantly.
Final Arrangement Checklist
Before you hit export, do one last run-through. Does each section flow naturally into the next? Are there any jarring volume jumps or frequency clashes at the transitions? Make sure your automation curves are smooth.
Group your final track elements and render stems. This is a lifesaver for future remixes or collaborations.
- Bounce your final mix to a 24-bit WAV file.
- Export individual stems for your main instrument groups (with effects processing turned off for mastering).
- Create a simple, organized “thumbnail” of the arrangement in your DAW project for easy viewing later.
Mastering arrangement is what separates a producer who makes cool loops from one who makes finished songs.
Genre-Specific Examples
Little arrangement tricks can make a huge difference depending on your genre.
In hip-hop, try letting a bare melodic loop play for two bars before dropping the full drum loop. The impact is ten times bigger. For house music, automate a filter to open up over four bars during the build-up, then cut everything to complete silence for a beat before the drop hits.
- Trap tracks thrive on tension. Create a two-bar silence right before the drop to make it hit even harder.
- In pop, try layering a chopped vocal loop quietly under the main chorus to reinforce the hook and make it stick.
Applying these small tweaks is how you break out of the 8-bar loop trap and start crafting memorable moments in your music.
You’ve now gone from a simple loop to a polished, structured track. The next stop is mixing and mastering, but take a moment to appreciate that you’ve built a complete song from the ground up. Now go export that track and share it.
Got Questions About Using Loops and Beats?
As you start getting your hands dirty with loops and beats, you’re bound to hit a few snags. It’s all part of the process. At first, it seems simple, but then the tricky situations and creative roadblocks pop up. This section is all about tackling those common questions producers run into, with clear answers to keep you moving forward.
This is the kind of practical advice that often gets skipped in tutorials. We’ll get into the nitty-gritty, from the legal stuff about samples to the technical fixes for a muddy mix. The goal is to give you the confidence to solve problems and keep your creative fire burning.
Are Royalty-Free Loops Actually Free for Commercial Use?
Yes, but the term “royalty-free” can be a little misleading. It’s not about getting sounds for zero cost. Instead, it means you pay a single fee—either buying a pack or through a subscription—and then you’re free to use those sounds in your commercial tracks without owing any ongoing payments (royalties) to the creator.
There are, however, a few ground rules. The biggest one is that you can’t just turn around and sell the original loop files as your own sample pack. You’ve got to use them to create a new piece of music.
The whole point of royalty-free licensing is to give independent artists a leg up. It levels the playing field, so you can create, release, and make money from your music without getting tangled in complex legal deals for every single sound you use. It’s always smart to glance at the license agreement, but the standard model is built for producers like us.
How Do I Use Popular Loops Without Sounding Like Everyone Else?
This is where your creativity truly shines. The secret is transformation. Never just drag a popular loop into your DAW and call it a day. Your mission is to twist it, chop it, and process it until it’s uniquely yours.
Think about all the techniques we’ve covered. Chop that loop into tiny slices, reverse a few pieces, or pitch it way up or down to create a totally new vibe. One of my favorite tricks is to slap a heavy filter on a melodic loop, then tuck it way back in the mix. It becomes an atmospheric texture instead of the main hook. Layer it with your own MIDI patterns and one-shots, and you’ll build a sound that no one else has.
What’s the Difference Between a Loop, a One-Shot, and a Construction Kit?
Getting these terms down is key to navigating any sample library. Just think of them as different musical building blocks, from the smallest piece to a full-blown set.
- One-Shot: This is just a single sound that doesn’t repeat. Think one kick drum hit, a single snare crack, or a quick piano chord stab. You use these to build your own patterns from the ground up.
- Loop: This is a short audio clip designed to repeat seamlessly. It could be a four-bar drum pattern, a guitar riff, or a synth melody.
- Construction Kit: This is the whole package. You get all the individual tracks—the stems, loops, and one-shots—that were used to make a full demo song. These are amazing for learning how pro tracks are put together or for getting a new song started fast.
Why Do My Loops Sound Muffled or Clash in the Mix?
Nine times out of ten, this is an EQ problem. When you have different sounds trying to live in the same frequency range, they end up fighting for space. The result is what producers call “mud.” The classic example is a kick drum and a bassline battling it out in the low end, which makes both sound weak and undefined.
The fix is a move called frequency slotting. You’ll need to use an EQ on both of the clashing tracks. In the kick and bass scenario, you’d find the main frequency where the kick has its punch. Then, you’d go to the bass track’s EQ and carve out a small notch right at that same frequency.
This simple trick gives the kick its own little pocket to hit through, letting both elements punch through clearly. Applying this concept across your entire mix is how you get that clean, professional sound where every loop and beat has its own space.
Ready to stop searching and start creating? At FL Studio Sound Packs, we provide an insane library of royalty-free loops, drum kits, and construction kits designed to give you a creative edge. Download everything you need for one single price.
Get Instant Access to a Universe of Sounds at flstudiosoundpacks.com