How to Master Hip Hop Music FL Studio
Mastering Hip Hop Music Samples in FL Studio
When you talk about hip hop, you’re talking about sampling. It’s the core of the genre’s sound, its very DNA. Taking a piece of an old record—a soulful melody, a funky drum break—and flipping it into something new is the art form. This guide is your complete roadmap to mastering that art in FL Studio.
The DNA of Hip Hop Sampling
In hip hop, sampling isn’t just a production trick; it’s the culture. It’s the magic of finding a killer snippet of audio—a drum loop from a 70s funk track, a vocal run from an old soul record, or a dusty piano chord from a jazz tune—and giving it a new life. This creative recycling is what gave the pioneers their signature, collage-like sound.
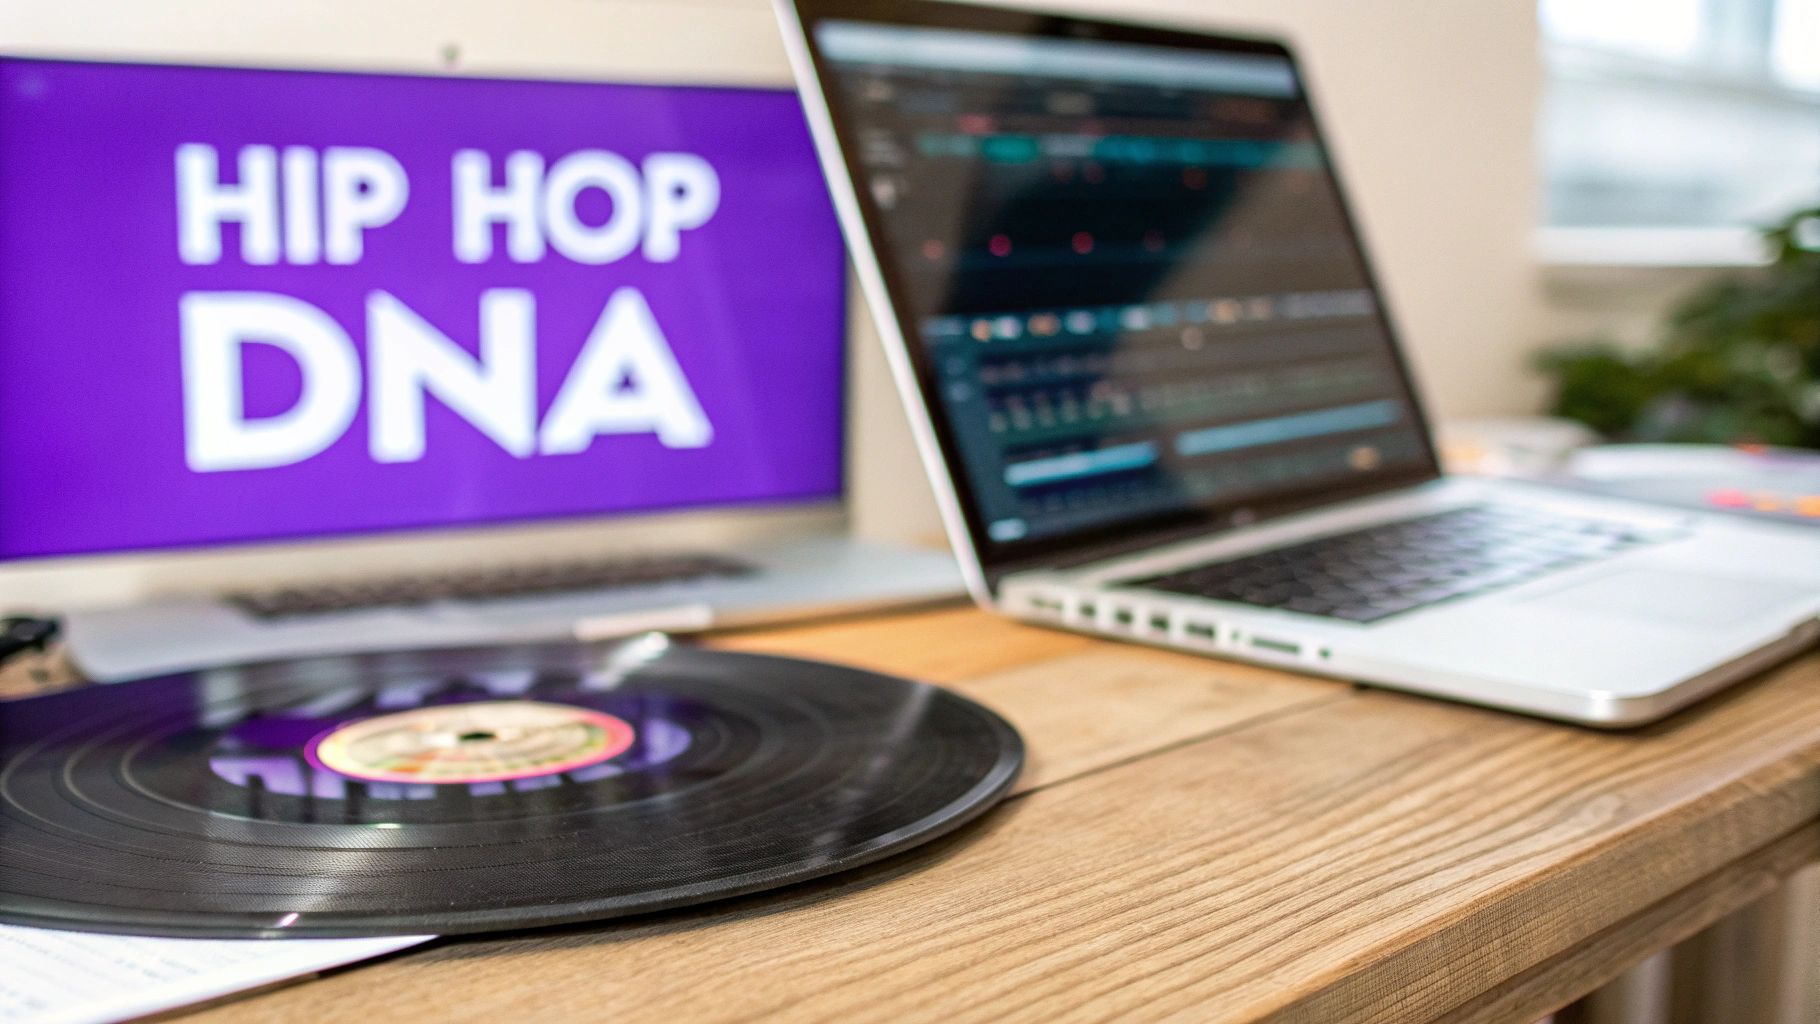
Today, we’re doing the same thing, just with more powerful gear. Instead of two turntables and a mixer, we’ve got DAWs like FL Studio. The tradition is alive and well, but now we can slice, stretch, pitch, and mangle sounds with incredible precision. We’ll walk through that whole process, from digging for gems to clearing the final track.
Why Sampling Is Still King
Using hip hop music samples is a direct line to the past. You’re not just borrowing a sound; you’re borrowing a piece of history, a feeling. That connection is powerful, and honestly, it’s a practical way to get a certain vibe you just can’t get with VSTs.
Here’s why it’s still so vital:
- Instant Vibe: Old recordings have a warmth and character that’s hard to fake. That vinyl crackle or tape hiss can add instant texture and soul to a clean, digital beat.
- The Ultimate Spark: A single, inspiring sample can be the catalyst for an entire track. It gives you a melodic or rhythmic foundation to build everything else around.
- Authenticity: The sound of chopped samples is the sound of hip hop. It immediately places your track within that classic, gritty aesthetic that fans know and love.
Sampling in the Modern Era
Sampling isn’t some dusty old technique—it’s bigger than ever. A recent look at the charts showed that a massive 38% of last year’s biggest hip-hop songs used samples. Rap is still leading the charge, but the trend is everywhere. Across all genres, about one out of every five songs on the Billboard Top 100 has a sample in it. If you want to dive deeper, you can learn more about the state of sampling and just how common it’s become.
The real art isn’t just finding a loop and sticking a drum beat on it. It’s about transformation. The best sample-based beats make you hear the source material in a completely new way. This guide will give you the FL Studio chops to do exactly that.
Sourcing and Selecting Your Samples
Every beatmaker knows the truth: your track is only as good as the sounds you start with. The hunt for that perfect sample is a fundamental skill, and where you choose to look will shape your entire workflow and the final vibe of your beat.
Ultimately, it comes down to two main philosophies: the old-school art of crate digging or the modern workflow of digital sample packs.
For decades, the only way was to spend hours hunched over in dusty record store basements, flipping through stacks of vinyl. You were looking for that one magic moment—an open drum break, a soulful vocal lick, a weird synth line. This hunt, known as crate digging, is all about raw discovery. There’s a real thrill in unearthing a rare gem no one has touched before, connecting you directly to the history of the music.
But let’s be real, it’s a grind. Finding clean, usable sounds is incredibly time-consuming, and every single sound you lift from a commercial record is a legal landmine. Without clearing that sample, you’re risking serious copyright trouble.
The Modern Approach: Royalty-Free Sample Packs
These days, most producers lean on royalty-free sample packs. Think of them as curated toolkits built by producers, for producers. They’re packed with sounds—drum loops, one-shots, melodic phrases, you name it—all pre-cleared for you to use in your music, no strings attached.
The biggest wins here are speed and legal peace of mind. Instead of digging for days, you have thousands of professionally mixed sounds ready to go.
Libraries of curated hip hop samples are designed for today’s production needs. You can find everything from gritty, vintage-inspired soul loops to crisp, hard-hitting trap drums. This kind of instant access frees you up to just create, skipping the logistical and legal headaches of the old ways.
Key Takeaway: While crate digging offers the unmatched thrill of finding something truly unique, royalty-free packs give you a massive, high-quality, and legally safe arsenal to build from. Honestly, the best producers often do both—using packs for the heavy lifting and sprinkling in rare finds for that custom flavor.
Let’s break down how these two approaches really stack up for a modern producer.
Sample Source Comparison for Hip Hop Producers
Deciding between digging in the crates and downloading a pack comes down to what you value most in your workflow: originality, speed, quality, or legal safety. This table gives you a quick side-by-side look.
| Attribute | Record Digging (Crate Digging) | Royalty-Free Sample Packs |
|---|---|---|
| Originality | High. Potential to find sounds no one else has ever used. | Variable. Popular packs might be used by many producers. |
| Audio Quality | Inconsistent. Varies from pristine to noisy, warped, or damaged. | High. Professionally recorded and mixed, usually in .WAV format. |
| Legal Risk | High. Requires expensive and complicated sample clearance. | None. All sounds are pre-cleared for commercial release. |
| Workflow Speed | Slow. Involves hours of searching, recording, and cleaning up audio. | Fast. Instant drag-and-drop access to perfectly organized sounds. |
Choosing a modern sample pack gives you a clear advantage in speed and security, letting you dive right into the creative part of making the beat.
How to Evaluate Potential Samples
Whether you’re flipping through a dusty record or clicking through a folder of WAVs, you need to listen with a producer’s ear. Not every cool-sounding phrase will actually work in a track. You have to judge its technical potential just as much as its creative vibe.
Before you even think about dragging a file into FL Studio, run through this mental checklist:
- Is it clean enough? Can you actually isolate the part you want? A killer drum break is way less useful if it’s buried under a loud bassline and a vocal. You want separation.
- What’s the audio quality like? Listen for hiss, crackle, clipping, or a sound that just feels thin and weak. A little lo-fi character is cool, but a fundamentally bad recording is a nightmare to fix in the mix.
- Does it have rhythmic juice? For drum loops, is the groove undeniable? For melodic samples, can you hear phrases that would be easy and fun to chop up and re-sequence into something new?
- Is it musically flexible? Samples with simpler chord progressions or clear, defined melodies are often easier to build on. A super busy, complex sample might sound amazing on its own, but it can box you in and leave no room for your own ideas.
Unlocking Speed With Construction Kits and MIDI
To really fast-track your workflow, keep an eye out for packs that offer more than just audio loops. The real game-changers are construction kits and MIDI files.
A construction kit is basically a deconstructed beat. You get all the individual instrument stems—the bass, drums, synths, pads, everything—as separate files. It’s an incredible way to learn, letting you see exactly how a professional track was layered and arranged. You can pick it apart, use just the elements you like, and build from there.
MIDI files take this a step further. They aren’t audio; they’re musical data—the actual notes and chords of a melody or progression. You can drag a MIDI file into FL Studio, assign it to any VST instrument you own, and instantly make it your own. It gives you the professional melodic foundation of a great sample but with 100% control over the actual sound design.
Creative Sample Chopping in FL Studio
Once you’ve locked down a sample that sparks an idea, the real fun begins. This is where you stop being a listener and start being an architect. Chopping is all about deconstructing a piece of audio to build something entirely new—transforming a finished recording into a playable, dynamic instrument right inside FL Studio.
The whole idea of chopping and rearranging sounds has deep roots in hip hop. It all started with pioneers like DJ Kool Herc and his ‘Merry-Go-round’ technique back in the ’70s, where he used two turntables to extend drum breaks. That simple concept laid the groundwork for everything that followed, from legends who built entire masterpieces like The Beastie Boys’ ‘Paul’s Boutique’—an album famously constructed from hundreds of samples. Chopping isn’t just a technique; it’s a pillar of the genre.
In FL Studio, that rich history gets a seriously powerful modern toolkit. We’re going to move way beyond just looping a four-bar phrase and get into the tools that give you surgical control over your sound.
Your Chopping Toolkit in FL Studio
FL Studio gives you a few different ways to slice and dice your audio, and each one has its strengths. Knowing which tool to grab for the job is the key to a fast, creative workflow.
- The Channel Sampler: This is your most basic tool. Anytime you drag an audio file into the Playlist or Channel Rack, it loads into a Sampler channel. It’s perfect for one-shots like a single kick or snare, but it’s way too limited for complex chopping.
- Fruity Slicer: This is your go-to for speed, especially with drum breaks. It automatically finds the transients—the peaks of the drum hits—in a loop and maps each slice to a key on your Piano Roll. In seconds, you can turn a classic breakbeat into a fully playable kit.
- Slicex: This is the heavy hitter. Slicex is the most powerful and precise chopping tool in FL Studio’s arsenal. While it can auto-slice like its little brother, its real strength is in manual control. You can place, move, and fine-tune slice markers with pinpoint accuracy, making it ideal for grabbing specific melodic phrases or isolating sounds that are packed tightly together.
For beginners, Fruity Slicer is the perfect entry point. It automates the most tedious part of chopping drums. As you get more comfortable, you’ll naturally find yourself reaching for Slicex to get that deeper creative control over melodies and more complex hip hop music samples.
This simple workflow is the foundation of everything we’re about to do.
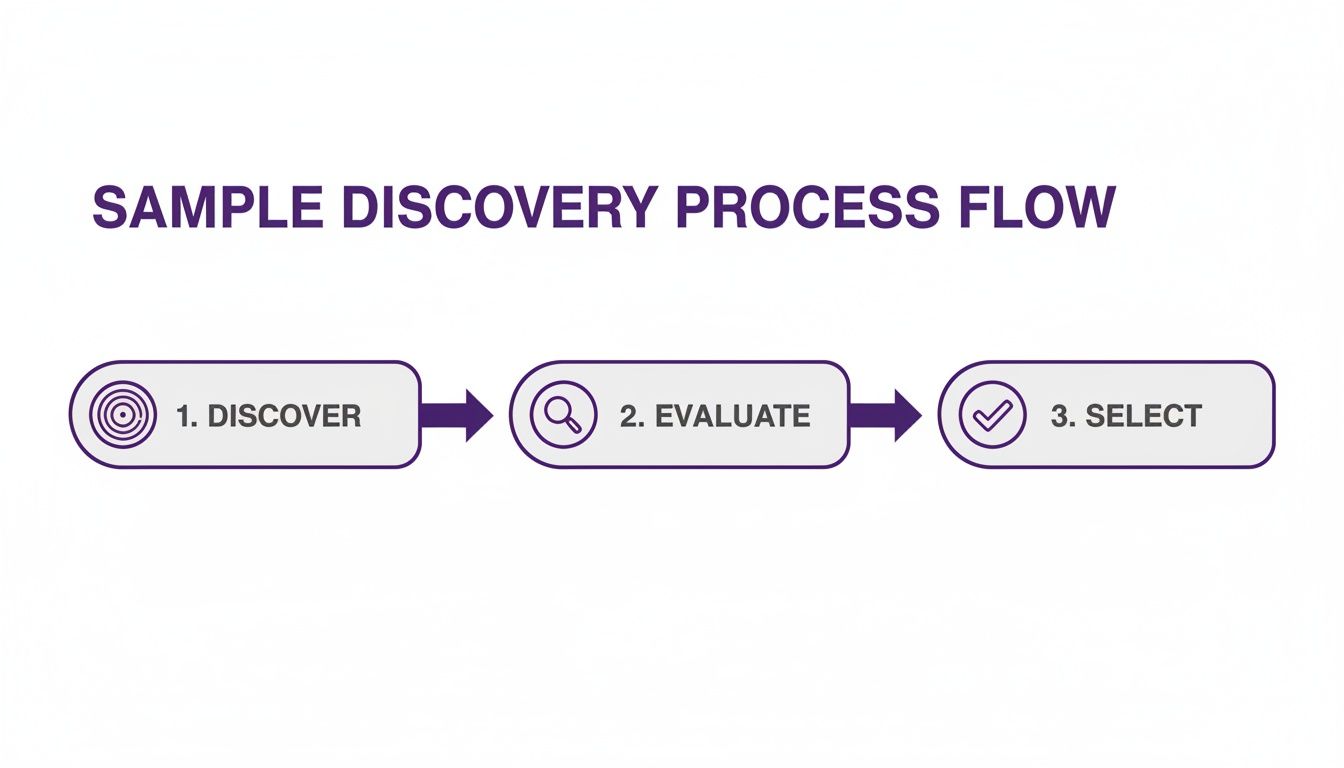
This process—Discover, Evaluate, Select—is the bedrock of sample-based production. It ensures that by the time you get to the chopping stage, you’re already working with gold.
Time Slicing vs. Transient Slicing
It’s crucial to understand the two main ways to slice audio. The method you choose depends entirely on what kind of sample you’re working with.
Time-based slicing, sometimes called grid slicing, chops the sample into equal rhythmic chunks like 1/4 notes, 1/8th notes, or full bars. This works best when you have a sample with a steady tempo and you just want to rearrange bigger pieces. Think of chopping a four-bar piano loop into four one-bar segments so you can reorder them.
Transient-based slicing is far more common in hip hop. Instead of following a grid, this method places slice markers at the start of each distinct sound—a kick drum, a snare hit, a new piano chord. It’s perfect for pulling out individual drum hits or melodic stabs from a busy recording.
A Practical Scenario: Chopping a Drum Break
Let’s put this into practice. Imagine you’ve dug up a classic funk drum break. The goal is to isolate the kick, snare, and hi-hats so you can create a completely new drum pattern.
- Load into Fruity Slicer: Drag the drum break WAV file straight onto the Channel Rack. FL Studio will automatically pop it into a Fruity Slicer channel.
- Adjust Slicing: In the Fruity Slicer window, you’ll see the waveform with slice markers already laid out. Tweak the “Slicing” knob to fine-tune how it detects the hits. Turning it left creates fewer slices (good for isolating the main hits), while turning it right creates more (perfect for catching subtle ghost notes).
- Play Your New Kit: Open the Piano Roll for that channel. You’ll see each drum hit is now mapped to a different MIDI note. You’re ready to program a totally new beat using the individual sounds from that original loop.
Creative Chopping for Melodic Samples
Chopping melodies is where you can truly make a sample your own. For this kind of detailed work, Slicex is the weapon of choice.
Let’s say you have a soulful piano phrase. Just looping it is boring and, honestly, a little lazy. Instead, load it into Slicex. Forget auto-slicing this time. Manually add your own markers by right-clicking on the waveform right at the start of each new chord or melodic run.
Now you can create something completely original.
- Play the chops in a different sequence.
- Re-pitch individual slices to build a new chord progression.
- Reverse a specific chop for a cool transitional effect.
- Use the ADSR envelope on a slice to turn a long, sustained note into a short, percussive stab.
This process transforms the sample from a recognizable loop into a unique texture that’s all yours. If you’re looking for more detailed walkthroughs on this, check out our full guide on how to use samples in FL Studio for even deeper techniques. This is the real essence of making compelling, sample-driven hip hop.
Processing Samples for a Polished Sound
Alright, so you’ve chopped your sample. The next move is making it actually sit right in the track. A raw sample, even a great one, rarely plays nice with modern drums and synths right out of the box. It needs a little shaping and sculpting to sound like it belongs there.
This is where we leave the Playlist for a bit and head over to FL Studio‘s Mixer. It’s time to start treating your samples just like any other instrument in your beat.
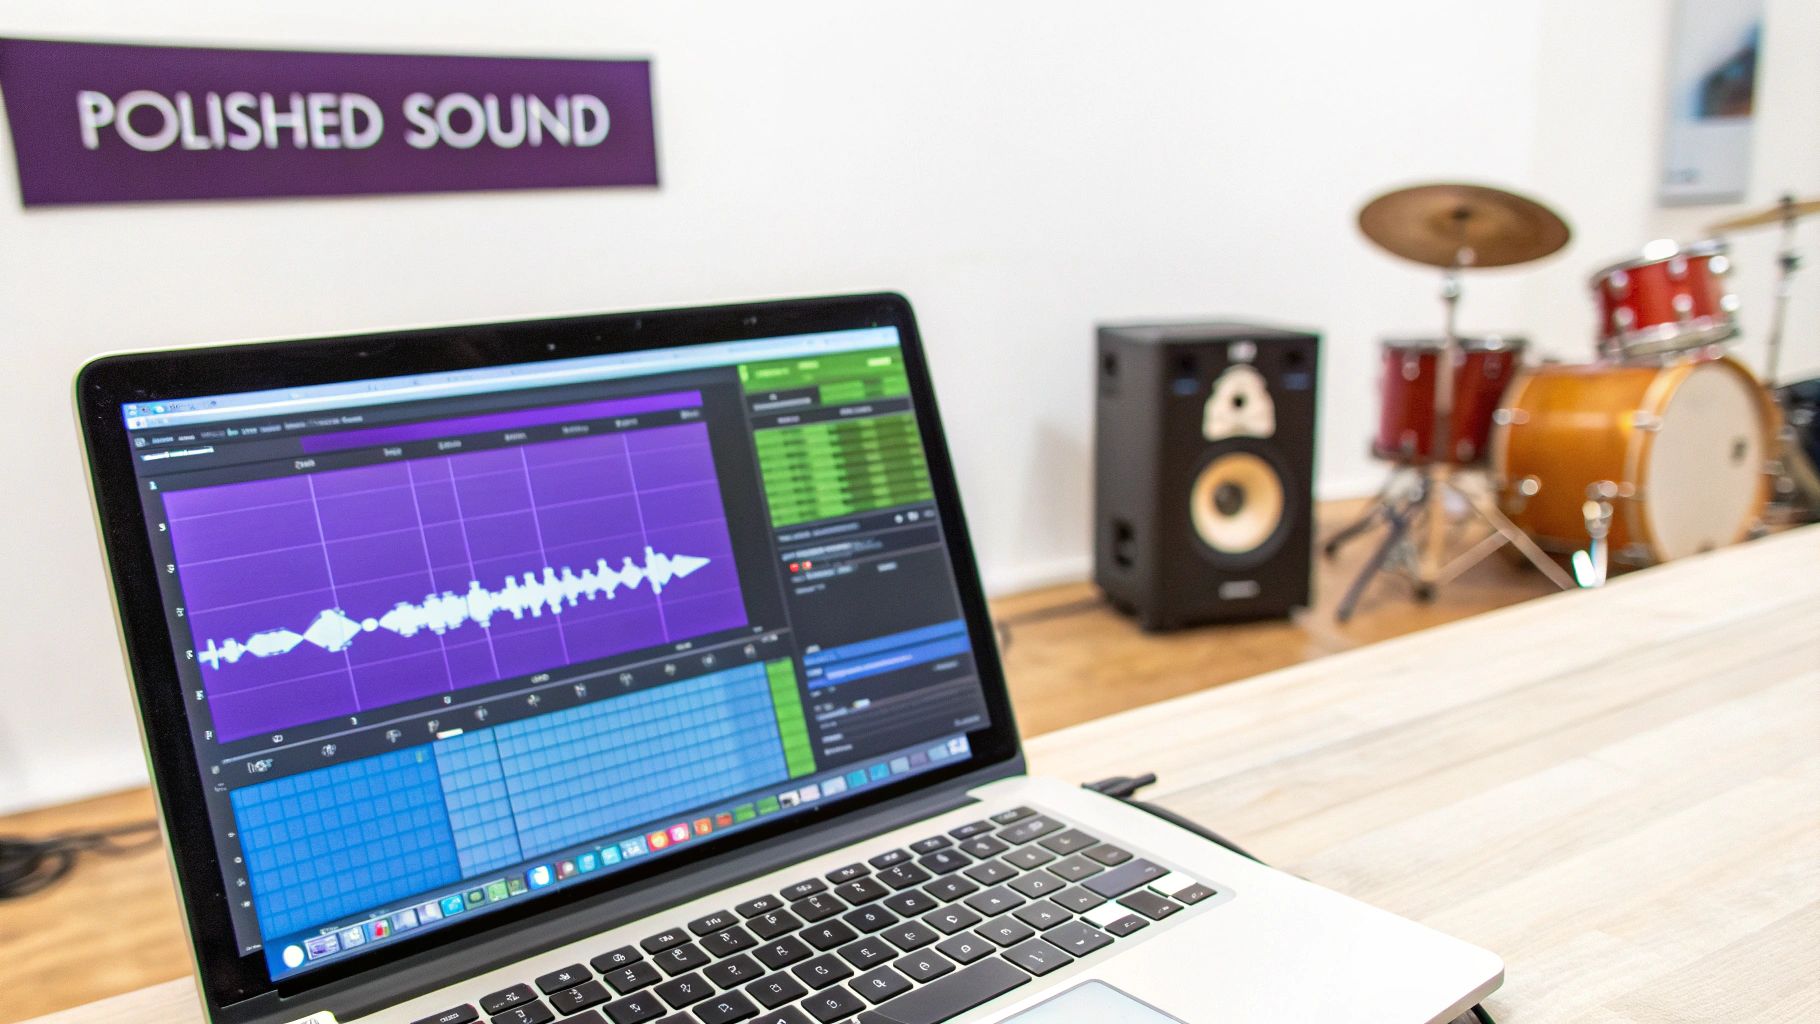
The goal isn’t to obliterate the sample’s original vibe. Instead, we want to enhance its best qualities and make it gel with everything else. This usually means carving out space with EQ, taming the dynamics with compression, and maybe adding some space with reverb. It’s a subtle art, but it’s what separates a rough demo from a professional-sounding record.
Essential Mixing Tools for Samples
Inside the FL Studio Mixer, you’ve got a whole rack of sonic tools ready to go. While you can get lost in the sauce with endless plugins, a few core effects do most of the heavy lifting when you’re working with hip hop music samples.
- EQ (Equalizer): This is your number one tool, period. An EQ lets you cut or boost specific frequencies. You’ll use it to get rid of muddy low-end in melodic loops, tame harsh high frequencies, and create little pockets so your sample and your drums aren’t in a fistfight for sonic space.
- Compression: Compression is all about controlling dynamics—it makes the quiet parts louder and the loud parts quieter. For samples, this is huge for adding punch, evening out inconsistent volume, and getting that “glued together” feel with the rest of your beat.
- Reverb: This effect creates atmosphere. It can take a dry, sterile sample and put it in a room, a hall, or some otherworldly space. Even a tiny bit of reverb can add depth and make your sample feel like a natural part of the track instead of something just tacked on top.
Get comfortable with these three, and you’ll have almost complete control over how your samples sound in the final mix.
Carving Out Space with EQ
The most common headache with samples is frequency masking. This happens when your sample and another element—like your 808 or kick—are both trying to occupy the same sonic real estate. The result is a muddy, undefined mess. EQ is how you fix it.
Take a classic soulful piano loop. On its own, it probably has a lot of nice low-mid frequency warmth. But the second you add an 808, that part of the mix turns to mush. The fix is a simple high-pass filter.
Just grab the Fruity Parametric EQ 2 and gently roll off the low end of that piano sample, starting somewhere around 100-200Hz. This instantly cleans up the mud and carves out a dedicated pocket for your bass to live in, making both elements sound way cleaner and more defined.
Pro Tip: Don’t just think about cutting frequencies. Use a “bell” curve in your EQ to find the sweet spot of your sample’s character and give it a slight boost. For a vocal chop, this might be around 1-3kHz to bring out its presence and make it cut through the mix.
Adding Punch and Glue with Compression
Compression can feel a little intimidating at first, but for samples, its job is pretty simple: add punch and control. Older samples, especially those lifted from vinyl, often have dynamics that are all over the place. A compressor smooths everything out and can add a satisfying thwack to drums.
Here’s a solid starting point for compressing a chopped drum break:
- Set a moderate ratio: Start with something like 3:1 or 4:1. This is a gentle squeeze, not total annihilation.
- Use a slow attack: A slower attack time (think 20-30ms) lets the initial crack of the drum hit—the transient—punch through before the compression clamps down. This keeps it feeling snappy.
- Find a fast release: A quick release tells the compressor to let go right after the hit, which brings up the body and tail of the sound.
- Adjust the threshold: Pull the threshold down until you see the gain reduction meter knocking back by about -3dB to -6dB on the loudest hits.
This will make your drum loop feel tighter and more consistent. It’ll hit harder and sit better in the track without jumping out and slapping the listener in the face.
The Power of Layering Samples
One of the most powerful moves in modern hip hop is layering. It’s all about combining multiple sounds to create one hybrid sound that has the best characteristics of each source. This is how you get that perfect blend of vintage soul and modern knock.
A classic example is the kick drum. Let’s say you chopped a kick from an old breakbeat. It’s got this incredible gritty texture, but it has zero sub-bass—it won’t move any air in the club.
The solution? Layer it. Keep that vinyl kick for its mid-range character and punchy attack. Then, find a clean, booming 808 kick from a good drum kit. Use your EQ to cut the sub-bass out of the vinyl kick, and then EQ the 808 to focus only on that deep rumble. When you play them together, you get one perfect kick drum: the texture of the old, the power of the new. This technique is gold for snares, melodies—pretty much anything.
Arranging Your Beat and Clearing Samples
Alright, you’ve chopped your samples and cooked up some effects. Now for the fun part: turning that loop into a full-fledged song. This is all about arrangement, and in FL Studio, the Playlist is your canvas. It’s where you’ll lay out your intro, verses, hooks, and outro to build a track that actually goes somewhere.
The goal here is to create energy and flow. A great starting point is to lay down your main 8-bar or 16-bar loop. From there, think like a storyteller. How do you build anticipation? How do you create release? A classic hip hop technique is to strip back the intro, maybe letting the melodic sample breathe on its own before the drums come crashing in.
When the verse hits, you might pull a few layers out to leave room for a rapper. Then for the hook, bring everything back with a vengeance, maybe even adding a new counter-melody or synth pad to make it the most memorable part of the track. It’s a constant game of tension and release.
Building Out Your Arrangement with MIDI
This is a perfect time to break out the MIDI files from your sound packs. They can be a massive shortcut to a full-sounding arrangement. Let’s say your chopped sample is carrying the main melody. You can flesh out the track by dragging a bassline MIDI file from a construction kit right onto a new instrument channel.
Instantly, you have a professional bassline that’s already in key with your sample. The best part? You can assign it to any VST you want—a funky electric bass, a rumbling 808, or a smooth synth sub. This saves you the headache of writing a bass part from scratch and gives you complete control over the sound design.
Key Insight: Think of MIDI as a musical blueprint, not a finished product. It’s a starting point. Feel free to transpose the notes, chop up the rhythm, or swap the instrument entirely. Use it to spark your own ideas and build a complete, cohesive track around your core hip hop music samples.
Understanding Sample Clearance: The Legal Side
Okay, let’s switch gears and talk about the most crucial non-musical part of sampling: the law. Getting this right is what separates a professional from a hobbyist, and it can literally make or break your career.
It all boils down to one simple distinction.
- Royalty-Free Samples: These are sounds from libraries like FL Studio Sound Packs. They come pre-cleared. When you buy a pack, you’re buying a license that lets you use those sounds in your commercial tracks without paying any extra fees or royalties. It’s clean, simple, and legally safe.
- Copyrighted Samples: This is anything you rip from a commercial song—whether you found it on Spotify, a YouTube video, or an old vinyl record. That sound is owned by someone else, and you have zero legal right to use it in your own music without getting permission first.
Using copyrighted material without permission is called copyright infringement. The consequences aren’t a joke. You could get your song pulled from streaming platforms, or worse, face a lawsuit that could cost you thousands of dollars and every penny you made from the track.
The Sample Clearance Process
So what happens if you find that one-in-a-million sample from a copyrighted song you absolutely have to use? You’ll need to “clear” it. Sample clearance is the formal legal process of getting permission from everyone who owns the rights to that song.
This isn’t just sending a quick email. It involves securing two separate, expensive licenses:
- The Master Recording License: You need permission from whoever owns the actual recording. This is almost always the record label (think Sony, Universal, Warner).
- The Publishing License: You also need permission from the owner of the song’s composition—the melody and lyrics. This is handled by the songwriter’s publisher.
The process is notoriously long, complicated, and very expensive. Major artists sometimes pay tens of thousands of dollars, plus a cut of their future royalties, just to clear one sample. And there’s never a guarantee they’ll even say yes. To get a better sense of how these elements are separated, it’s helpful to understand how to use stems in music production.
For most independent producers, navigating this world is next to impossible. This is exactly why royalty-free sounds have become the industry standard. They give you all the creative firepower you need without the massive legal risk, letting you focus on what really matters: making great music.
Common Questions About Sampling in Hip Hop
When you first dive into sampling, especially in hip hop, a lot of the same questions pop up. Getting straight answers is the key to building a solid workflow and keeping yourself out of trouble. Let’s clear up some of the most common points of confusion.
Can I Use Samples from Any Song in My Beats?
The short answer is a hard no. You can’t just grab audio from a copyrighted song and use it without getting permission first.
This whole process is called “sample clearance,” and it’s a two-part beast. You have to get a license from the owner of the master recording (that’s usually the record label) and another license from the owner of the composition (the publisher).
If you skip this step, you’re opening yourself up to a world of pain. Your music can get taken down from streaming services, you could face a lawsuit, and you might have to hand over every penny you made from the track. This is exactly why royalty-free libraries are so popular—every sound is pre-cleared for you to use commercially, taking all that legal risk off the table.
What Is the Best Sample Chopping Tool in FL Studio?
Honestly, the “best” tool really depends on what you’re trying to do. There isn’t one perfect answer, because each slicer in FL Studio has its own strengths.
- Fruity Slicer: This is your best friend when you need speed, especially with drum loops. It automatically finds the transients and maps each hit to your piano roll, letting you completely reprogram a beat in just a few seconds.
- Slicex: This is the tool for surgical precision. Slicex gives you full manual control over every slice marker and even lets you process individual chops with their own envelopes and filters. It’s the clear winner for creatively flipping melodic samples.
A lot of producers start with Fruity Slicer to get the hang of things and then move over to Slicex when they want deeper, more creative control over how their samples sound.
Key Takeaway: To make a sample truly yours, you have to transform it. Don’t just loop it. Chop it into small pieces and rearrange them into a brand-new melody. Get aggressive with effects like reversing, filtering, and re-pitching to make the sound completely unrecognizable from the original.
Are MIDI Files in Sample Packs Actually Useful?
Absolutely. MIDI files are probably one of the most underrated tools you can find in modern sample packs. They give you a massive creative advantage for a couple of big reasons.
First, they give you the raw musical data—the chords and melodies—which you can then assign to any VST instrument in your library. That means you can take a great piano progression from a pack and instantly hear what it sounds like as a string arrangement, a synth lead, or a brass fanfare. The possibilities are endless.
Second, MIDI files are a phenomenal way to learn. By dragging them into your Piano Roll, you can see exactly how professional chord progressions and melodies are put together. Deconstructing music like this is one of the most powerful ways to sharpen your own music theory and composition skills.
Ready to build your library with legally safe, professional-grade sounds? Explore thousands of royalty-free loops, drum kits, and MIDI files at FL Studio Sound Packs.