How to Make Beats a Pro Guide to Crafting Standout Tracks
At its core, making a beat really just comes down to four things: picking a vibe and your sounds, programming a killer drum pattern, writing a melody, and then arranging all those pieces into a full song. With software like FL Studio, you can nail down the basics in just a few hours and start making your own tracks right from your bedroom.
Setting Up for Success in FL Studio
Before you even think about laying down a single note, getting your project set up the right way is the secret sauce to a professional sound. This is more than just opening the software—it’s about making a few key decisions upfront that will guide your whole creative process. A solid foundation now saves you from massive technical headaches later and keeps you focused on the music.
The very first choice is your genre, which immediately tells you what tempo, or BPM (Beats Per Minute), to set. The entire energy of a track is tied to its speed. A chilled-out, head-nodding Lo-fi beat might cruise along at 70-90 BPM, while an aggressive Trap banger is going to hit hard and fast, often pushing 140-160 BPM.
Choosing Your Genre and Starting BPM
If you’re not sure where to start, this table breaks down some common BPM ranges for popular genres. Think of it as a cheat sheet to get you in the right ballpark.
| Genre | Typical BPM Range | Core Vibe |
|---|---|---|
| Hip-Hop (Boom Bap) | 80-100 BPM | Laid-back, groovy, often with a “head-nod” feel. |
| Trap | 130-170 BPM | Energetic, rhythmic, with fast hi-hats and deep bass. |
| Lo-fi Hip-Hop | 70-90 BPM | Mellow, relaxing, and often nostalgic or atmospheric. |
| R&B | 60-85 BPM | Smooth, soulful, and focused on emotional chord progressions. |
| Drill | 140-150 BPM | Dark, intense, defined by sliding basslines and unique rhythms. |
| House | 120-130 BPM | Upbeat, danceable, with a consistent four-on-the-floor kick drum. |
Once you’ve locked in your tempo, the next move is to get comfortable with a couple of FL Studio’s main windows. Don’t try to learn everything at once. Just focus on the Channel Rack (where you’ll build your drum patterns) and the Piano Roll (where you’ll write your melodies). Honestly, these two tools are where you’ll spend 90% of your time.
Why High-Quality Sounds Are Everything
Here’s the truth: the single biggest thing separating amateur beats from pro-level tracks is sound selection. When you start with polished, high-quality sounds, your beat already has that radio-ready shine. It also saves you countless hours of frustrating mixing down the line.
While FL Studio’s stock sounds can get you started, professional sample packs offer sounds that are already mixed and processed to fit modern genres perfectly. You can check out this list of legendary musicians using FL Studio to see how top-tier producers rely on the best sounds available.
Your beat is only as good as the sounds you use. Starting with weak, thin drum samples or cheesy synth presets means you’re fighting an uphill battle before you’ve even written a note. Invest in quality sounds early on.
The demand for these tools is exploding for a reason. The music production software market was recently valued at over $3.5 billion and is only getting bigger. This growth is fueled by tons of artists jumping in to create music digitally, which has totally democratized beat-making and increased the need for great sound packs. Taking the time to build a solid library of sounds isn’t just a purchase; it’s an investment in your music that pays off immediately. You can even learn more about these music software industry findings to see just how big this space has become.
Programming Drums with Groove and Punch
The drums are the absolute heartbeat of your track. You can have the most incredible melody, but if the drums are weak and robotic, the whole vibe just falls flat. On the other hand, a powerful, groovy beat can make listeners move instantly. This is where you bring your track to life, and in FL Studio, the Channel Rack is your playground.
It all starts with picking the right sounds. Think of your core drum elements as a tight-knit band: the kick is the foundation, the snare provides that satisfying backbeat, and the hi-hats drive the rhythm and energy. Every sound needs to work together and fit the genre you’re aiming for.
This initial process of choosing your genre, tempo, and core sounds really sets the stage for everything that follows.
This simple flowchart breaks down that foundational workflow—from locking in a vibe to picking your core sonic palette.
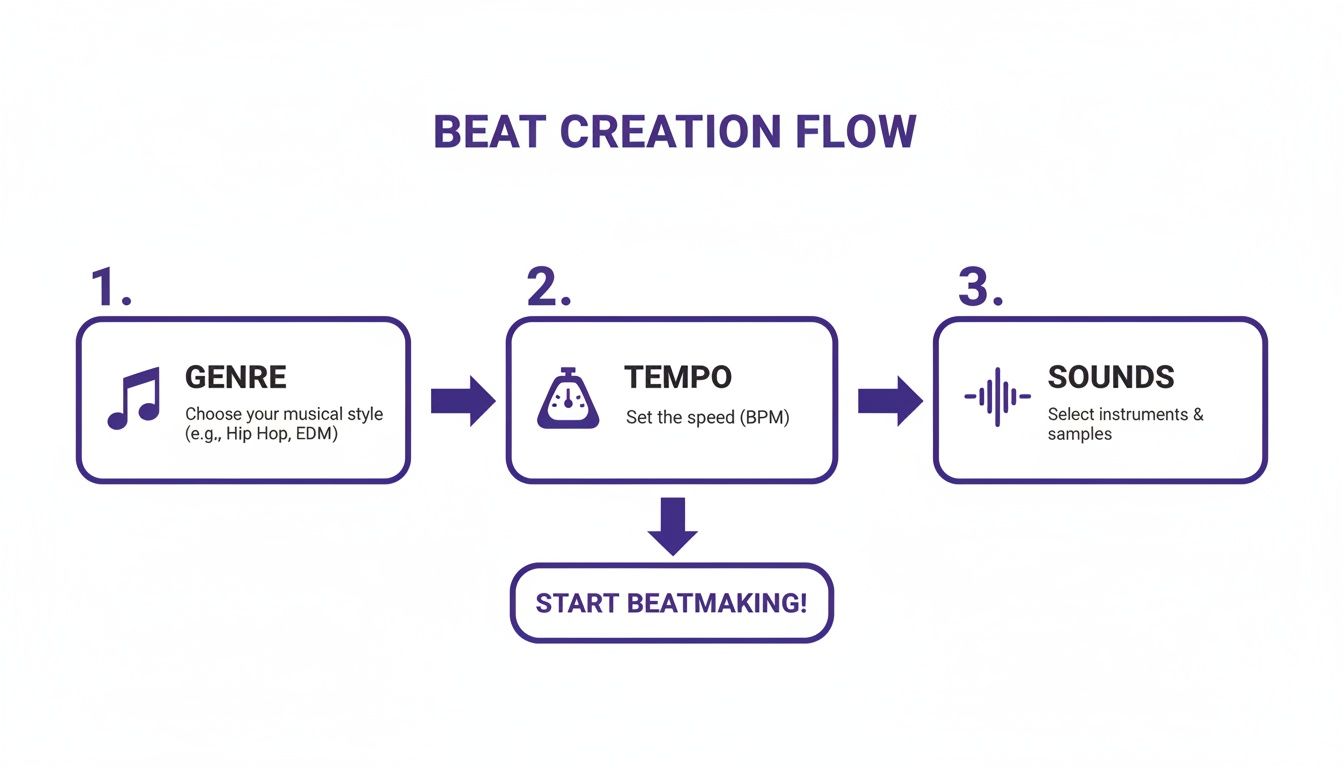
Honestly, keeping this Genre > Tempo > Sounds flow in mind is a powerful way to make sure your creative choices are cohesive right from the jump.
Building Your Foundational Pattern
Let’s dive into the Channel Rack and build a classic hip-hop pattern. This is your canvas. A simple “boom bap” beat is the perfect starting point, typically built by placing kicks on the 1st and 3rd beats and snares on the 2nd and 4th.
For the hi-hats, a quick way to get a steady rhythm is to right-click the sound and select “Fill each 2 steps.” Just like that, you have a functional, if basic, foundation to build upon. A great beat is more than just placing notes on a grid; it’s about making it feel human.
Injecting Life with Velocity and Swing
A perfectly quantized, static beat just sounds… robotic. To get that head-nodding groove, you need to introduce some subtle imperfections. This is where velocity and swing become your best friends.
- Velocity: This is simply how hard each note hits. In the Channel Rack, you can tweak the velocity of each step. Try slightly lowering the velocity on every other hi-hat to create a more natural, dynamic bounce. A real drummer never hits with the exact same force every single time.
- Swing: The global swing knob in FL Studio is a game-changer. It slightly shifts the timing of every second 16th note, creating that “shuffled” or “laid-back” feel. Even a tiny bit of swing—think 10-25%—can transform a stiff pattern into something with an irresistible vibe.
The number one mistake I see beginners make is keeping every drum hit at the exact same volume. Those tiny variations in velocity are what sell the human element and make your beats feel alive.
Don’t be afraid to experiment, either. Throw in an extra kick right before the snare or pull a hi-hat out here and there to create some tension and syncopation. These little tweaks are what separate a generic loop from a signature rhythm.
Layering and Advanced Techniques
Once you’ve got a solid core groove, you can start adding depth by layering. This is all about adding more percussion to fill out the rhythm and give it some character.
Consider adding elements like:
- Open Hats: Place an open hi-hat on an offbeat to add some sizzle and release.
- Percussion: Shakers, bongos, or rimshots can weave through your main pattern and create a much richer texture.
- Layered Snares: Stacking a crisp snare on top of a clap is a classic trick. It creates a unique, powerful backbeat that really cuts through the mix.
Another killer technique, especially for Trap and Drill, is creating hi-hat rolls. Just right-click a hi-hat step in the Channel Rack and you’ll see options to “Fill each 2, 4, or 6 steps” within that single step’s menu. This gives you that rapid-fire stutter effect that defines so much of modern hip-hop.
If you’re serious about crafting hard-hitting beats, grabbing some high-quality drum sounds for hip-hop is a smart move. A premium sample pack gives you access to punchy kicks and crisp snares that have already been professionally processed, saving you a ton of mixing time later on.
The key is to just keep experimenting until you land on a loop that doesn’t just keep time, but has its own unique personality.
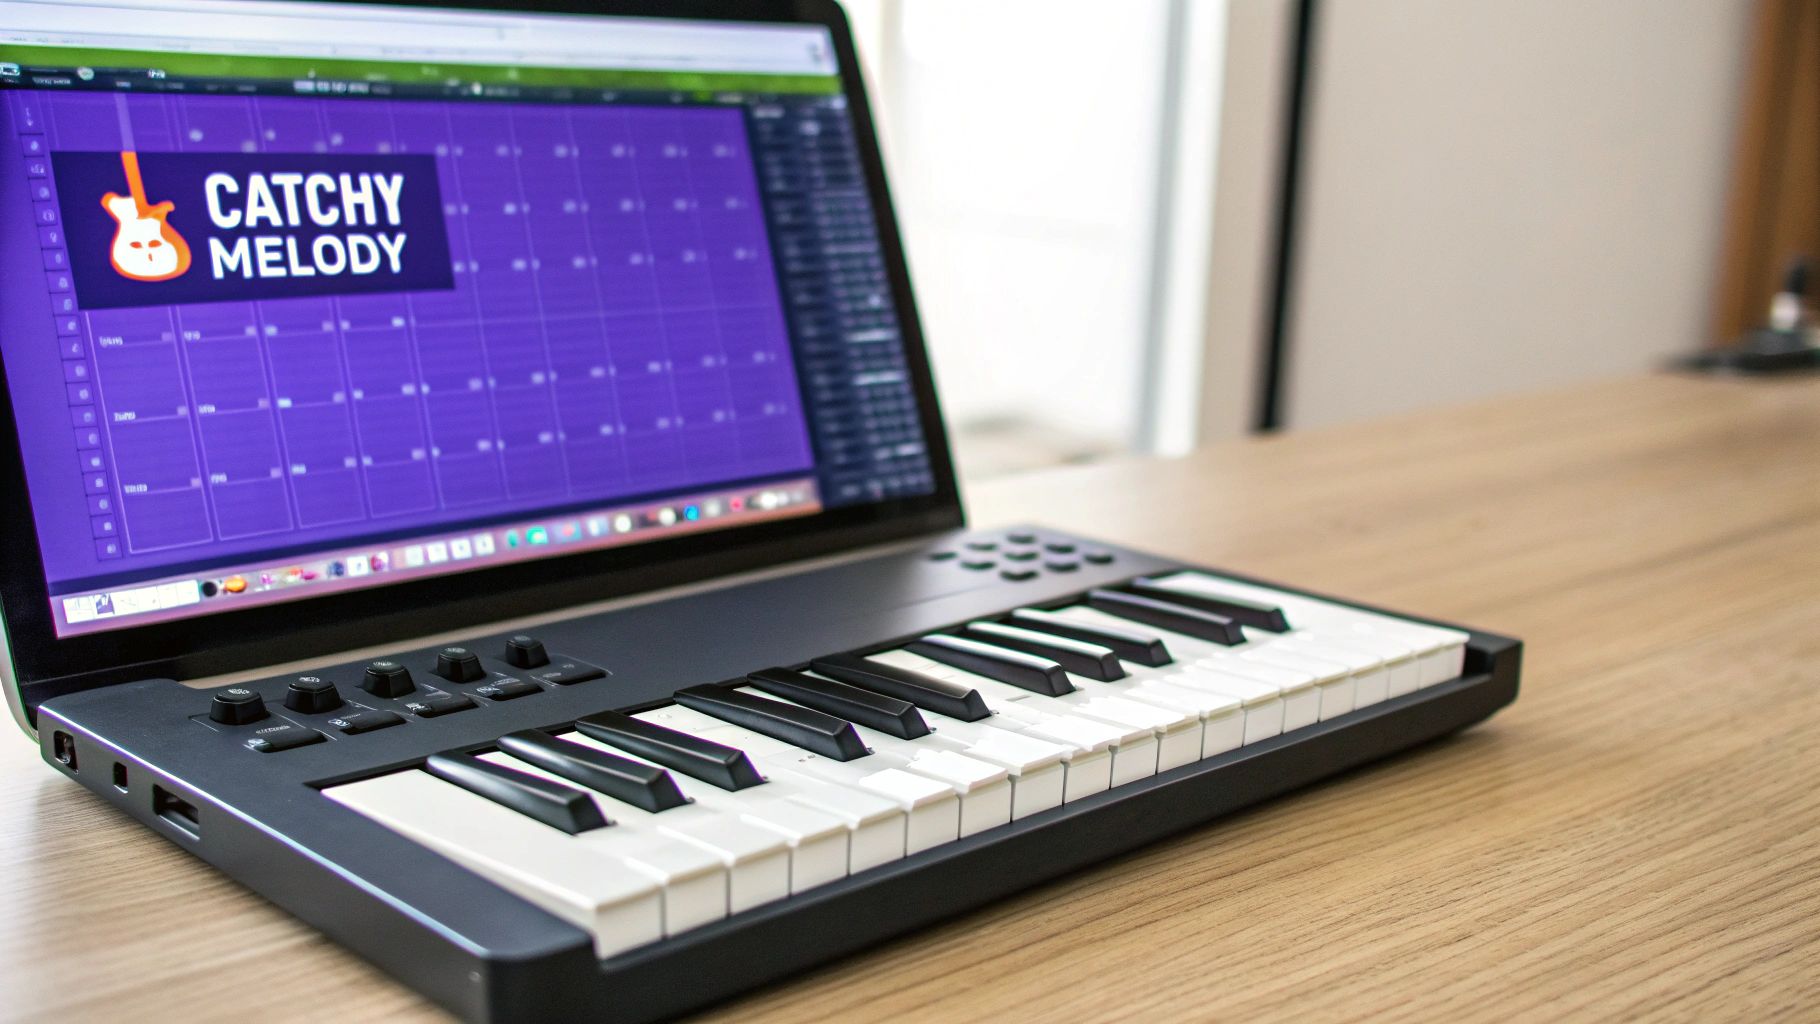
Creating Memorable Melodies and Harmonies
A heavy drum groove gets heads nodding, but a killer melody is what gets stuck in their heads for days. This is where you give your beat its soul, and inside FL Studio, the Piano Roll is your playground. You absolutely do not need to be a piano virtuoso; you just need a handle on a few core concepts to start building hooks that stick.
Think of this process less like following a rigid rulebook and more like exploring what sounds good to you. We’ll touch on some basic music theory, but it’s just a map to guide you, not a set of commands. The real goal is to inject an emotional core into your beat that makes people feel something.
The Foundation: Chords
Before you can even think about a lead melody, it needs something to sit on. That’s where chord progressions come in. Chords are simply a few notes played together to create a specific mood, and honestly, a simple progression of three or four chords is often all you need to get started.
A classic rookie mistake is making things way too complicated. So many hit songs are built on the same handful of chords. The magic is in the rhythm you play them with and the instrument you choose. Try laying down a simple progression with a piano sound or a soft synth pad to create the harmonic “bed” for your track.
To make this even easier, you can grab pre-made MIDI files. Many sound packs include MIDI progressions you can just drag and drop right into your project. If you’re new to chords, diving into a library of professionally crafted piano loops and keyboard loops is an incredible head start. You get to see how chords are built and can then tweak the notes to make the progression totally your own.
Using Scales to Write Better Melodies
Ever plunked down a note that just sounded completely “wrong”? It was probably outside of your track’s musical scale. A scale is just a pre-approved collection of notes that are guaranteed to sound good together. The quickest way to get this right in FL Studio is with the Scale Highlighting feature.
In the Piano Roll, click the dropdown arrow in the top-left corner and go to View > Scale highlighting. From there, pick a root note (like C) and a scale type (like Minor Natural). Instantly, FL Studio will ghost out all the “wrong” notes, leaving you a foolproof roadmap for your melody.
This one little trick removes all the guesswork. Now, any note you place on the highlighted rows will sound musically correct with your chords. This frees you up to focus on what really matters: creating a catchy rhythm and pattern, not worrying about hitting a sour note.
Crafting a Catchy Topline
Alright, your chords are down and your scale is lit up. It’s time to write the topline—the part of the beat people will actually hum along to. A great melody isn’t random; it has a few key things going for it.
- Rhythmic Simplicity: Your melody shouldn’t be a non-stop waterfall of notes. Let it breathe! Try creating a short, rhythmic phrase and then repeat it with a tiny change.
- Contour: A good melody moves up and down. It has shape. It creates a sense of movement and direction. Avoid melodies that just drone on the same note.
- Repetition: Our brains are wired to love repetition. A simple, catchy phrase repeated throughout a section is way more effective than some long, complicated line nobody can remember. This is the very definition of a “hook.”
Think of your melody as a conversation. There are statements (the phrases) and pauses (the rests). This call-and-response feel is what makes a melody engaging and not just a sequence of notes.
Once you land on a melody you vibe with, don’t stop there. Experiment! Try it with a different instrument, pitch it up an octave, or even chop it up and rearrange the pieces. The Piano Roll gives you total freedom to mess with your ideas until they feel perfect. You’re not just making a melody that fits the drums; you’re giving your beat a unique identity.
Arranging Your Beat for Maximum Impact
You’ve got a killer 8-bar loop. It’s got bounce, the melody is catchy, and the drums are knocking. Now what? That loop is the spark, but the arrangement is what turns that spark into a fire. This is where you transform a repetitive idea into a dynamic journey that hooks a listener from the first second to the last.
Without a solid structure, even the best beat gets old fast. In FL Studio, the Playlist is your canvas for this. Think of it as the timeline where you become the director, deciding exactly when each instrument makes its entrance, when it drops out, and how the track’s energy ebbs and flows.
Building Blocks of a Song
Most beats you hear in hip-hop, pop, or R&B follow a fairly predictable formula. That’s a good thing! It means there’s a proven roadmap you can follow to make your tracks feel professional and familiar to listeners.
Here are the essential sections you’ll be working with:
- Intro (4-8 Bars): This is your first impression. It sets the mood without giving everything away. You might start with a filtered-down melody, some atmospheric pads, or just a piece of the drum pattern to ease the listener in.
- Verse (16 Bars): This section is all about creating space. It’s where a rapper or singer will tell their story, so the beat usually pulls back a bit. The energy is lower than the chorus, leaving plenty of room for vocals to shine.
- Chorus (8 Bars): This is the main event. The hook. It’s the most memorable and energetic part of the song, where all your best elements come together—the full drum pattern, the main melody, a powerful bassline. It’s the reason people hit replay.
- Bridge (8 Bars): The bridge is your secret weapon against repetition. It breaks up the verse-chorus cycle with something new. Try introducing a different chord progression, switching up the drum pattern, or dropping everything out for a synth-heavy breakdown.
- Outro (4-8 Bars): Just like the intro eased the listener in, the outro guides them out smoothly. You can fade out the beat, or get creative by slowly stripping away instruments one by one until only a single sound is left hanging.
Arrangement is all about playing with the listener’s expectations. You create tension by taking elements away, then provide a satisfying release by bringing them back in for the chorus. That push-and-pull is what keeps a beat exciting.
Common Beat Structure Breakdown
To help you visualize how these pieces fit together, here’s a standard template for a song. While you can always break the rules, this structure is a fantastic starting point for almost any track.
| Section | Typical Length (Bars) | Purpose in the Song |
|---|---|---|
| Intro | 4-8 Bars | Sets the tone and introduces key elements. |
| Verse 1 | 16 Bars | Main storytelling section; creates space for vocals. |
| Chorus | 8 Bars | The hook; most energetic and memorable part. |
| Verse 2 | 16 Bars | Continues the story, often with slight variations. |
| Chorus | 8 Bars | Repeats the hook for maximum impact. |
| Bridge | 8 Bars | Provides a change of pace and a new perspective. |
| Chorus | 8 Bars | Final, powerful repetition of the hook. |
| Outro | 4-8 Bars | Fades out the track and provides a sense of closure. |
This verse-chorus-verse-chorus-bridge-chorus format is a time-tested winner that you’ll hear in countless hit songs.
Practical Arrangement Techniques in the Playlist
Knowing the theory is one thing, but actually building the track in FL Studio’s Playlist is where the magic happens. The goal is to make each section feel distinct yet connected.
A simple but incredibly effective trick is subtractive arrangement. Start by laying out your full chorus pattern across the timeline. Now, to create your verse, just copy that chorus pattern and start muting things. Take out the lead synth, remove the open hi-hats, and maybe simplify the bassline. Boom. You’ve instantly created a verse with lower energy that builds perfectly back into the next chorus.
In a world where global recorded music revenues have hit $29.6 billion, holding listener attention is non-negotiable. Streaming algorithms favor songs that keep people engaged, and a dynamic arrangement is key. As this full report on music revenue growth shows, engagement directly translates to royalties.
Creating Smooth Transitions
Abruptly jumping from a chill verse to a high-energy chorus can sound amateurish. You need to signal to the listener that a change is coming. This is where you add the “ear candy”—small details that make a huge difference.
- Drum Fills: At the end of an 8 or 16-bar phrase, throw in a quick snare roll or a cool tom pattern. It acts like a comma, telling the listener a new section is about to begin.
- Risers and Sweeps: These are classic tension-builders. A riser is a sound that builds in pitch and intensity. Place one in the bar right before the chorus drops to create a powerful sense of anticipation.
- Impacts and Crashes: To give your chorus more punch, place a cymbal crash or a bass drop right on beat one of the new section. It emphasizes the change and makes the hook hit that much harder.
By thoughtfully arranging your patterns and adding these pro-level touches, you’ll turn that simple loop into a complete musical experience ready for any artist.
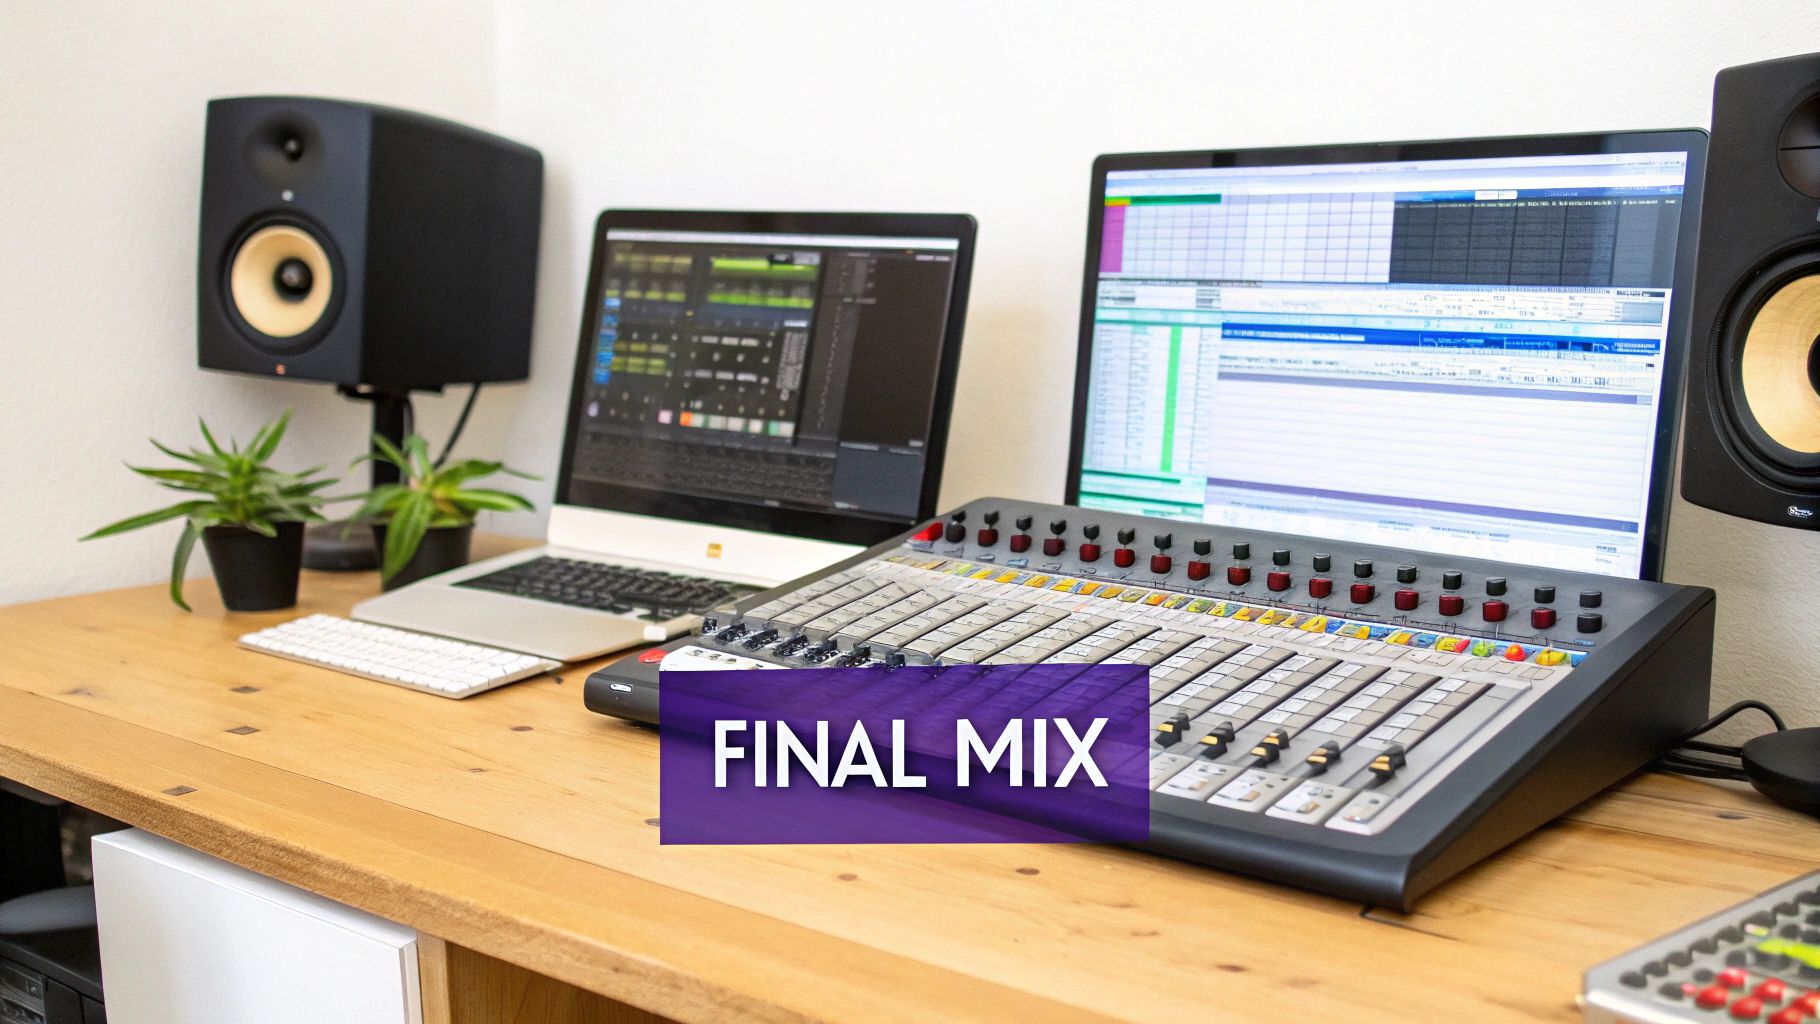
You’ve done the hard part. The arrangement is locked in, your melodies are infectious, and the drums have that perfect knock. Now it’s time for the final polish that separates the amateurs from the pros: the mixdown.
Mixing can sound intimidating, but you don’t need to be a pro audio engineer to get a clean, balanced, and professional-sounding beat. The whole point is just to give every sound its own space to breathe so nothing gets lost or muddy. We’re not going deep into the technical weeds here—just a few simple, powerful moves that make a world of difference.
Finding the Right Balance with Leveling
Before you even think about reaching for a fancy plugin, your most powerful tool is the volume fader. Seriously. Leveling is just the process of setting the volume for each track so everything sits right. A classic rookie mistake is cranking the kick and bass until they drown out everything else, leaving you with a muddy, distorted mess.
Here’s a trick I learned years ago that still works wonders: mix in mono. When you temporarily switch your master channel to mono, you lose all the stereo width. This forces you to get a clean balance using only volume and EQ.
Try this: pull all your faders down to zero. Bring up the kick and snare first. Then, slowly fade in your bass until it locks in with the drums. After that, bring in your synths, pads, and other melodic parts one by one, making tiny adjustments until every element is clear and has its own place.
Creating a Wide Stereo Image with Panning
Once your levels feel good, it’s time to create some width. Panning is simply placing sounds in the left or right speakers, and it’s the key to making your beat sound huge instead of cramped.
Think of your mix as a stage. You wouldn’t have the entire band standing in one spot, would you?
- Center Stage: Keep your foundational elements right down the middle. This means your kick drum, bassline, and main melody or vocal. These are the anchor of your track.
- Left & Right: Spread everything else out. Maybe pan your hi-hats a little to the right, a percussion loop to the left, and that cool synth counter-melody way off to one side.
This simple technique instantly opens up your mix, giving it a wide, immersive feel that sounds far more professional.
A well-panned mix feels open and spacious. A mix with everything in the center feels crowded and small. Don’t be afraid to use the full stereo spectrum to give each instrument its own home.
Carving Out Space with Basic EQ
Think of your Equalizer, or EQ, as a sonic chisel. It lets you boost or cut specific frequencies to sculpt your sounds. In mixing, the goal isn’t to make an instrument sound totally different, but to carve out little pockets of space so everything can fit together nicely.
For instance, the kick and bass are notorious for fighting each other in the low frequencies, which creates that dreaded “mud.” With a simple EQ, you can make a small cut in the kick’s frequency range right where the main note of your bassline hits. Do the opposite for the bass. Suddenly, they aren’t fighting anymore. Each one has its own pocket, and your low end will sound ten times cleaner and punchier.
Exporting Your Final Beat
Alright, your mix is banging. Now it’s time to get it out of your DAW and into the world. This is a critical step, especially if you’re sending beats to artists or looking to get into licensing. The sync and licensing market has blown up to over $650 million, fueled by content creators on TV, in films, and for video games. They need high-quality, properly exported files, as you can learn more about the future of music production here.
In FL Studio, just head to File > Export. You’ll want to create two versions:
- WAV File (24-bit): This is your master copy. It’s uncompressed, high-quality audio that’s perfect for an artist to record vocals over or for uploading to streaming platforms that want the best fidelity.
- MP3 File (320 kbps): This is your workhorse file. It’s compressed and much smaller, making it perfect for emailing previews, uploading to beat stores, or sharing on social media. The 320 kbps setting keeps it sounding as good as possible for a compressed file.
Got Questions About Making Beats? We’ve Got Answers.
As you start your beat-making journey, questions will naturally come up. That’s a good thing—it means you’re digging in and really learning the craft. Here are some of the most common questions I hear from producers just starting out, along with some straight-up answers to keep you moving.
What’s the Best DAW to Start Making Beats With?
Look, there are a ton of great Digital Audio Workstations (DAWs) out there, but I almost always point beginners toward FL Studio. Why? Its pattern-based workflow is just so intuitive, especially for hip-hop and electronic music where loops are king. It’s designed to get your ideas out of your head and into the project quickly, without a steep technical learning curve.
But the “best” DAW is really the one that feels right to you. Other popular options are:
- Ableton Live: Amazing for its “Session View,” which is perfect for jamming out ideas, trying different loops together on the fly, and performing live.
- Logic Pro X: If you’re on a Mac, this is a serious powerhouse. It comes loaded with a massive library of incredible stock sounds and top-tier mixing tools right out of the box.
Honestly, you can make a hit record in any of them. But if you’re just starting, FL Studio’s visual style and straightforward layout make it one of the easiest to pick up and run with.
Do I Actually Need to Learn Music Theory?
Short answer: no, not at all. Some of the most legendary producers in history made everything by ear, just trusting their taste and what felt right. Music theory is a tool, not a requirement, so don’t let it scare you away from creating.
That being said, learning just a little bit can be a massive shortcut. Knowing a basic minor scale, for instance, gives you a set of “safe” notes that are pretty much guaranteed to sound good together. It’s a huge help when you’re staring at a blank piano roll and don’t know where to start. MIDI packs are also a great way to cheat the system—you can see how pro-level melodies are built, then tear them apart and make them your own.
Think of music theory like a map for your melodies. You can definitely get to your destination by exploring, but a map helps you get there faster and with fewer wrong turns.
How Do I Get My Drums to Hit Harder?
Punchy drums are everything. They’re the backbone of your track, and getting them to really smack comes down to a few things. First and foremost, it starts with sound selection. You can’t polish a weak sound. If your kick sounds like a cardboard box, no amount of mixing is going to make it slam. Start with great samples, always.
Once you’ve got solid sounds, try these tricks:
- Play with Velocity: A real drummer never hits the snare with the exact same force every single time. Tweak the velocity on your MIDI notes so some hits are softer and others are harder. This tiny detail is what separates a robotic beat from one with human groove.
- Carve Out Space with EQ: Use an equalizer to clean things up. A classic move is to cut the low-end mud out of your hi-hats and snares. This keeps them from fighting with the kick and bass for space, making everything sound cleaner and punchier.
- Use a Little Compression: A touch of compression on your main drum bus can really “glue” all the individual drum sounds together. It tames the loudest peaks and brings up the quieter parts, making the whole drum kit feel more cohesive and powerful.
Where Can I Find Good, High-Quality Sounds?
The sounds that come with your DAW are a fine place to start, but the fastest way to level up your production quality is to invest in professional sample packs. These aren’t just random sounds; they’re curated, royalty-free kits that have already been designed and processed to fit modern genres.
Using high-quality samples from the jump means your beats sound more polished right away, which saves you hours of frustrating mixing later. For producers who want instant access to genre-specific kits, FL Studio Sound Packs is the perfect resource. Having a library packed with punchy drums, inspiring melodic loops, and versatile MIDI files is like having an endless supply of creative fuel.
Ready to stop endlessly searching for sounds and start making music? At FL Studio Sound Packs, you get instant access to our entire catalog of royalty-free sample packs, drum kits, and MIDI files for one affordable price. Download pro-level sounds and make better beats today.