How to Make Rap Music A Modern Guide for FL Studio
Every great rap song is built on a killer beat. It’s the sonic world your track lives in, the foundation that everything else—your flow, your lyrics, your ad-libs—sits on top of. We’re going to walk through how to build that foundation in FL Studio, starting with nothing and ending with an 8-bar loop that’ll have your head nodding.
Laying the Foundation: Finding Your Beat and Samples
Before you write a single bar, you need a vibe. The beat is what sparks the entire creative process. It sets the mood, suggests a vocal cadence, and can even inspire the whole theme of your song. When this part clicks, everything that follows just feels right.
The goal right now isn’t to create a finished masterpiece. It’s to build a solid 8-bar loop that gets you excited and gives you something to write to. Don’t get bogged down trying to make it perfect. Just make it groove.
Finding Your Sonic Identity
So, where do you start? Sound selection. Think about the energy you want to create. Are you going for that dark, aggressive trap feel, or something more laid-back and introspective like a lo-fi track? This choice will shape every decision you make from here on out.
- Sample Packs: These are your best friend, especially when you’re starting. They’re curated collections of drum hits, melodic loops, and FX that are designed to sound professional right out of the box. Using high-quality sounds is a huge shortcut to a better beat.
- FL Studio’s Stock Sounds: Don’t sleep on the sounds that come with FL Studio. While you’ll want to build your own library over time, the stock sounds are more than enough to learn the ropes without spending a dime.
- Online Libraries: When you’re ready to expand, sites like Splice and our own collection of FL Studio sound packs are goldmines. They offer endless royalty-free sounds to help you find that unique texture that makes a beat truly yours.
The process is pretty straightforward: find a sound that inspires you, set the right tempo for the vibe, and then build your drums around it.

This visual is a great reminder that these three steps build on each other. A great sample won’t hit right at the wrong tempo, and the best drums won’t save a weak sample.
Setting the Tempo and Vibe
Tempo is the heartbeat of your track, measured in Beats Per Minute (BPM). It’s one of the most defining elements of any rap subgenre and dictates the entire energy of the song. Getting this right is crucial.
To help you get started, here’s a quick guide to common tempos and the feel they create.
Rap Subgenre Tempo and Feel Guide
| Subgenre | Typical BPM Range | Key Rhythmic Elements | Recommended Sound Packs |
|---|---|---|---|
| Trap | 130-170 BPM | Fast, skittering hi-hats; deep 808s; sparse snare/clap | Trap and 808-focused packs |
| Boom Bap | 85-95 BPM | Hard-hitting kick and snare; swing feel; often uses vinyl samples | Classic Hip Hop, Soul, and Jazz sample kits |
| Lo-Fi Hip Hop | 70-90 BPM | Relaxed, off-the-grid drums; tape hiss/vinyl crackle; mellow keys | Lo-Fi, Jazz Hop, and Chillout packs |
| Drill | 140-150 BPM | Triplet hi-hat patterns; sliding 808s; syncopated snare patterns | Drill and UK Grime kits |
| West Coast / G-Funk | 90-100 BPM | Funky basslines; prominent synth leads; steady, clean drums | Funk, G-Funk, and vintage synth packs |
This table is just a starting point, not a set of hard rules. Feel free to experiment. A trap beat at 120 BPM or a boom bap track at 100 BPM can create a really unique pocket.
Pro Tip: Found a melodic loop you love but don’t know the BPM? Drag it into the playlist in FL Studio, click the waveform menu in the top-left corner, and select “Detect tempo.” This will automatically set your project’s BPM to match the sample, saving you a ton of guesswork.
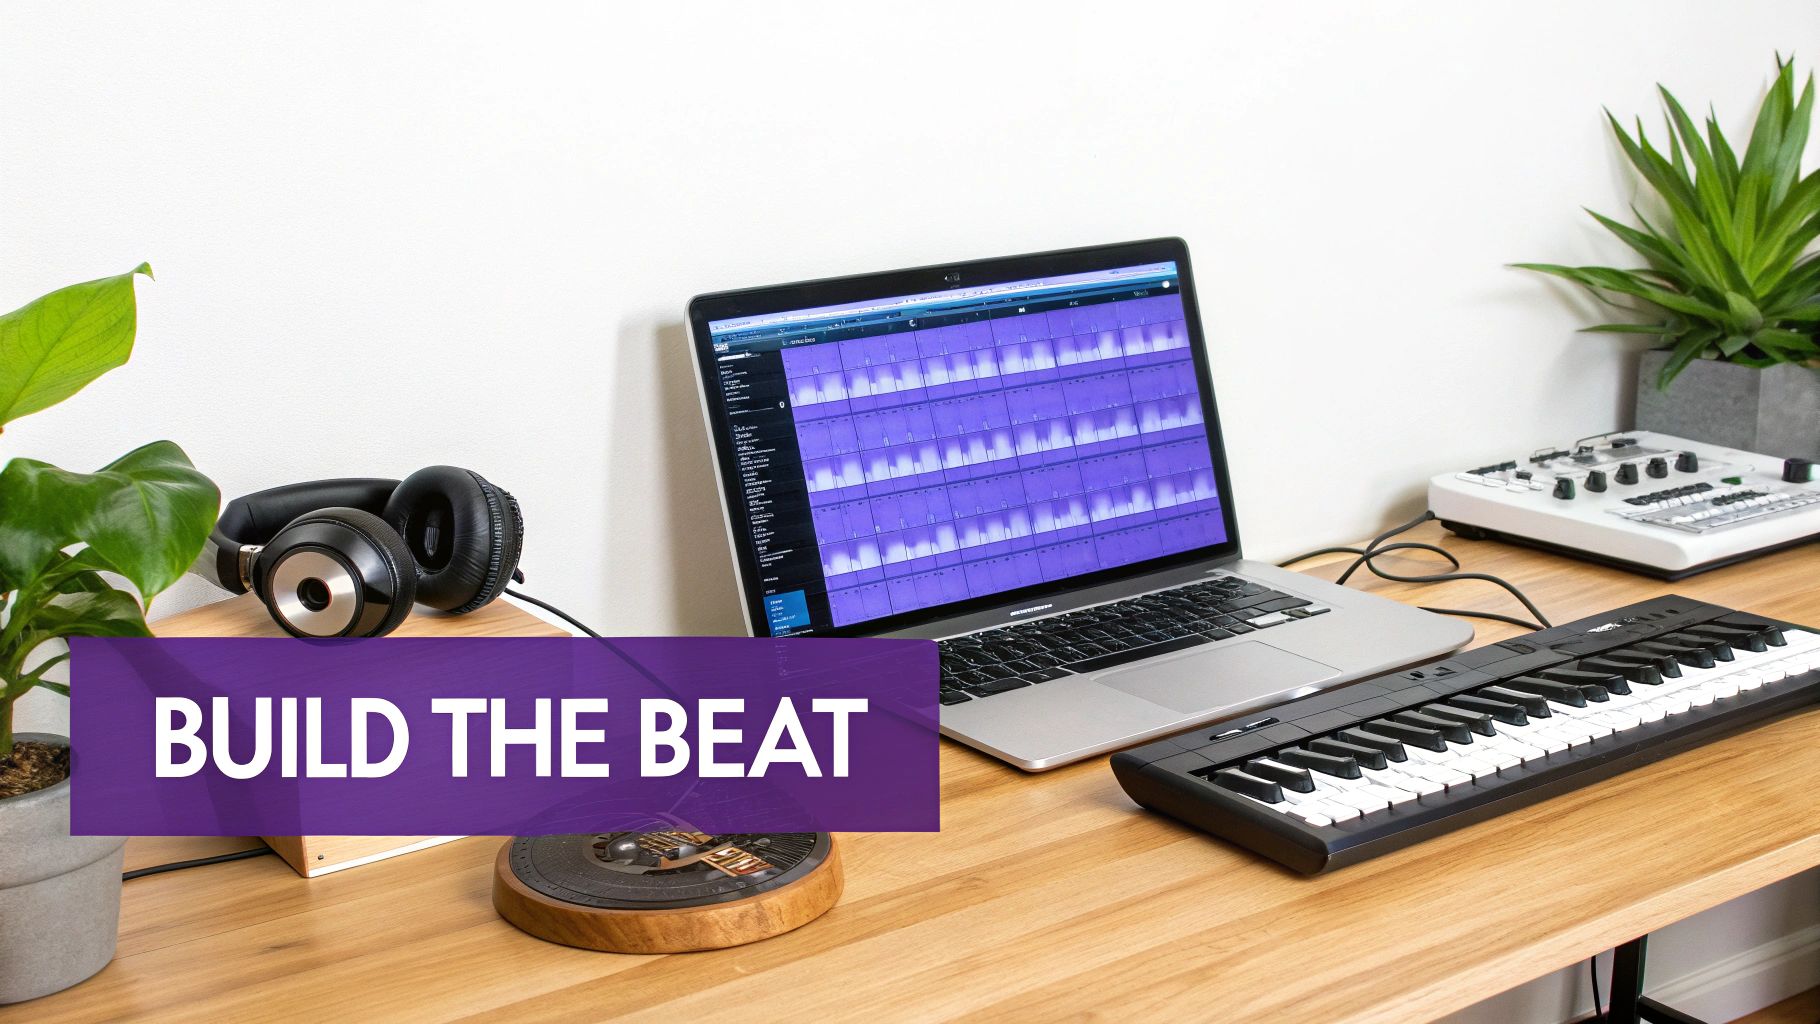
Programming a Head-Nodding Drum Pattern
Drums are the skeleton of your beat—they provide the groove and make people move. In FL Studio, your command center for this is the Channel Rack.
Let’s start with the holy trinity: kick, snare, and hi-hat.
- The Kick: This is the punch. A classic move is to place a kick on beats 1 and 3 of every four-beat measure. It creates a solid, driving pulse.
- The Snare: This provides the backbeat. Placing it on beats 2 and 4 creates that fundamental rhythm that defines most popular music.
- The Hi-Hats: This is where the energy comes from. You can start simple with eighth notes (filling in every other step in the Channel Rack). For that modern trap sound, right-click the hi-hat and open the piano roll to program faster 16th or 32nd note rolls. If you want to dive deeper into this, check out our full guide that breaks down how to use samples in FL Studio for drum programming and more.
Once you have a basic drum pattern looping, drag your melodic sample into the playlist. Layering that melody over your drums is the magic moment where it all starts to sound like real music. With that solid 8-bar loop, you now have the perfect canvas to start writing.
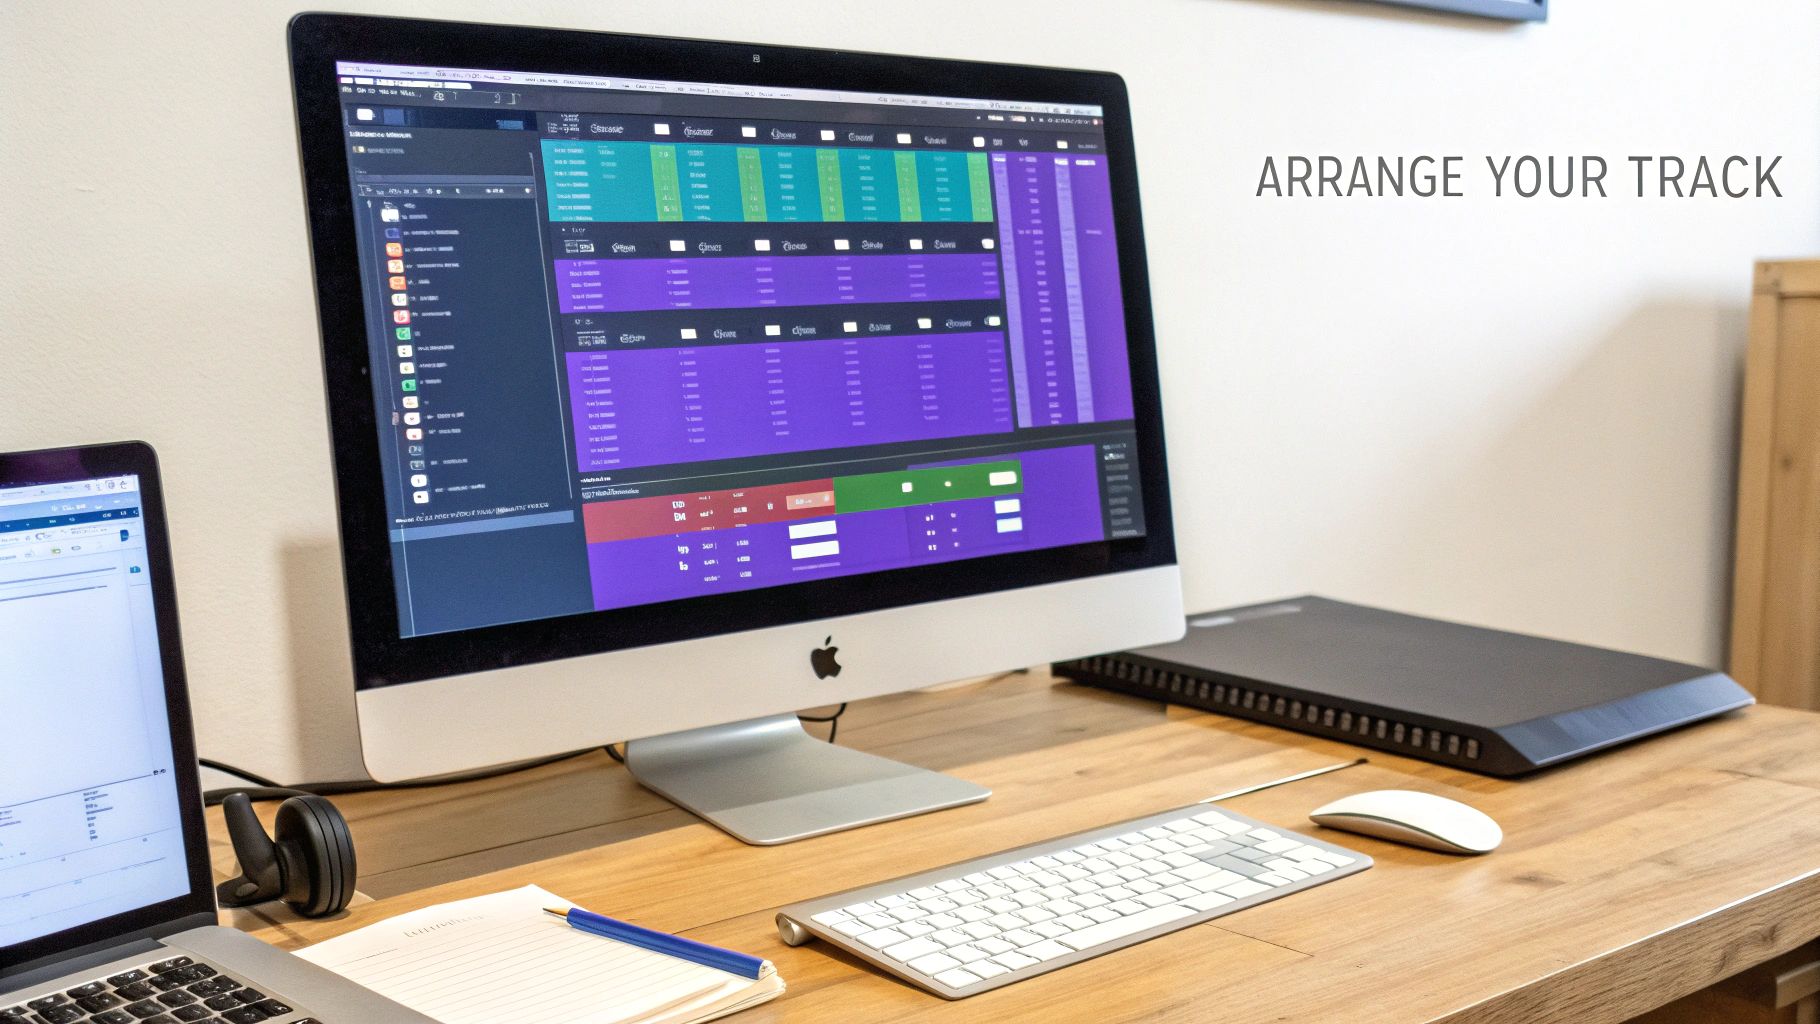
Arranging Your Beat into a Full Song
Alright, you’ve got that fire 8-bar loop. It’s the heart of your track, but a heart needs a body to live in. Just repeating that loop for three minutes straight isn’t a song—it’s a ringtone.
The real magic happens when you stretch that loop out and arrange it into a dynamic journey. We’re talking about creating highs, lows, and moments that keep the listener totally locked in. This is where we leave the Channel Rack behind and jump into FL Studio’s Playlist view.
Think of yourself as a film director, but for music. You need an opening scene, rising action, a climax, and a solid ending. A rap song works the same way, usually built from intros, verses, choruses, and outros. The key is to make each section feel different but still part of the same story.
Building Your Song Structure
The most common structure in rap is popular for a reason: it just works. It gives the listener a familiar roadmap but leaves you plenty of room to get creative. Let’s break down the essential building blocks.
- Intro (4-8 bars): This is your first impression. Set the mood. You could use a stripped-back version of your main loop, maybe just the melody with a filter slapped on it, or a cool sound effect to grab attention right away.
- Verse (16 bars): This is where the story unfolds. The instrumental needs to be steady and leave enough space for the rapper to do their thing without fighting the beat.
- Chorus (8 bars): The main event. This is the big, memorable hook that people will be singing along to. The energy should be at its peak here, with all your main sounds hitting at once.
- Outro (4-8 bars): Time to land the plane. You can fade the beat out slowly, leave just a single instrument playing, or cut it off abruptly for a dramatic finish.
A tried-and-true arrangement goes like this: Intro -> Verse 1 -> Chorus -> Verse 2 -> Chorus -> Outro. Countless hits have been built on this formula. It builds anticipation, delivers a satisfying payoff with the chorus, and gives the track a clear beginning, middle, and end.
Creating Energy and Dynamics
Once your sections are mapped out in the Playlist, the real artistry begins. The difference between a bedroom beat and a studio-quality track is all in the energy flow. You want to build tension and then release it, making the chorus hit harder every single time.
A super simple but effective trick is subtraction. Try muting the drums and bass for the very last bar of the verse, right before the chorus hits. This creates a split second of silence—a vacuum of energy that makes the beat drop feel absolutely explosive when it comes back in for the hook.
Also, don’t just copy and paste your first verse to make the second one. That’s lazy and boring. Keep the listener guessing by adding a new counter-melody, bringing in a subtle synth pad, or switching up the percussion pattern. Our guide on making beats with FL Studio dives deeper into these kinds of advanced layering tricks.
Using Automation to Evolve Sounds
Static sounds are the enemy. You can make your entire beat feel alive and breathing by using automation clips in FL Studio. Automation lets you “record” changes to pretty much any knob or fader over time—think volume, panning, or filter effects.
For instance, say you have a synth pad playing through the verse. Instead of just letting it sit there, create an automation clip for its filter cutoff. You can draw a slow, rising curve so the synth gradually gets brighter as the verse builds toward the chorus. It’s a subtle change, but it creates a sense of progression that listeners feel even if they don’t consciously notice it.
Another great spot for automation is your hi-hats. Automate the panning to make them dance between the left and right speakers. This adds a ton of movement and stereo width to your mix. These small, evolving details are what separate a static loop from a living, breathing instrumental. Once your beat can stand on its own as an interesting piece of music, you know it’s ready for vocals.
Crafting Lyrics and Mastering Your Flow
So, your beat is arranged and finally breathing with life. Now it’s time to lay down the most critical element: your voice. A great instrumental sets the stage, but powerful lyrics and an undeniable flow are what make an audience truly connect with your track. This is the moment you transform a head-nodding beat into a story that sticks.
First things first, get out of the mindset that rap is just about finding words that rhyme. The best rappers are storytellers. They paint vivid pictures and stir up emotions with their words. Your goal is to give listeners a reason to lean in and really hear what you’re saying, not just how you’re saying it.
Think about the track’s theme. What feeling did the beat give you? Is it aggressive and confident, or is it more introspective and somber? Let that vibe guide your lyrical direction. Don’t be afraid to just jot down random ideas, phrases, or even single words that pop into your head before you even try to write a full line.
Beyond the Basic Rhyme Scheme
Look, a simple AABB rhyme scheme (cat/hat, run/sun) gets old fast. If you want to keep your verses engaging, you have to add some variety. Experimenting with different rhyme schemes is one of the fastest ways to level up your writing from amateur to pro.
- Internal Rhymes: This is when you place rhyming words within the same line, adding a complex, rhythmic texture. For instance, “I stay calm on the track, drop a bomb, it’s a fact.”
- Multi-Syllable Rhymes: Rhyming multiple syllables instead of just the last one makes your flow sound way more intricate and skillful. Think “motivation” and “proclamation” instead of just “pen” and “ten.”
- Slant Rhymes (or Near Rhymes): Using words with similar but not identical sounds can open up your vocabulary and just sounds more natural. Rhyming “shape” with “grape” is a perfect rhyme; rhyming “shape” with “hate” is a slant rhyme that works just as well.
Your lyrics are the script, but your flow is the performance. The most brilliant words in the world will fall flat if the delivery is boring. Your flow is how you ride the beat—it’s the rhythm, cadence, and pocket of your vocal performance.
Finding Your Pocket and Riding the Beat
Your “flow” is your unique rhythmic delivery. It’s how your syllables dance with the kicks and snares of the instrumental. The best way to develop this is to listen intently to your beat. Seriously, loop the 16-bar verse section and just mumble nonsense syllables over it. Don’t even worry about words yet; just focus on the rhythm.
Are you rapping directly on the beat? Slightly ahead of it? Or lagging just a hair behind? Each choice creates a totally different energy. Rapping slightly behind the beat, for example, can give your track a relaxed, confident swagger.
A typical rap verse is 16 bars long. A “bar” is just a measure of four beats, so a 16-bar verse has a total of 64 beats. Understanding this structure is crucial for making your lyrics fit perfectly. As you write, try to make your ideas fit neatly within 4-bar or 8-bar sections. This gives your verse a real sense of structure and momentum. For a deeper dive on this, check out our guide on hip-hop music creation.
Practice and Delivery
Once you have your lyrics written down, the real work begins. Your delivery is what injects the emotion and energy into the words. Practice your verse over and over again until you can recite it without thinking. This frees you up to focus on the actual performance.
Here are a few actionable tips to immediately improve your vocal delivery:
- Emphasize Key Words: Don’t deliver every single word with the same intensity. Punch certain words to add impact and guide the listener’s attention where you want it.
- Vary Your Pace: Speed up your flow to build excitement, then slow it down for emphasis. This kind of dynamic variation is what keeps a listener hooked.
- Control Your Breath: Running out of breath mid-line is a classic rookie mistake. Plan where you’re going to take your breaths so your delivery stays smooth and powerful. I even mark these spots on my lyric sheet.
The goal is to make your vocal performance feel as natural and effortless as the beat itself. When your lyrics and flow are perfectly in sync with the instrumental, that’s when you’ve created something special. This is the heart of making great rap music.
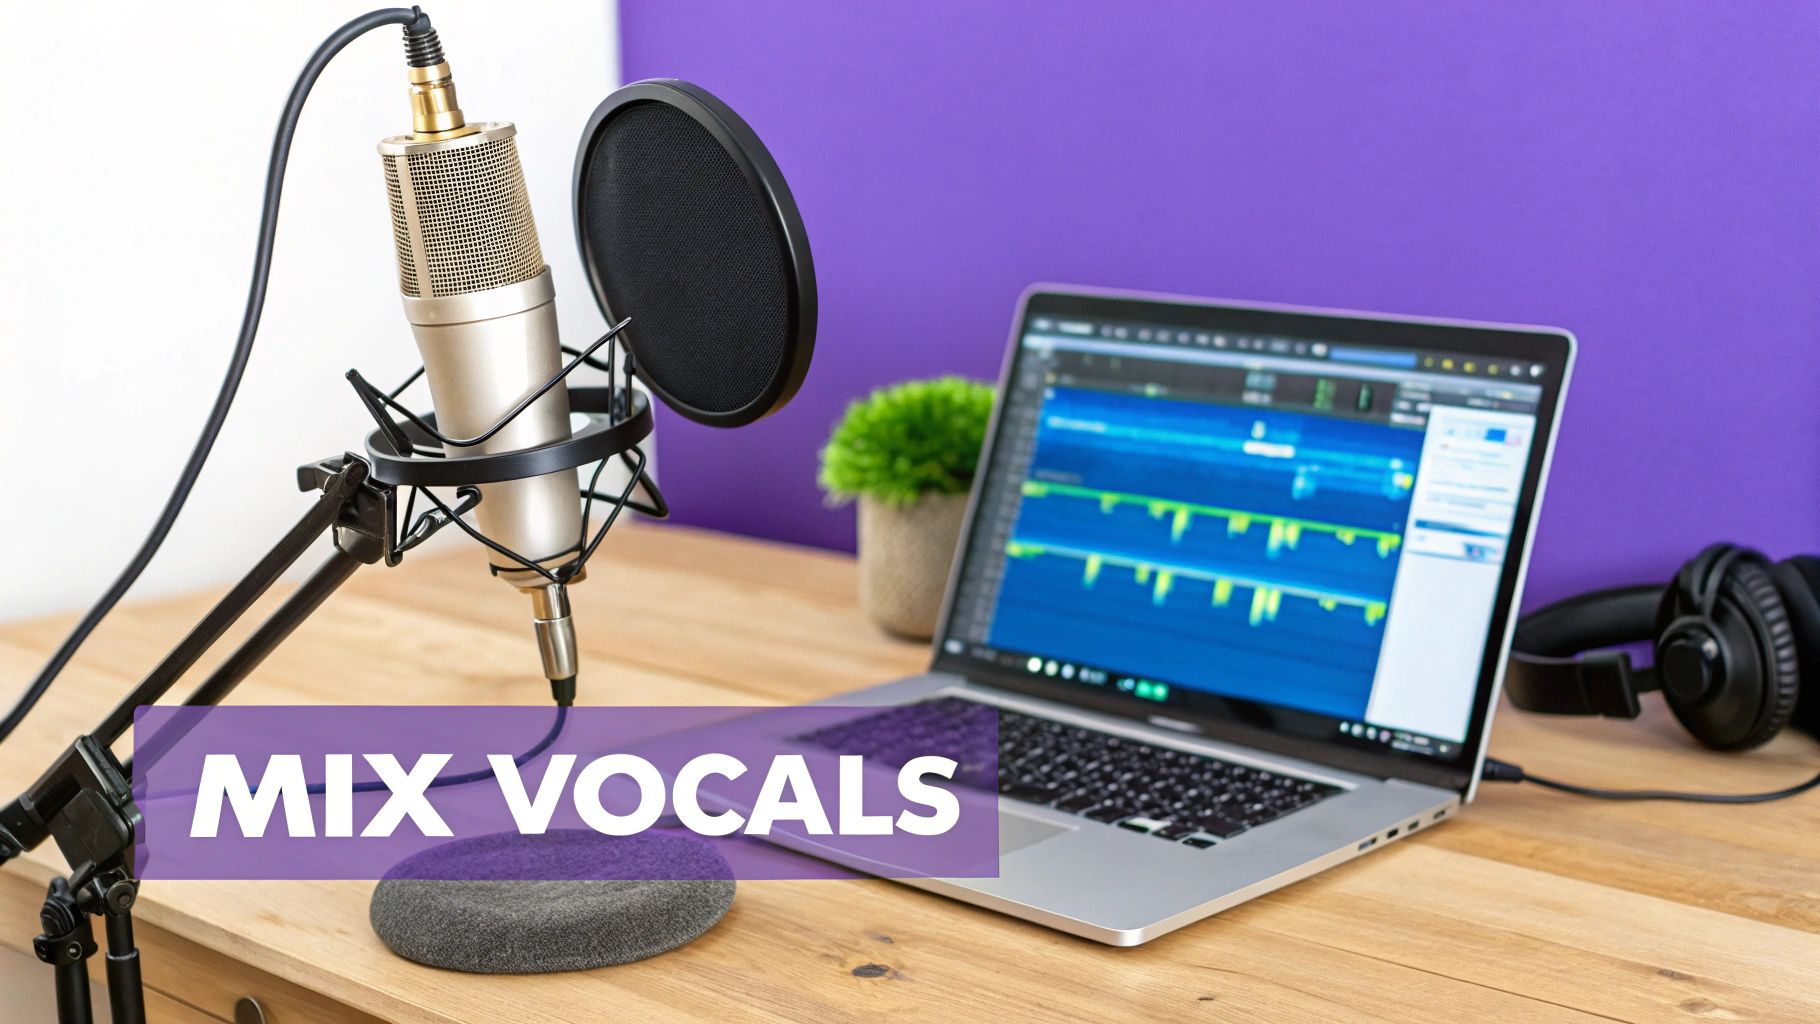
Recording and Mixing Pro-Quality Vocals
Your instrumental is arranged and your lyrics are locked in. Now for the moment of truth: laying down your vocal performance. A clean, powerful vocal can turn a good beat into a great song, but a bad recording can absolutely tank an otherwise perfect track.
This is where the track really comes to life and gets its personality. The good news? You don’t need a million-dollar studio to get a pro-quality sound. We’re going to walk through the essentials for recording and mixing your vocals using only the stock plugins that come with FL Studio.
Getting a Clean Vocal Recording
Let me be blunt: garbage in, garbage out. This is the single most important rule in all of vocal production. You can’t mix your way out of a terrible recording, so your first priority is capturing the cleanest, most balanced take you possibly can.
Start by getting your microphone levels right on your audio interface. The goal is to record a strong signal without “clipping”—that nasty digital distortion you get when the signal is too loud. A great rule of thumb is to aim for your vocal peaks to hit somewhere around -10dB to -6dB inside FL Studio. That gives you plenty of headroom to work with later.
Here are a few simple, non-negotiable habits to get into:
- Use a Pop Filter: This cheap little mesh screen sits between you and the mic. It’s a lifesaver for diffusing those harsh “p” and “b” sounds (plosives) that create loud, bassy thumps in your recording.
- Find the Right Distance: Standing about 6-8 inches from your mic is usually the sweet spot. Get too close, and you’ll run into the “proximity effect,” which adds a ton of muddy, excessive bass. Too far away, and you’ll start picking up way too much room noise.
- Record Multiple Takes: Don’t pressure yourself to nail it in one go. Nobody does. Record your verse and chorus at least three or four times all the way through. This gives you plenty of material to “comp” together, cherry-picking the best parts from each take to create one flawless performance.
Capturing a clean audio signal is 80% of the battle. The quality of your raw vocal take sets the ceiling for how good your final mix can sound. Seriously, spend the extra time here. Get it right at the source.
Building Your Vocal Chain in FL Studio
Once you’ve got a solid vocal take you’re happy with, it’s time to make it shine. We’re going to build a simple but incredibly effective vocal processing chain using three of FL Studio’s most powerful stock plugins. Load your vocal onto a free mixer track and add these effects in this exact order.
And yes, the order is critical. Each plugin processes the sound it receives from the one before it. Change the order, and you’ll completely change the final sound.
1. Fruity Parametric EQ 2 for Surgical Cleaning
The first move in almost any vocal mix is subtractive equalization (EQ). This just means cutting out the bad frequencies before you start boosting the good ones. The human voice, combined with your room’s acoustics, can create a buildup of low-end rumble and boxy mid-range tones that make a vocal sound muddy and amateurish.
- Cut the Lows: Start by applying a high-pass filter. Grab band 1, right-click it, and select “High pass.” Drag it up to around 80-120 Hz. This gets rid of useless low-frequency noise that just clutters the mix without adding anything to your voice.
- Find and Tame Muddiness: The “mud” in a vocal usually hangs out somewhere between 200 Hz and 500 Hz. Create a narrow bell curve with another EQ band, boost it way up, and “sweep” it across this frequency range. When you hear a particularly ugly, boxy tone, cut that frequency by about 3dB.
This quick cleanup carves out space for your vocal, helping it sit cleanly in the beat instead of fighting with the bass or kick.
2. Fruity Compressor for Consistency
A rap performance is naturally dynamic—some words are quiet, others are loud and aggressive. A compressor’s job is to squash that dynamic range, evening out the volume so every single word is clear and present. This is the secret to making your vocal sit right on top of the beat.
For a modern rap vocal, you’ll want fast and aggressive settings.
- Set the Ratio: A 4:1 ratio is a great starting point. This means for every 4dB the signal goes over the threshold, only 1dB actually comes out.
- Adjust the Threshold: Pull the threshold down until you see the gain reduction meter knocking off about 3-6dB on your loudest words.
- Fast Attack, Fast Release: Use a fast attack (around 1-5ms) to catch the initial punch of your words and a relatively fast release (around 50ms) so the compressor resets quickly.
- Add Makeup Gain: Compression naturally lowers the overall volume, so use the “Gain” knob to bring the vocal level back up to where it was.
Your vocal should now sound much more controlled and consistently “in your face.”
3. Fruity Reeverb 2 for Space and Depth
Finally, reverb adds a sense of space, making your vocal feel like it belongs in the same sonic world as the beat. The trick is to add just enough to create depth without making it sound like you’re rapping in a giant cave.
Instead of slapping the reverb directly on your vocal track, it’s way better to use a “send.” Route your vocal track to a separate, empty mixer track. On this new track, load Fruity Reeverb 2 and turn its “Dry” knob all the way down, leaving only the “Wet” signal. Now, you can use the send knob on your main vocal track to blend in the perfect amount of reverb. This gives you way more control and keeps your original vocal clean and punchy.
The Final Polish with Mixing and Mastering
 You’ve got all the pieces of the puzzle laid out: a hard-hitting beat, a killer arrangement, and a clean, powerful vocal take. Now comes the part where we glue it all together. This final stage is what separates a demo from a professional-sounding track that can hold its own on any system. This is where mixing and mastering come into play.
Think of mixing as crowd control for your sounds. It’s all about making sure every element—from the thump of the kick to the crispness of the vocal to that subtle synth pad in the background—has its own space to shine without stepping on anything else.
Mastering is the final coat of paint. It’s the process of taking your finished mix and adding that last bit of polish and loudness, making sure it stacks up against commercial tracks on platforms like Spotify and Apple Music.
Balancing the Elements in Your Mix
The absolute foundation of any good mix is getting the levels right. This is as simple as adjusting the volume faders for each track in the FL Studio mixer. The goal here is to create a clear hierarchy. You want the most important elements, which are almost always the vocals and the core drums, to sit right up front.
A classic trick is to pull all your faders down to zero. From there, bring up the kick and snare until they’re hitting with the right amount of impact. Next, slowly bring in the bass, finding that sweet spot where it feels powerful but doesn’t completely swallow the kick drum. Then, blend in your melodic parts and, finally, raise the vocal fader until it sits confidently on top of the entire beat.
This whole process is more of an art than a science. You have to constantly ask yourself questions. Can I hear every word clearly? Does the kick still have that punch? Is the 808 hitting hard but not overpowering everything else?
Creating a Wide Stereo Image with Panning
Panning is your secret weapon for making a mix sound wide and separated instead of cluttered and small. By default, every sound is piled up in the center, which quickly becomes a mess. Panning lets you strategically place sounds anywhere in the stereo field, from the far left to the far right.
- Keep Key Elements Centered: Your kick, bass, and lead vocal should almost always live right down the middle. They are the backbone of your track.
- Pan Supporting Elements: Try nudging your hi-hats slightly to the right, a counter-melody to the left, and push your ad-libs or background vocals even wider.
- Create Balance: A good rule of thumb is if you pan an instrument to the left, find a similar sound and pan it an equal amount to the right. This keeps the whole mix from feeling lopsided.
This kind of strategic placement carves out pockets for each instrument to live in, making the entire track feel bigger, clearer, and more immersive.
The goal of mixing isn’t just to make things audible; it’s to create an emotional landscape. Use panning and volume to draw the listener’s focus and build energy, guiding their experience through the track you’ve built.
Basic Mastering for Competitive Loudness
Once your mix is balanced and sounding solid, it’s time to bring up the volume. This all happens on the Master Fader—the final output for your entire song. The main tool for this job is a limiter, which is designed to raise the overall perceived volume without letting your audio clip and distort.
FL Studio’s stock Fruity Limiter is more than capable of getting this done.
- Insert the Limiter: Drop an instance of Fruity Limiter as the very last plugin on your Master Fader. Nothing should ever come after it.
- Adjust the Ceiling: Set the “CEIL” (ceiling) knob to -0.3dB. This little bit of headroom is crucial to prevent digital distortion when your track gets converted to an MP3 or streamed online.
- Increase the Gain: Now, slowly start pushing up the “GAIN” knob. You’ll hear the track get louder and see the waveform on the plugin get thicker. Be careful not to overdo it. If the “ATT/REL” meter is constantly lighting up, you’re squashing all the life out of your track. Aim for it to flash only on the loudest peaks, like your kick and snare hits.
This simple process will get your track’s volume up to a competitive level. The real goal is to get a master that sounds good everywhere, from cheap earbuds to a car stereo, giving your hard work the professional polish it deserves.
Getting Your Music Heard in a Crowded World
That feeling when you finish a master is incredible. You’ve poured everything into this track, and it’s finally done. But here’s the hard truth: finishing the song is just crossing the starting line, not the finish line.
Every single day, over 100,000 new songs hit streaming services. That’s a mind-blowing number. In a world this crowded, just making your music available isn’t enough. You need a game plan to cut through all that noise and get your art in front of actual listeners.
This is the final piece of the puzzle. It’s where you turn all that hard work in the studio into real-world impact. Let’s talk about getting your music out there and then dive into some simple, high-impact ways to get people to actually listen.
Releasing Your Music to the World
To get your music onto platforms like Spotify, Apple Music, and TIDAL, you can’t just upload it directly. You have to go through a digital music distributor. Think of them as the middlemen who take your mastered audio file and all the important info (song title, artist name, artwork) and deliver it to all the major stores and streaming apps.
You’ve got plenty of options, and they all work a little differently. Some of the most popular choices for independent artists are:
- DistroKid: This is a go-to for many because you pay one simple annual fee for unlimited uploads. If you plan on releasing a lot of music, this is probably your best bet.
- TuneCore: Instead of a yearly fee, TuneCore charges you for each release. This can be a great option if you’re only planning to drop a single or an EP every now and then.
- CD Baby: They charge a one-time setup fee for each release, with no recurring costs. They focus on getting your music into a massive network of stores.
After you pick one, the process is pretty simple. You’ll upload your high-quality WAV file from the mastering stage, your cover art (make sure it meets their specs, usually 3000×3000 pixels), and fill out all the details. Give yourself some lead time—it can take anywhere from a few days to a couple of weeks for your song to pop up everywhere.
The Power of Short-Form Video
Look, just having your song on Spotify isn’t a marketing plan. Right now, your single most powerful tool for getting discovered is short-form video. A 15-second clip of your song on TikTok or Instagram Reels can change your career faster than anything else.
And you don’t need a huge budget or a fancy camera. Just grab your phone and start creating content that features your track.
- Show the Process: People are fascinated by how music is made. Film yourself cooking up the beat, scribbling down lyrics, or laying down vocals.
- Create a Trend: Can you come up with a simple dance, a funny skit, or a cool visual that fits a catchy part of your song?
- Use Your Lyrics: Grab a powerful or relatable line from your verse and just put it on the screen. Create a simple video that captures that mood.
The secret sauce here is consistency and being yourself. Don’t just post once and pray it goes viral. Try different things, see what people react to, and keep at it.
Pro Tip: As you’re making your track, start thinking in terms of “TikTok moments.” Is there a catchy 8-15 second part with a killer punchline or an irresistible beat drop? Finding these spots early will make creating your promo content a breeze later on.
Building Your Community
Going viral is great, but a real, sustainable career is built on a community of true fans. You need to find the places online where people who love your style of rap are already hanging out. This could be subreddits like r/makinghiphop, Discord servers for producers, or Facebook groups for specific subgenres.
The key is not to just show up and spam your links. That’s the fastest way to get ignored. Instead, become a real member of that community. Share what you know, give other artists feedback, and join the conversation. When you finally do share your own music, people will actually be interested because they’ll know you as a peer, not just another promoter. This is how you build a loyal fanbase that will stick with you for the long haul.
Ready to find the perfect sounds for your next hit? At FL Studio Sound Packs, we offer thousands of royalty-free samples, loops, and drum kits designed to give your beats a professional edge. Start building your next track today.
Find your sound at https://www.flstudiosoundpacks.com