Crafting Pro MIDI Drums Patterns in FL Studio
MIDI drum patterns are your secret weapon for total creative control over your beats. Forget static audio loops—these are editable sequences of notes that let you call all the shots. You can tweak any part of the rhythm, swap individual drum hits, or completely rebuild the groove from the ground up, making them the most flexible foundation you can have.
Your Foundation for Perfect MIDI Drums Patterns
The best way to think about MIDI is as a set of instructions, not a finished recording. When you drag a MIDI drum pattern into your project, you’re not importing a baked-in audio file. You’re loading a blueprint for a beat.
This blueprint tells FL Studio which drum to play, when to play it, and how hard. That single distinction is where all the power lies.
You’ll see this magic happen in two main places: FL Studio’s Channel Rack and the Piano Roll. The Channel Rack is your bird’s-eye view, perfect for quickly sketching out rhythms. You can punch in kicks, snares, and hi-hats using the step sequencer and have a solid groove going in seconds.
When you’re ready to get surgical, the Piano Roll is where the real work gets done. This is your command center for fine-tuning every single detail of your MIDI drum patterns.
- Note Placement: Nudge each drum hit with pinpoint accuracy to get the timing just right.
- Velocity Control: Adjust the “hardness” or volume of every note to create dynamic, human-feeling rhythms that breathe.
- Note Length: Stretch or shrink notes, which is essential for sounds like ringing open hi-hats or decaying 808s.
The real beauty of working with MIDI is that it’s completely non-destructive. You can experiment for hours, trying out different drum kits or rewriting a pattern from scratch, and you’re never locked into a specific sound. It’s the ultimate producer’s playground.
This level of flexibility is exactly why MIDI packs, like the ones from FL Studio Sound Packs, are such a goldmine. They give you professionally programmed patterns that are perfect starting points. You can load up a complex trap hi-hat roll or a funky house groove, see how it was built, and then tear it apart or customize it to perfectly fit your track.
For anyone just starting out, breaking down these patterns is one of the fastest ways to absorb the rhythmic language of different genres. If you want to get a better handle on the fundamentals, our guide on making beats with FL Studio is a great place to start. This whole process lets you transform a simple idea into a professional, dynamic drum track that feels truly alive.
Building Your First Drum Pattern from Scratch
Alright, enough theory—let’s get our hands dirty and build a beat. This is where the real fun begins. We’ll start inside FL Studio‘s Channel Rack, which is the perfect place for sketching out rhythmic ideas fast.
First things first, you need some sounds. Go ahead and load up a simple drum kit. Plenty of the default FL Studio kits will do the trick, or you can grab something from one of the many FL Studio Sound Packs.
Once you’ve got your sounds loaded, it’s time to lay down the foundation. For tons of genres, a solid starting point is putting a kick drum on beats 1 and 3, with a snare hitting on beats 2 and 4. This simple move creates that classic, driving backbeat that holds a track together. In the Channel Rack, it’s as easy as clicking the little step buttons for your kick and snare samples.
This whole creative process really boils down to three simple stages: getting the idea, editing it into shape, and turning it into a final track.
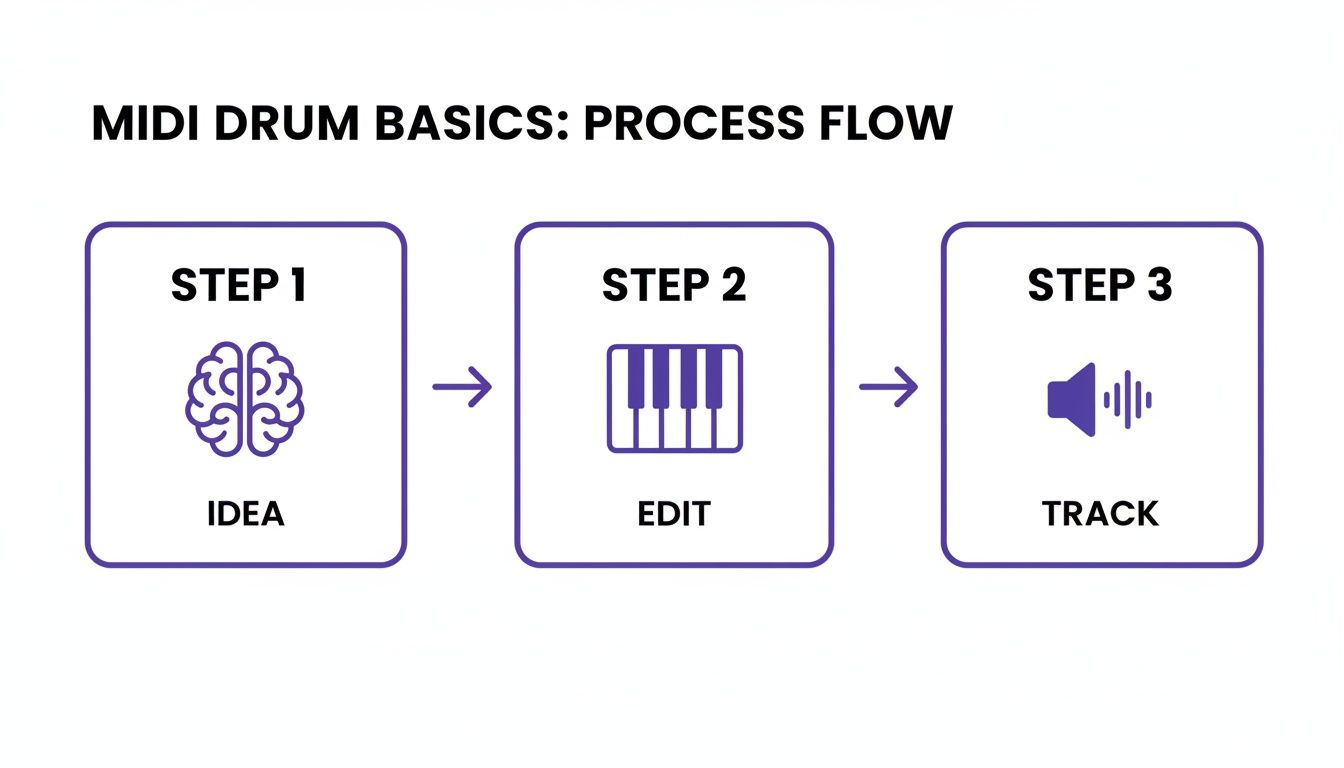
It’s a good reminder that every great beat starts as a simple concept before you jump into the technical side of things.
Adding Rhythmic Complexity
With your core kick-and-snare groove locked in, let’s inject some energy with hi-hats. A super common trick is to program a hi-hat on every 16th note, which creates that constant, pulsing vibe. The quickest way? Just right-click the hi-hat channel and hit “Fill each 2 steps.” Boom, instant pattern.
But a straight, static hi-hat line can sound pretty robotic. This is where velocity becomes your secret weapon. Velocity is just a fancy word for how hard each note is hit, which affects its volume and sometimes even the sound itself. To tweak it, click the graph editor icon in the Channel Rack and start dragging the little bars for each hi-hat note up or down.
My go-to trick is to nudge the velocity down on every other hi-hat. It’s a subtle move, but it immediately creates a natural “bounce” that makes the whole pattern feel less programmed and more human.
Refining in the Piano Roll
The Channel Rack is awesome for getting ideas down quickly, but for the fine details, you need the Piano Roll. Just right-click your snare channel and select “Piano roll” to open it up.
This is the perfect spot to add in some ghost notes—those quiet, subtle snare hits that fill in the gaps and give your beat more texture and groove. You can also program intricate snare rolls or those rapid-fire hi-hat stutters that are so popular in modern production. Try using the paint tool to draw a quick burst of 32nd notes at the end of a bar; it works great as a fill leading into the next section.
By combining the speed of the Channel Rack for the main idea with the precision of the Piano Roll for all the details, you can take a simple four-bar loop and build it into something that sounds complex, groovy, and totally professional.
Crafting Genre-Specific MIDI Drum Patterns
A beat’s vibe isn’t just about the samples you pick; it’s written directly into the rhythm of the MIDI pattern itself. A trap banger has a completely different pulse than a laid-back hip-hop groove or a relentless house track. Getting these rhythmic signatures right is what separates an amateur beat from a professional-sounding production.
This is where pre-made MIDI patterns become a secret weapon. When you drop a genre-specific pattern into your project, you’re not just getting a beat—you’re getting a blueprint. You can see the DNA of the style laid out right in your Piano Roll, giving you a perfect starting point to either use as is or, better yet, pull apart to learn what makes that genre tick.
The Anatomy of a Trap Beat
Modern trap is built on two core elements: thunderous, booming 808s and lightning-fast, intricate hi-hats. To make room for the 808 to carry both the bass and the rhythm, the kick and snare patterns are often kept surprisingly simple.
- Hi-Hats: The signature sound of trap is that stuttering, skittering hi-hat pattern. The trick is to program them using 16th or even 32nd notes, then dive into the Piano Roll to add rolls, triplets, and quick pitch changes. This is what creates that iconic energy.
- 808s and Kicks: Think of the kick as the punch that announces the 808. The 808 itself does the heavy lifting, often following a simple melodic line that locks in with the track’s key. Don’t overcomplicate the 808 pattern; let the hi-hats do the complex work.
- Snares and Claps: These are your anchor, typically landing squarely on the 3rd beat of every bar for a hard-hitting backbeat. A classic move is to layer a sharp clap over a thick snare to make it cut through the mix.
If you’re really looking to master this sound, our deep dive on how to produce trap beats with FL Studio is the perfect next step.
Classic Hip-Hop Grooves
Old-school hip-hop is all about the feel—that “in the pocket” groove that often comes from classic drum breaks. The goal here is a rhythm that feels human and just a little bit imperfect. It’s all about controlled looseness.
The kick patterns tend to be more syncopated and busier than in trap, creating that undeniable head-nod bounce. Snares are the heart of the beat, hitting strong on the 2 and 4, but the magic is in the “ghost notes.” These are super quiet, almost-inaudible hits you sprinkle in between the main snare hits to add a layer of human texture and make the beat breathe.
The real secret to an authentic hip-hop feel is nudging your kicks and snares just slightly off the grid. Shifting a hit a few milliseconds early or late is what turns a stiff, robotic loop into a beat with genuine soul.
Driving House Music Rhythms
House music is pure, hypnotic energy, and it all starts with one thing: the four-on-the-floor kick drum. That means a kick hits on every single quarter note—1, 2, 3, 4—creating a powerful, relentless pulse that commands the dance floor.
While the kick provides the steady foundation, the groove is built around it.
- Open Hi-Hats: Place these on the off-beats, right between each kick. This creates that classic push-and-pull “pumping” sound that is the essence of house music.
- Claps or Snares: These land right on beats 2 and 4, reinforcing the backbeat and giving the track that familiar, clap-along feel.
- Percussion: To keep the energy high, layer in shakers, tambourines, or congas playing steady 16th-note patterns. This adds texture and drives the whole rhythm forward.
To get a feel for how different rhythms define a genre, it helps to have a cheat sheet.
Genre-Specific Drum Pattern Characteristics
Here’s a quick reference table to help you nail the core rhythmic elements of some popular genres. Think of this as your starting point for building authentic patterns.
| Genre | Kick Pattern | Snare/Clap Placement | Hi-Hat Style | Key Feature |
|---|---|---|---|---|
| Trap | Sparse, complements 808 | On the 3rd beat | Fast (16th/32nd notes), with rolls & pitch shifts | 808 provides rhythm and bass |
| Hip-Hop | Syncopated, groovy | On the 2nd and 4th beats, with ghost notes | Varies, often swung or slightly off-grid | “Human” feel from swing & micro-timing |
| House | Four-on-the-floor (1, 2, 3, 4) | On the 2nd and 4th beats | Open hats on the off-beats, steady 16th shakers | Relentless, driving kick drum pulse |
| Drill | Complex, syncopated glides | On the 3rd and 8th beats of a two-bar phrase | Triplets and intricate 3/16 patterns | Unique snare placement and triplet feel |
| Lo-Fi | Simple, often muffled | Soft snare on the 2nd and 4th beats | Light, swung, often with vinyl crackle FX | “Lazy” or behind-the-beat groove |
This table is a great starting point, but always remember to listen to reference tracks in your chosen genre. Your ears will tell you what feels right.
The power of MIDI lies in its ability to capture these distinct rhythmic personalities. In fact, large databases like the Groove MIDI Dataset (GMD) have been created to analyze and archive these nuances, showing breakdowns of styles like 7% hip-hop and 12% funk. It proves just how much of a genre’s identity is locked inside the MIDI data itself.
Humanizing Your Beats with Groove and Velocity
Let’s be real: a beat that’s perfectly on the grid—every single hit locked into place—often sounds stiff and lifeless. While that kind of precision has its place, the real soul of a track comes from injecting a bit of human feel. This is how you take a simple, static loop and turn it into a dynamic performance that actually connects with people.
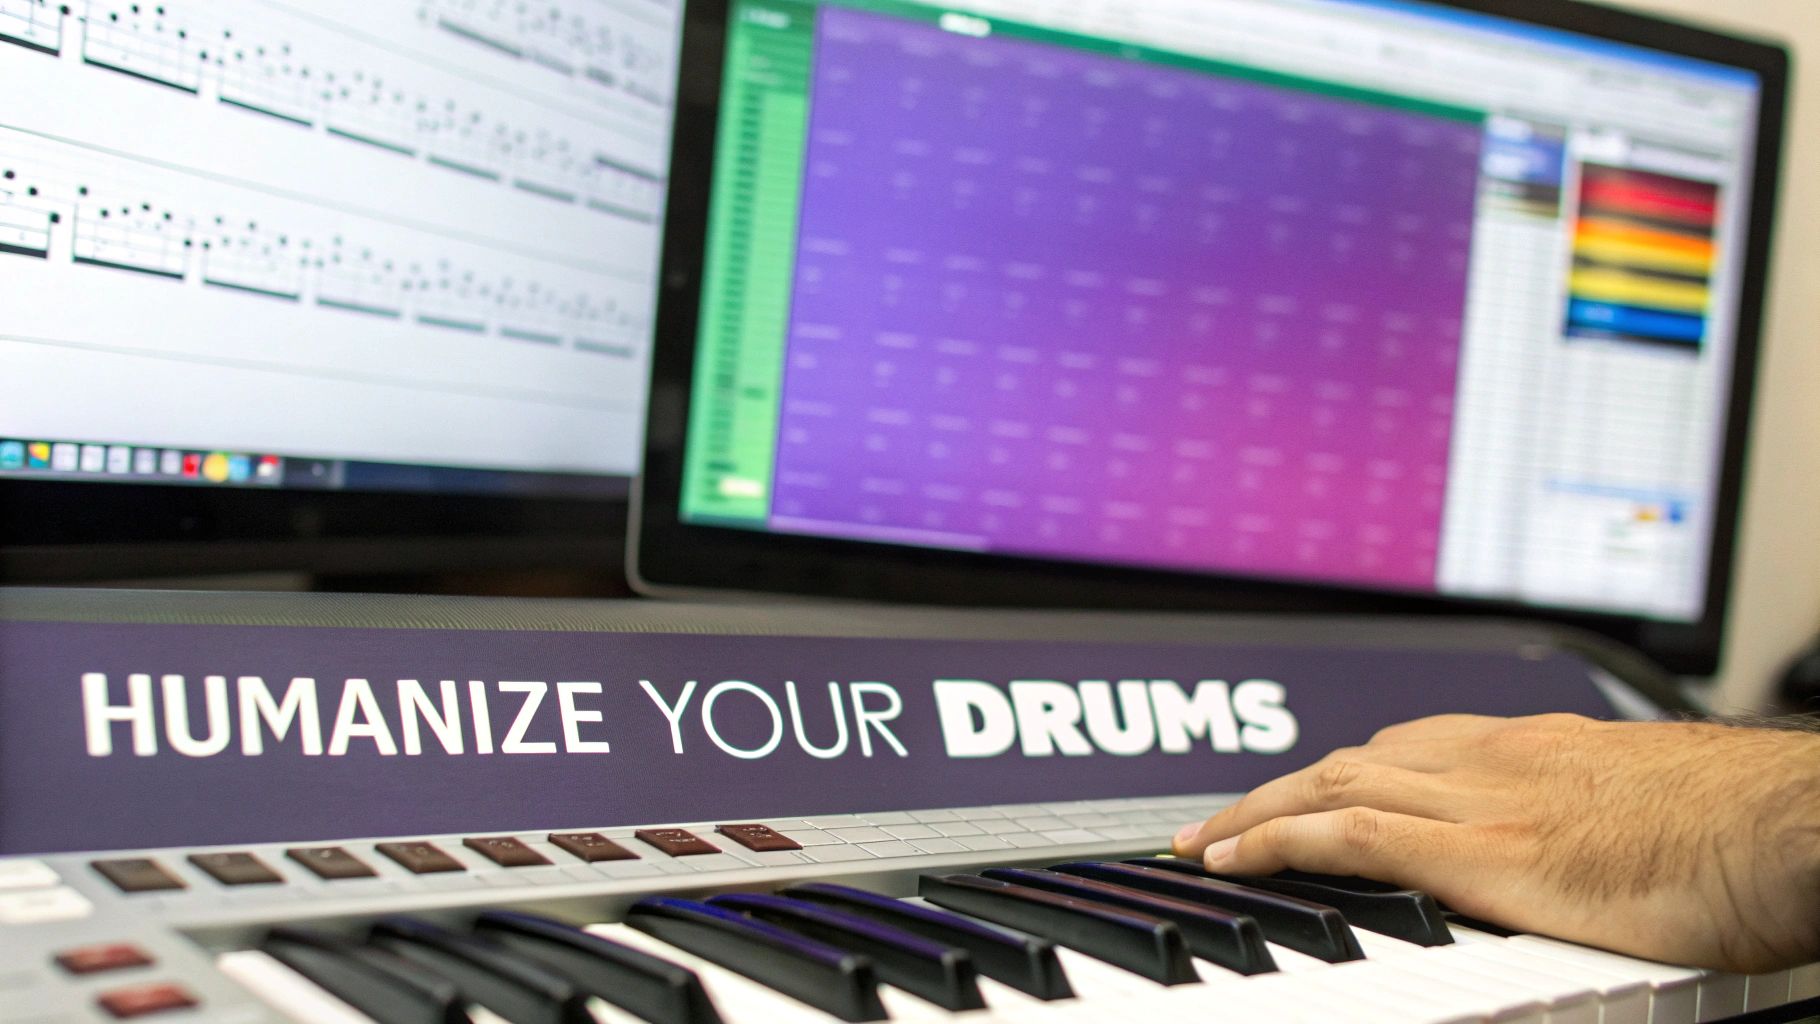
We’re going to use some of FL Studio’s most powerful tools to make your drums breathe. The goal isn’t a rigid, machine-like rhythm. We’re chasing those subtle, organic imperfections that make a live drummer’s performance so compelling.
Embracing Imperfection with Microtiming
One of the most powerful ways to get that human feel is by playing with microtiming. This is just the art of deliberately shifting individual drum hits slightly off the grid. Think about it: a real drummer never hits the snare at the exact same millisecond every single time. Those tiny variations are what create the groove.
You can do this manually right in the Piano Roll. Just select a note (like a snare hit) and use the Alt + Arrow Keys to nudge it a little bit forward or backward. Pushing a snare a few milliseconds behind the beat can give you a lazy, laid-back feel. Pushing it slightly ahead can build tension and urgency.
The secret here is subtlety. We aren’t talking about massive shifts that throw the whole beat off-time. It’s the accumulation of these tiny, almost imperceptible adjustments to your MIDI drum patterns that creates an authentic, human groove listeners can feel.
This isn’t just some producer’s trick; it’s a well-documented part of what makes popular music feel good. In fact, academic studies on groove have analyzed this phenomenon down to the millisecond. The Lucerne Groove Research Library, for example, contains 251 meticulously transcribed drum patterns where timings are insanely accurate. This data gives us a blueprint for how real human rhythms work. You can dive deeper into these fascinating findings on groove research if you want to geek out on the science behind the bounce.
Using FL Studio’s Built-In Groove Tools
Now, nudging every single note by hand can get tedious fast. Fortunately, FL Studio has some brilliant tools to speed things up without sacrificing that natural feel.
- The Swing Knob: Found at the top of the Channel Rack, this is your quickest way to add some bounce. Turning it up applies a classic swing feel by delaying every other 16th note. It’s perfect for instantly giving hip-hop, house, and jazz patterns that signature head-nodding rhythm.
- The Randomizer Tool: If you want more unpredictable, human-like variations, the Randomizer is your best friend. Open your pattern in the Piano Roll and hit
Alt + R. You’ll see options to randomize both velocity (how hard a note is hit) and timing (labeled as “pan” in the Randomizer window). Just a touch of randomization here can make your hi-hats feel less like a machine gun and more like an actual performance. - Velocity Variation: Never, ever sleep on the power of velocity. A real drummer plays with dynamic intensity, hitting some notes harder than others. Get in the habit of manually adjusting the velocity of each note in the Piano Roll. Create powerful accents by making some hits louder and subtle ghost notes by making others much, much quieter.
By blending these automated tools with a few careful manual tweaks, you can quickly bring your MIDI drum patterns to life. The goal is to make the listener completely forget they’re hearing a programmed beat and instead just feel the raw energy of a live performance.
And if you’re hungry for more ways to level up your production game, check out these other music production tips for making beats.
Advanced MIDI Editing and Customization Tips

Alright, so you’ve got the basics down. You can program a beat and humanize it so it doesn’t sound like a robot. Now it’s time for the fun part—manipulating midi drums patterns in ways that truly define your sound. This is where you graduate from just building beats to actually designing rhythm.
One of the best ways I learned was by tearing apart patterns from professional construction kits. When you drag a MIDI file from a pack into your project, you’re essentially getting a blueprint of how a pro built their groove. You can see their exact velocity choices, note placements, and all the subtle timing tricks they used.
Think of it as reverse-engineering a hit. You’re not just stealing a pattern; you’re absorbing the logic behind it, which is knowledge you can then fold into your own original work.
Remapping and Creative Slicing
One of the fastest ways to spark a new idea is to remap a MIDI pattern to a totally different drum kit. Take a four-on-the-floor house beat and throw it onto a dusty, lo-fi hip-hop kit. You might stumble upon a weird, syncopated texture you never would have thought to program yourself.
That simple swap can instantly flip the entire vibe of a track before you even touch a single note.
Once you have a new foundation, it’s time to get surgical in FL Studio’s Piano Roll. The Slice tool (just hit C on your keyboard) is your best friend for creating intricate stutters and rolls.
- Trap Hi-Hat Rolls: Zoom way in on a hi-hat, grab the Slice tool, and chop it into tiny 32nd or 64th notes. Instant trap roll.
- Snare Drags and Flams: Make a quick slice right at the beginning of a snare hit. This creates a quick “flam” or drag that sounds like something a real drummer would play.
These tiny edits are what add that layer of complexity and intention, making your drums sound less programmed and more performed.
Crafting Pitched 808s with Slide Notes
You can’t talk about modern production without talking about melodic, gliding 808s. In FL Studio, this is all done with slide notes. These are special notes in the Piano Roll that tell the note before it to smoothly bend its pitch.
It’s easy to do. Place your main 808 note, then add a second, smaller note right after it at a different pitch. Double-click that second note and just check the “Slide” box. Boom. When you play it back, you’ll hear that iconic 808 glide that defines countless trap and hip-hop hits.
Remember that every little adjustment—from a tiny nudge off-grid to a dramatic 808 slide—adds up to create the final feel. Microtiming changes that seem almost invisible can be the deciding factor between a beat that feels stiff and one that has an organic, head-nodding groove.
In fact, data analysis of huge drum pattern libraries shows just how vital these small shifts are. While the average timing deviation from the grid might be zero, the standard deviation can be as high as 0.0509 beats. That’s the measured, mathematical difference between perfect quantization and natural human swing. You can actually dig into some of the science behind these rhythmic nuances in music production if you want to geek out.
Mastering these advanced techniques gives you total command over this critical part of making beats.
Common Questions About MIDI Drum Patterns
Working with MIDI can sometimes feel like solving a puzzle. As you get deeper into programming your own beats, a few common questions always seem to pop up. Let’s walk through some of the usual suspects to clear up any confusion and keep your workflow moving.
One of the most frequent issues producers run into is a MIDI pattern sounding completely out of sync with the rest of the track. More often than not, the culprit is a simple mismatch in your project’s tempo or even its time signature. Before you start painstakingly nudging individual notes around, always double-check that your project’s BPM matches the intended speed of the MIDI file you just dropped in.
Another classic head-scratcher is drum remapping. What happens when you use a MIDI pattern that was clearly made for one drum kit, but you’re trying to play it through a totally different one?
How Do I Remap MIDI Drums to a New Kit?
So, you’ve loaded a killer midi drums pattern, but your kick drum is triggering a cowbell. This is a classic mapping issue. It happens because different drum plugins and samplers assign sounds to different keys on the Piano Roll. While the General MIDI (GM) standard was created to prevent this, the reality is that not every kit follows the rules.
Thankfully, fixing this in FL Studio is pretty straightforward:
- First, open the Piano Roll for your MIDI pattern.
- Select all the notes for the sound that’s playing incorrectly (for instance, all those cowbell notes that are supposed to be your kick).
- From there, just click and drag them up or down the Piano Roll until they land on the correct key for your new drum kit.
It might take a little trial and error, but once you find the right home for each drum piece, you’ve successfully remapped the whole pattern.
Here’s a pro tip: Once you’ve remapped the MIDI, save it as a new file. That way, you’re creating a custom template for that specific drum kit, which will save you a ton of time on future projects using the same sounds.
Can I Use MIDI Patterns from Other DAWs?
Absolutely. This is one of the beautiful things about MIDI—it’s a universal language. A .mid file cooked up in Ableton Live, Logic Pro, or any other DAW will load up and play in FL Studio without a problem.
The only thing you need to keep an eye on is—you guessed it—the mapping. The pattern itself will load perfectly, but you might need to adjust which notes trigger which sounds to align with your chosen FL Studio drum sampler, just like you would with any other external MIDI file. This cross-compatibility is what makes MIDI packs an incredibly valuable resource, no matter where they were originally created.
Ready to stop searching and start creating? FL Studio Sound Packs offers a massive library of royalty-free MIDI drum patterns, loops, and construction kits designed to give your beats a professional edge. Get instant access to every sound on our site with one simple price. Explore our collection.